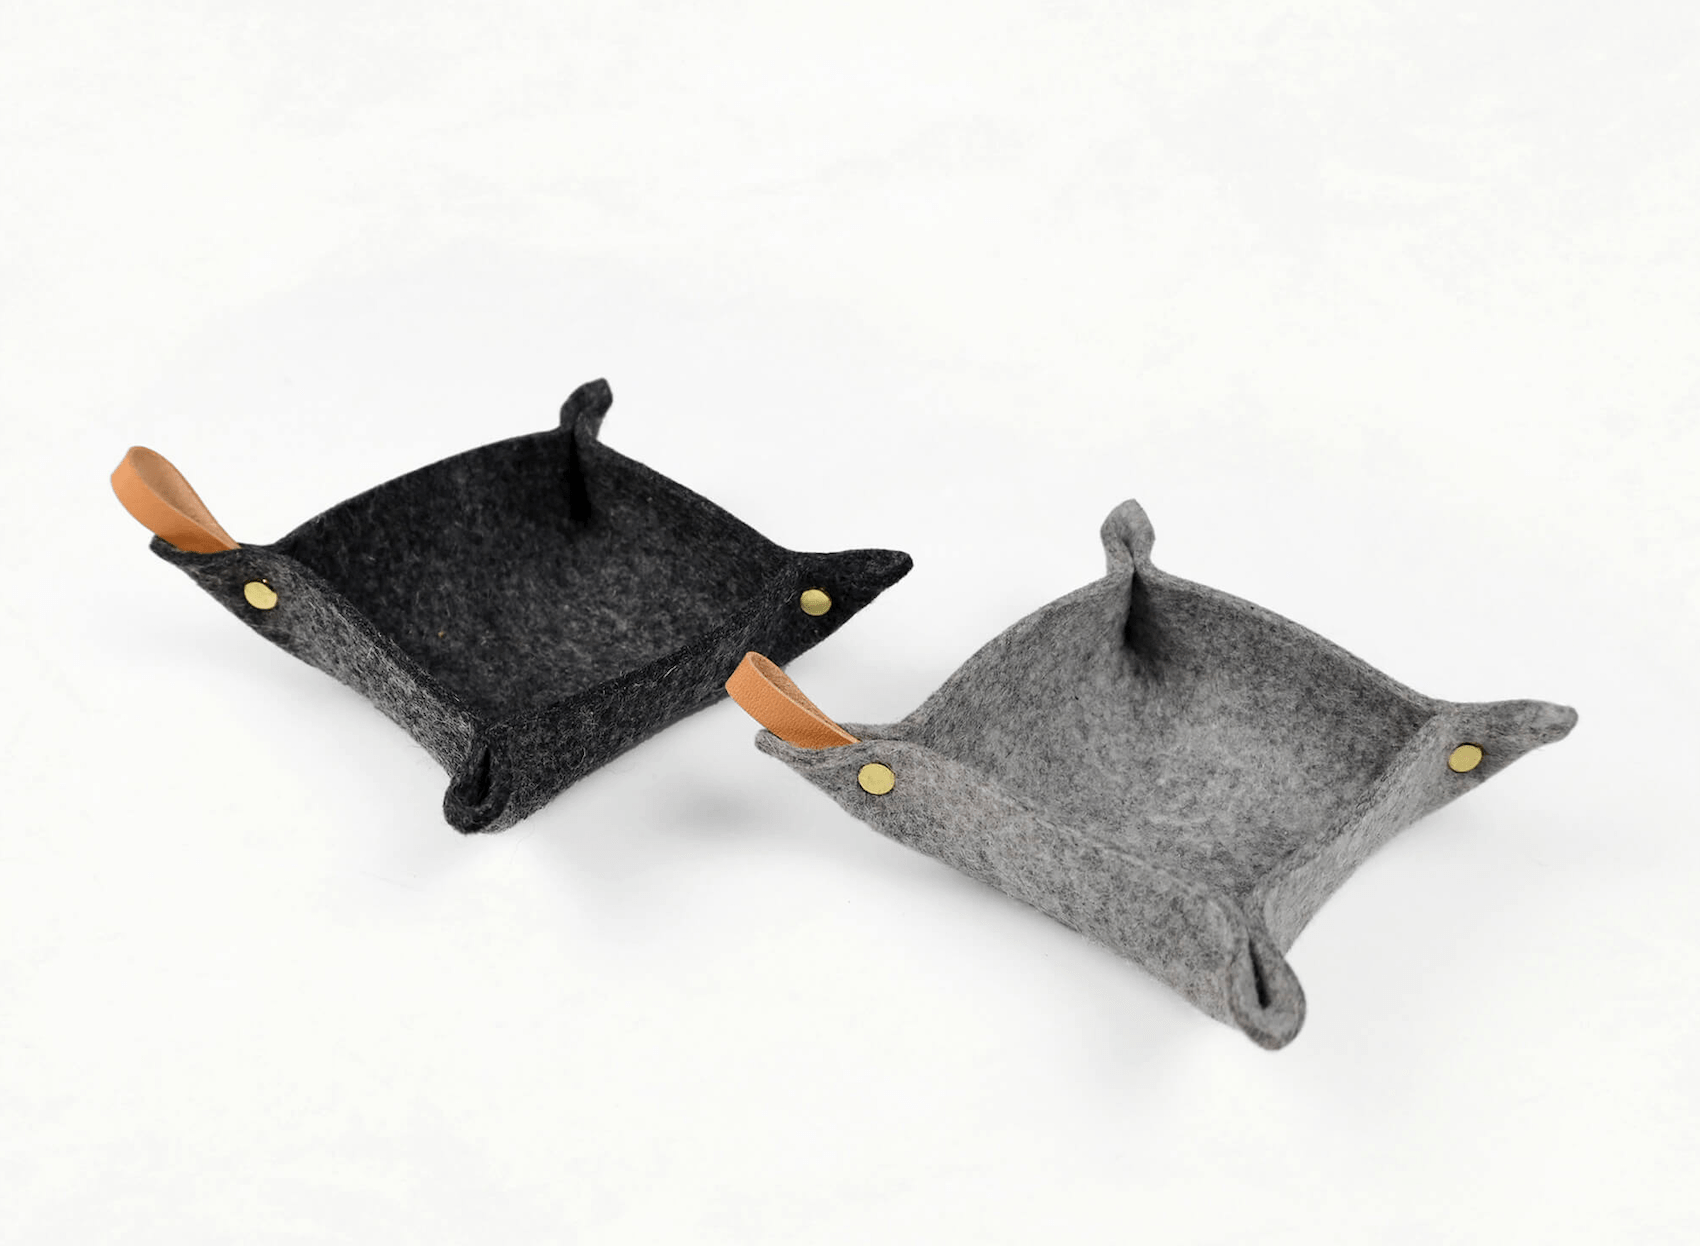
The Merino wool is premium quality—so much nicer than your average crafting felt. Keep your workspace tidy and looking cute 😊
Make a Felt Tray, Step by Step
What’s in the Kit

Everything you need to make a Merino wool felt tray with rivets and a cute leather loop!
The felt comes as a 6" x 6" square, already hole-punched at the corners and ready for you to set the rivets. There’s a strip of leather for the hanging loop, and five double cap rivets: four for the tray, and one extra.
A double cap rivet comes in two halves, a side with a post and a side with a cap. The two together make one rivet, and once it’s set it looks the same from both sides.
The felt doesn’t have a right or wrong side, so just pick a side. The leather does: the smooth side is the right side. It’s vegetan leather, so it’s real, and it’ll age and get a little darker over time.
All you need is a hammer to set the rivets, plus something hard to set them on. More on that below.

Riveting the First Two Corners
Pick a side of the felt and fold one corner in toward the inside, so the two holes in that corner line up.
Push the post half of a double cap rivet through both holes from the outside. Flip it over and check that the top edges are lined up before you go any further, then click the cap on. It’s not set until you hammer it, but it’ll hold well enough for you to work your project.
Do the same on a second corner. If a cap pops back off, that just means it’s a little tight. Click it back in and keep going.
Adding the Leather Hanging Loop

Fold the leather strip in half, smooth side out, and line up the two holes. One end is cut at an angle, and we like to lay it in with the outermost point of that angle touching the bottom of the tray.
Put the post in from the outside of the tray, lay the leather down over the post, then pinch the whole thing so the post comes through the felt on the other side. It’ll be tighter than the plain corners, but it still sets really well.
Line up the edges the same way you did on the others, click the cap on, and then do your last corner.
Setting the Rivets

Here’s what’s actually happening when you hit a double cap rivet: you’re smashing it shorter, and the post inside mushrooms out against the cap. That pinches whatever sits between the two caps, and that’s the hold.
It’s also what pulls your corners up and gives the tray its shape. It doesn’t matter which side you hammer from.
Two things matter here. First, work on a hard surface, like a stone slab or the ground. What you’re avoiding is anything bouncy: on a soft or springy surface, the force of the hammer doesn’t transfer to the rivet, and it won’t set tight.
Second, make sure the rivet is sitting vertical on that surface and not crooked. Pinch the felt around it to hold it steady and upright.
A regular household hammer is all you need. Start with medium-to-light hits, and once you see the rivet starting to sink, give it a couple harder ones. It’s set when the cap indents slightly into the felt. Then work your way around and do all four.
Ready to Make One?
Making multiples? Buy a 3-kit grab bag and save $15! Make something for everyone on your list, or, you know, gift to yourself. 😊
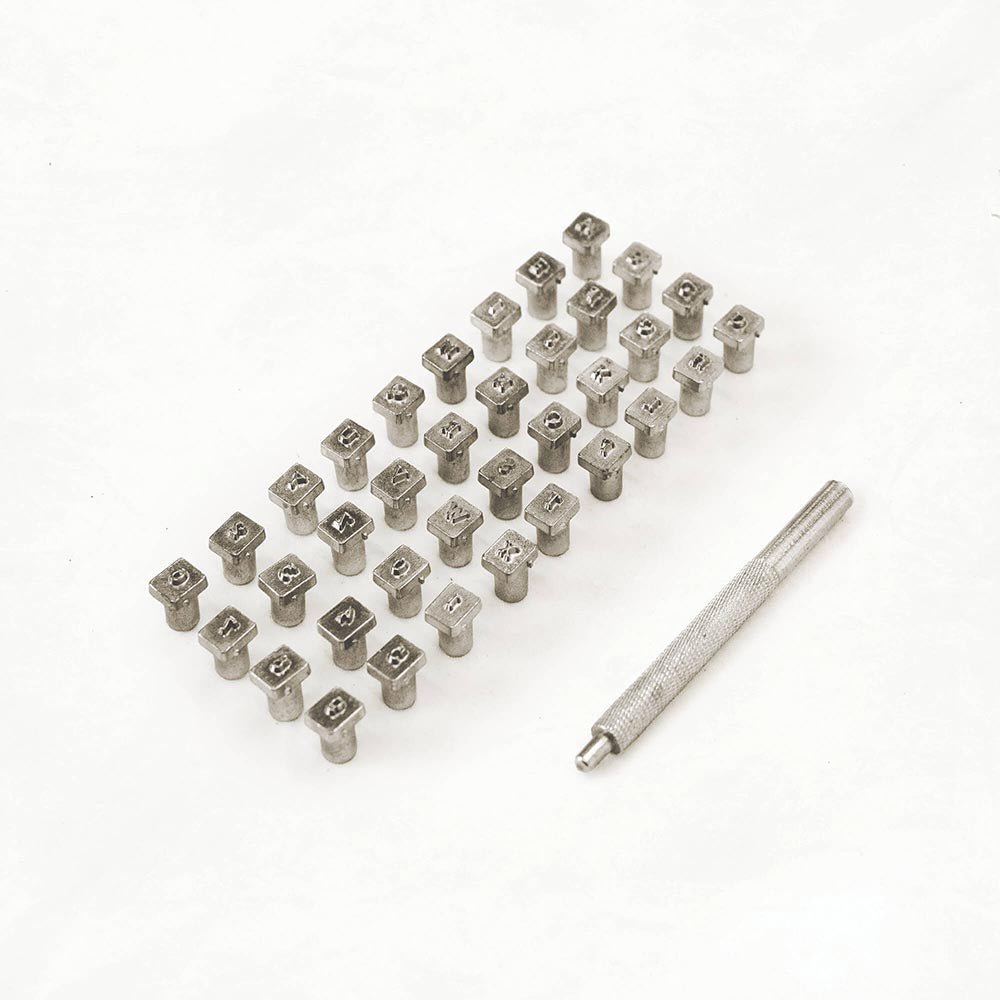
Hang it on a hook by the leather loop when it’s not in use. And the loop is stampable, so you can add a name or a little message with a set of leather stamps.
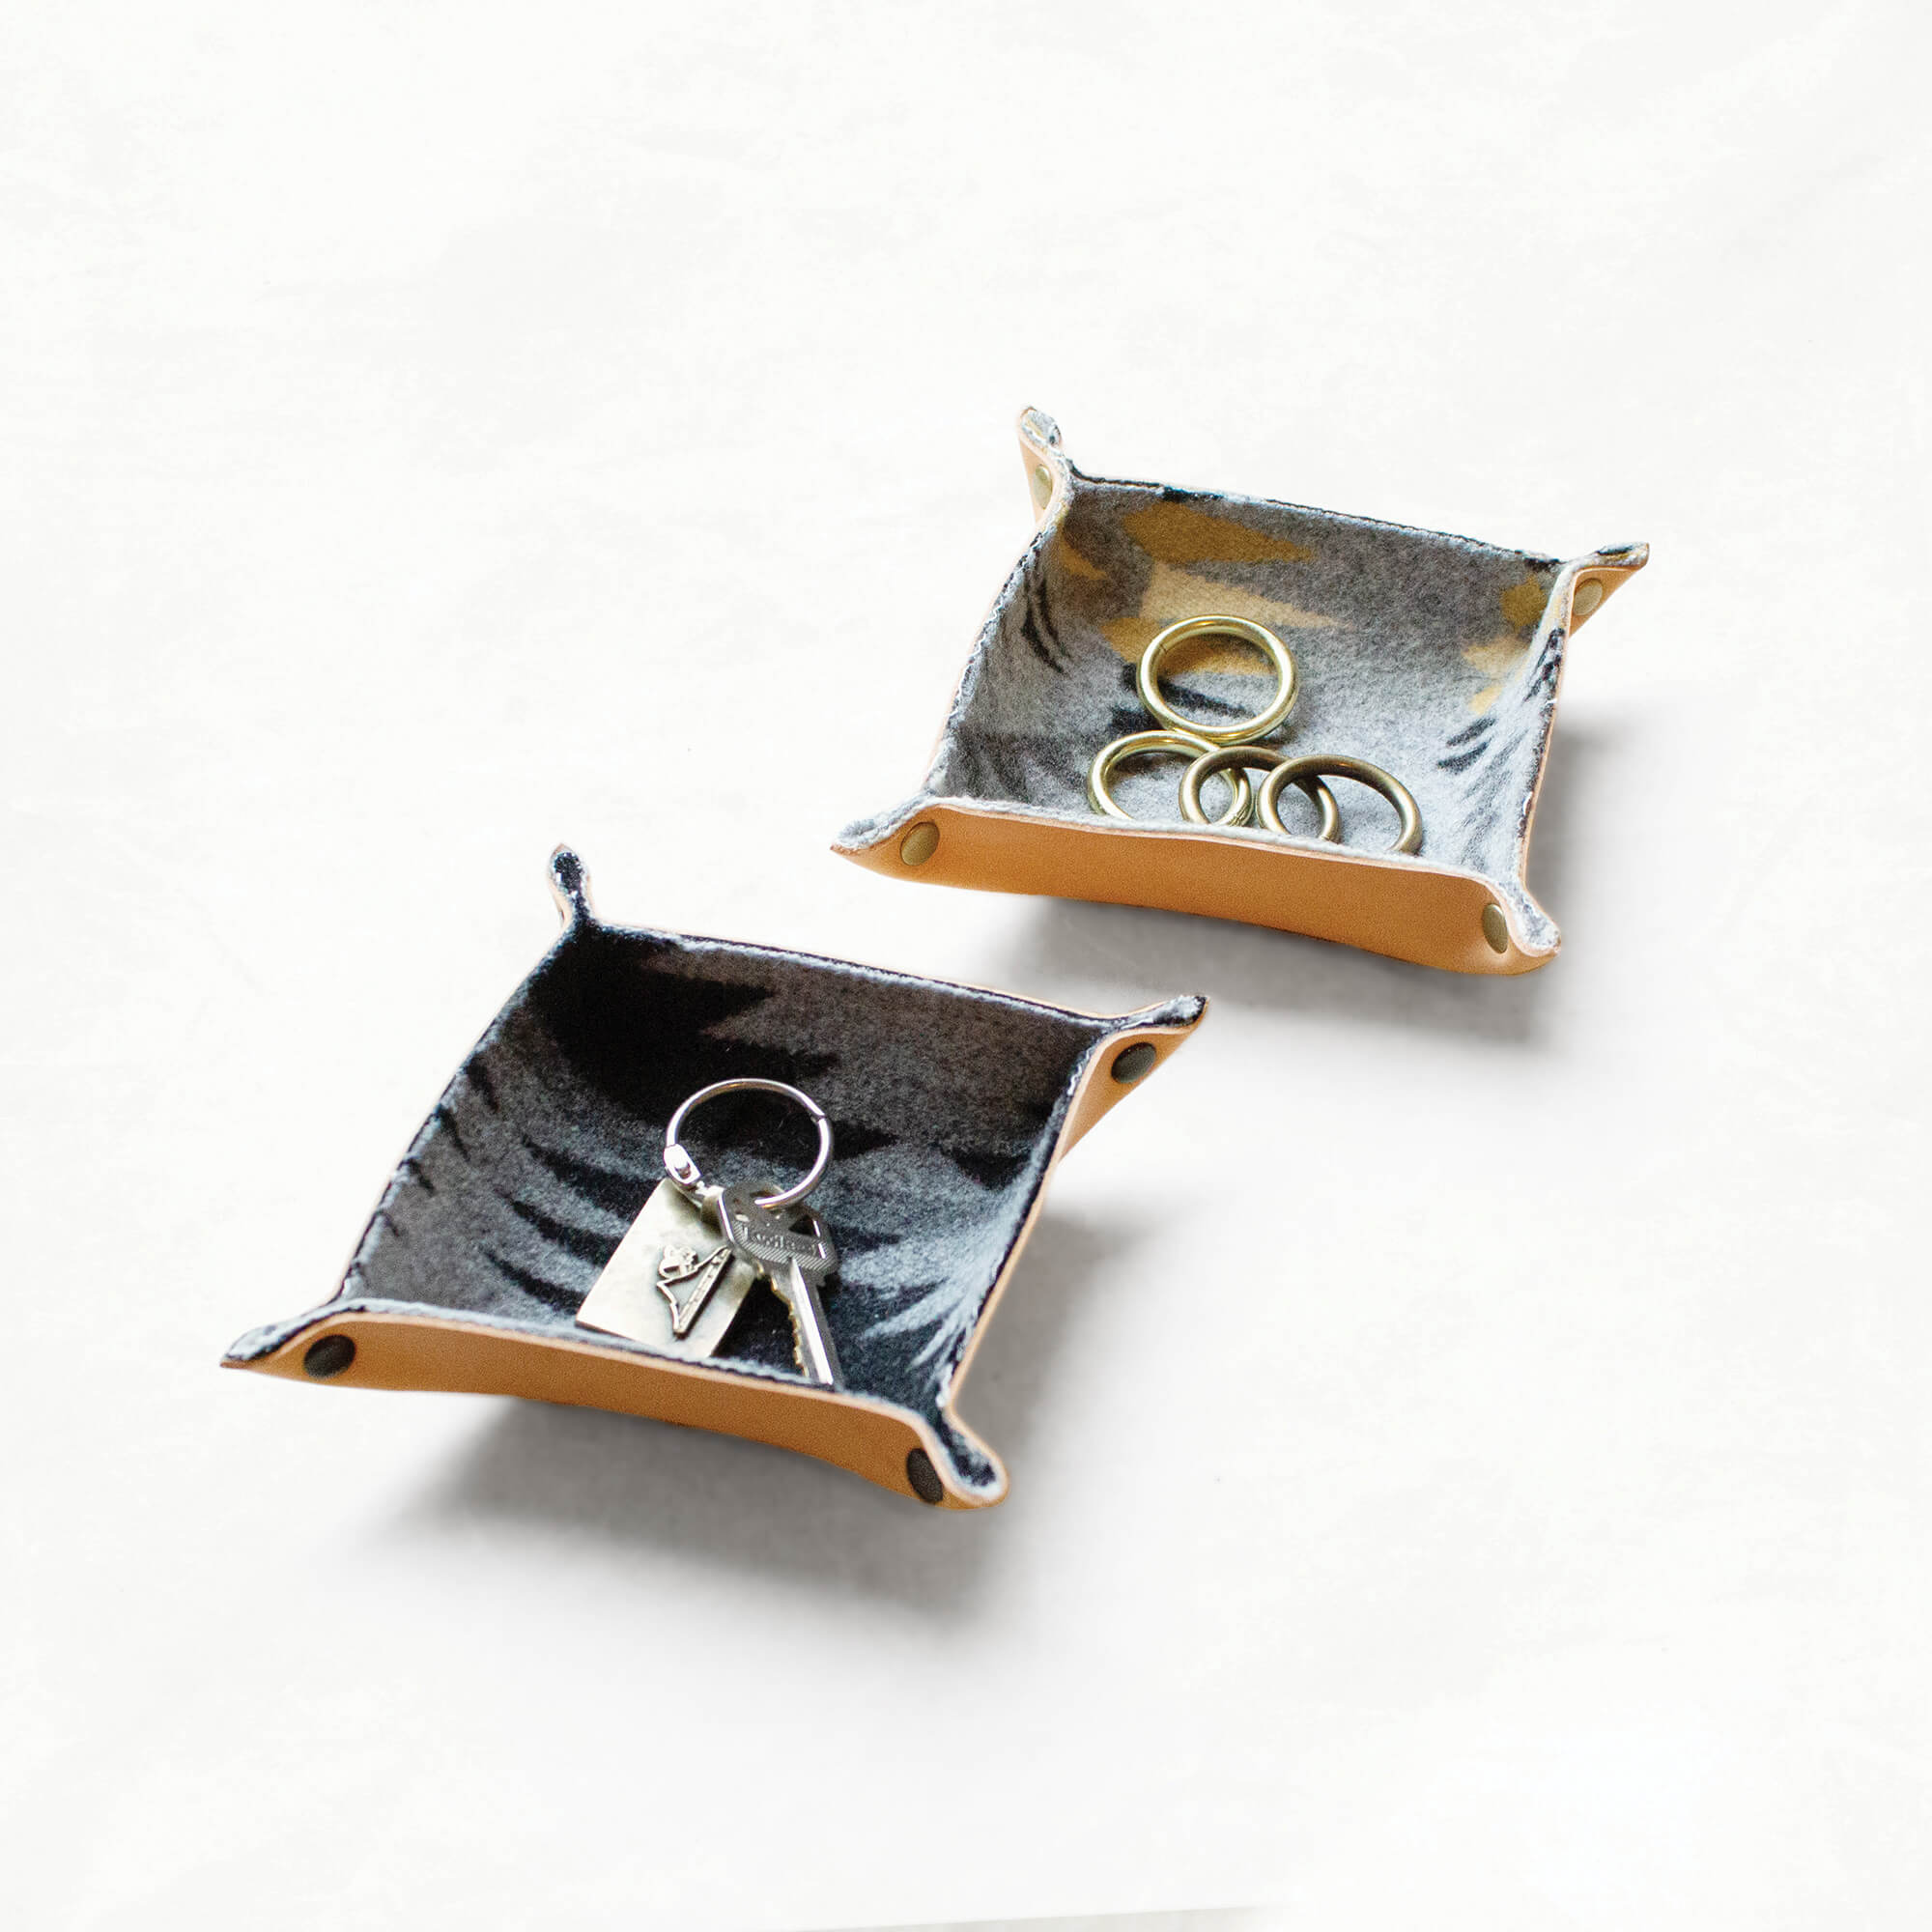
Once you’ve made one of these, the leather tray is the natural next one. No sewing there either, just a hammer and some leather glue, and it’s lined with luxe Pendleton® wool.
Shop the Merino Wool Felt Tray Kit
About the Author