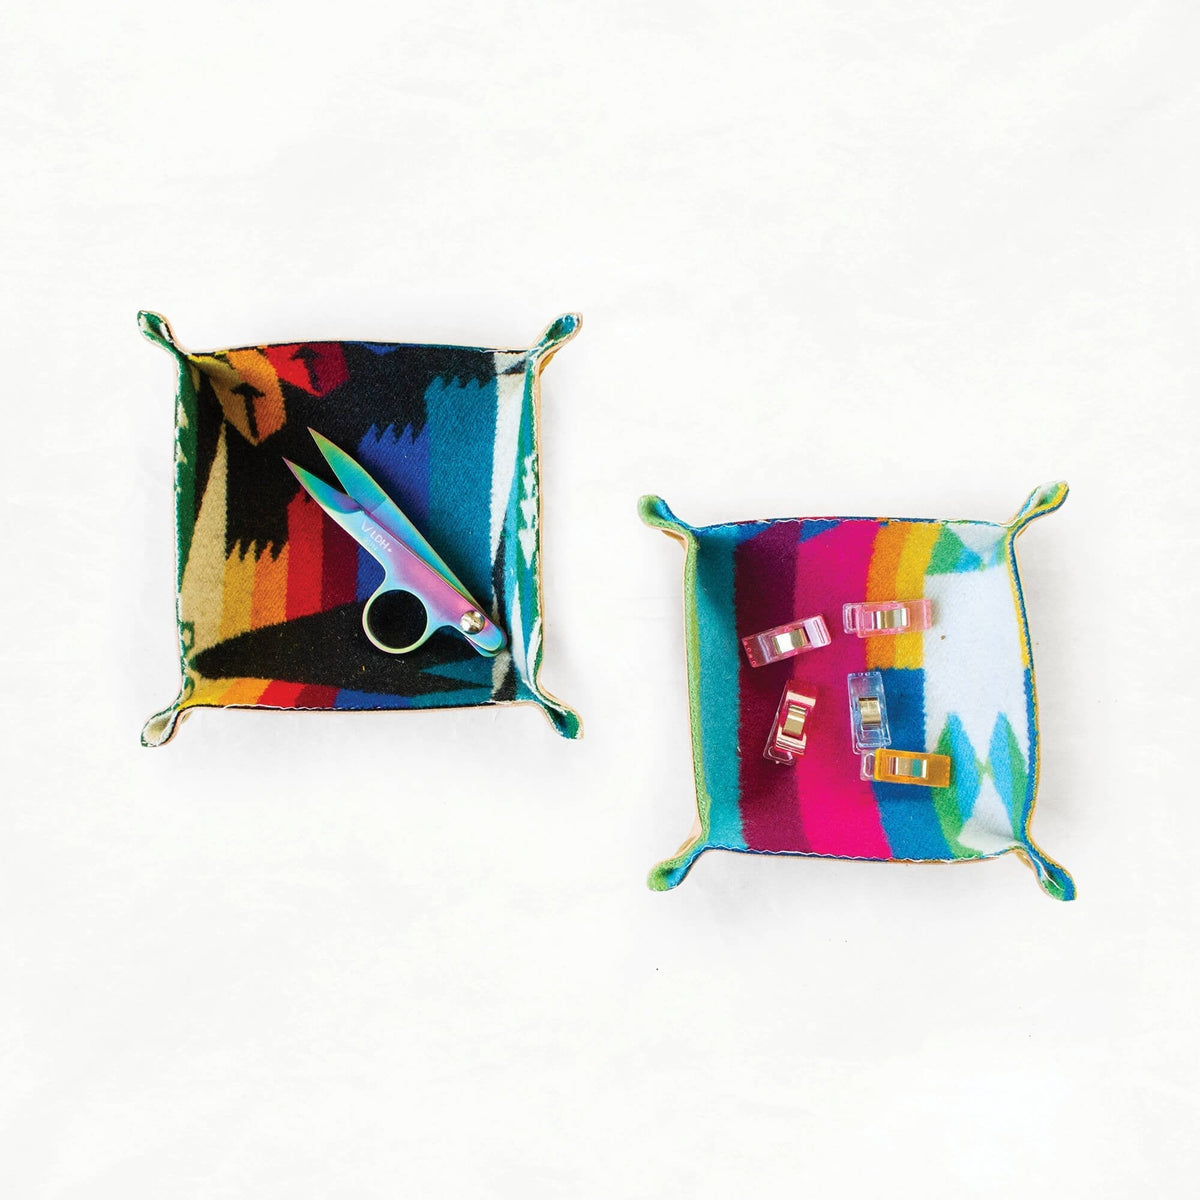
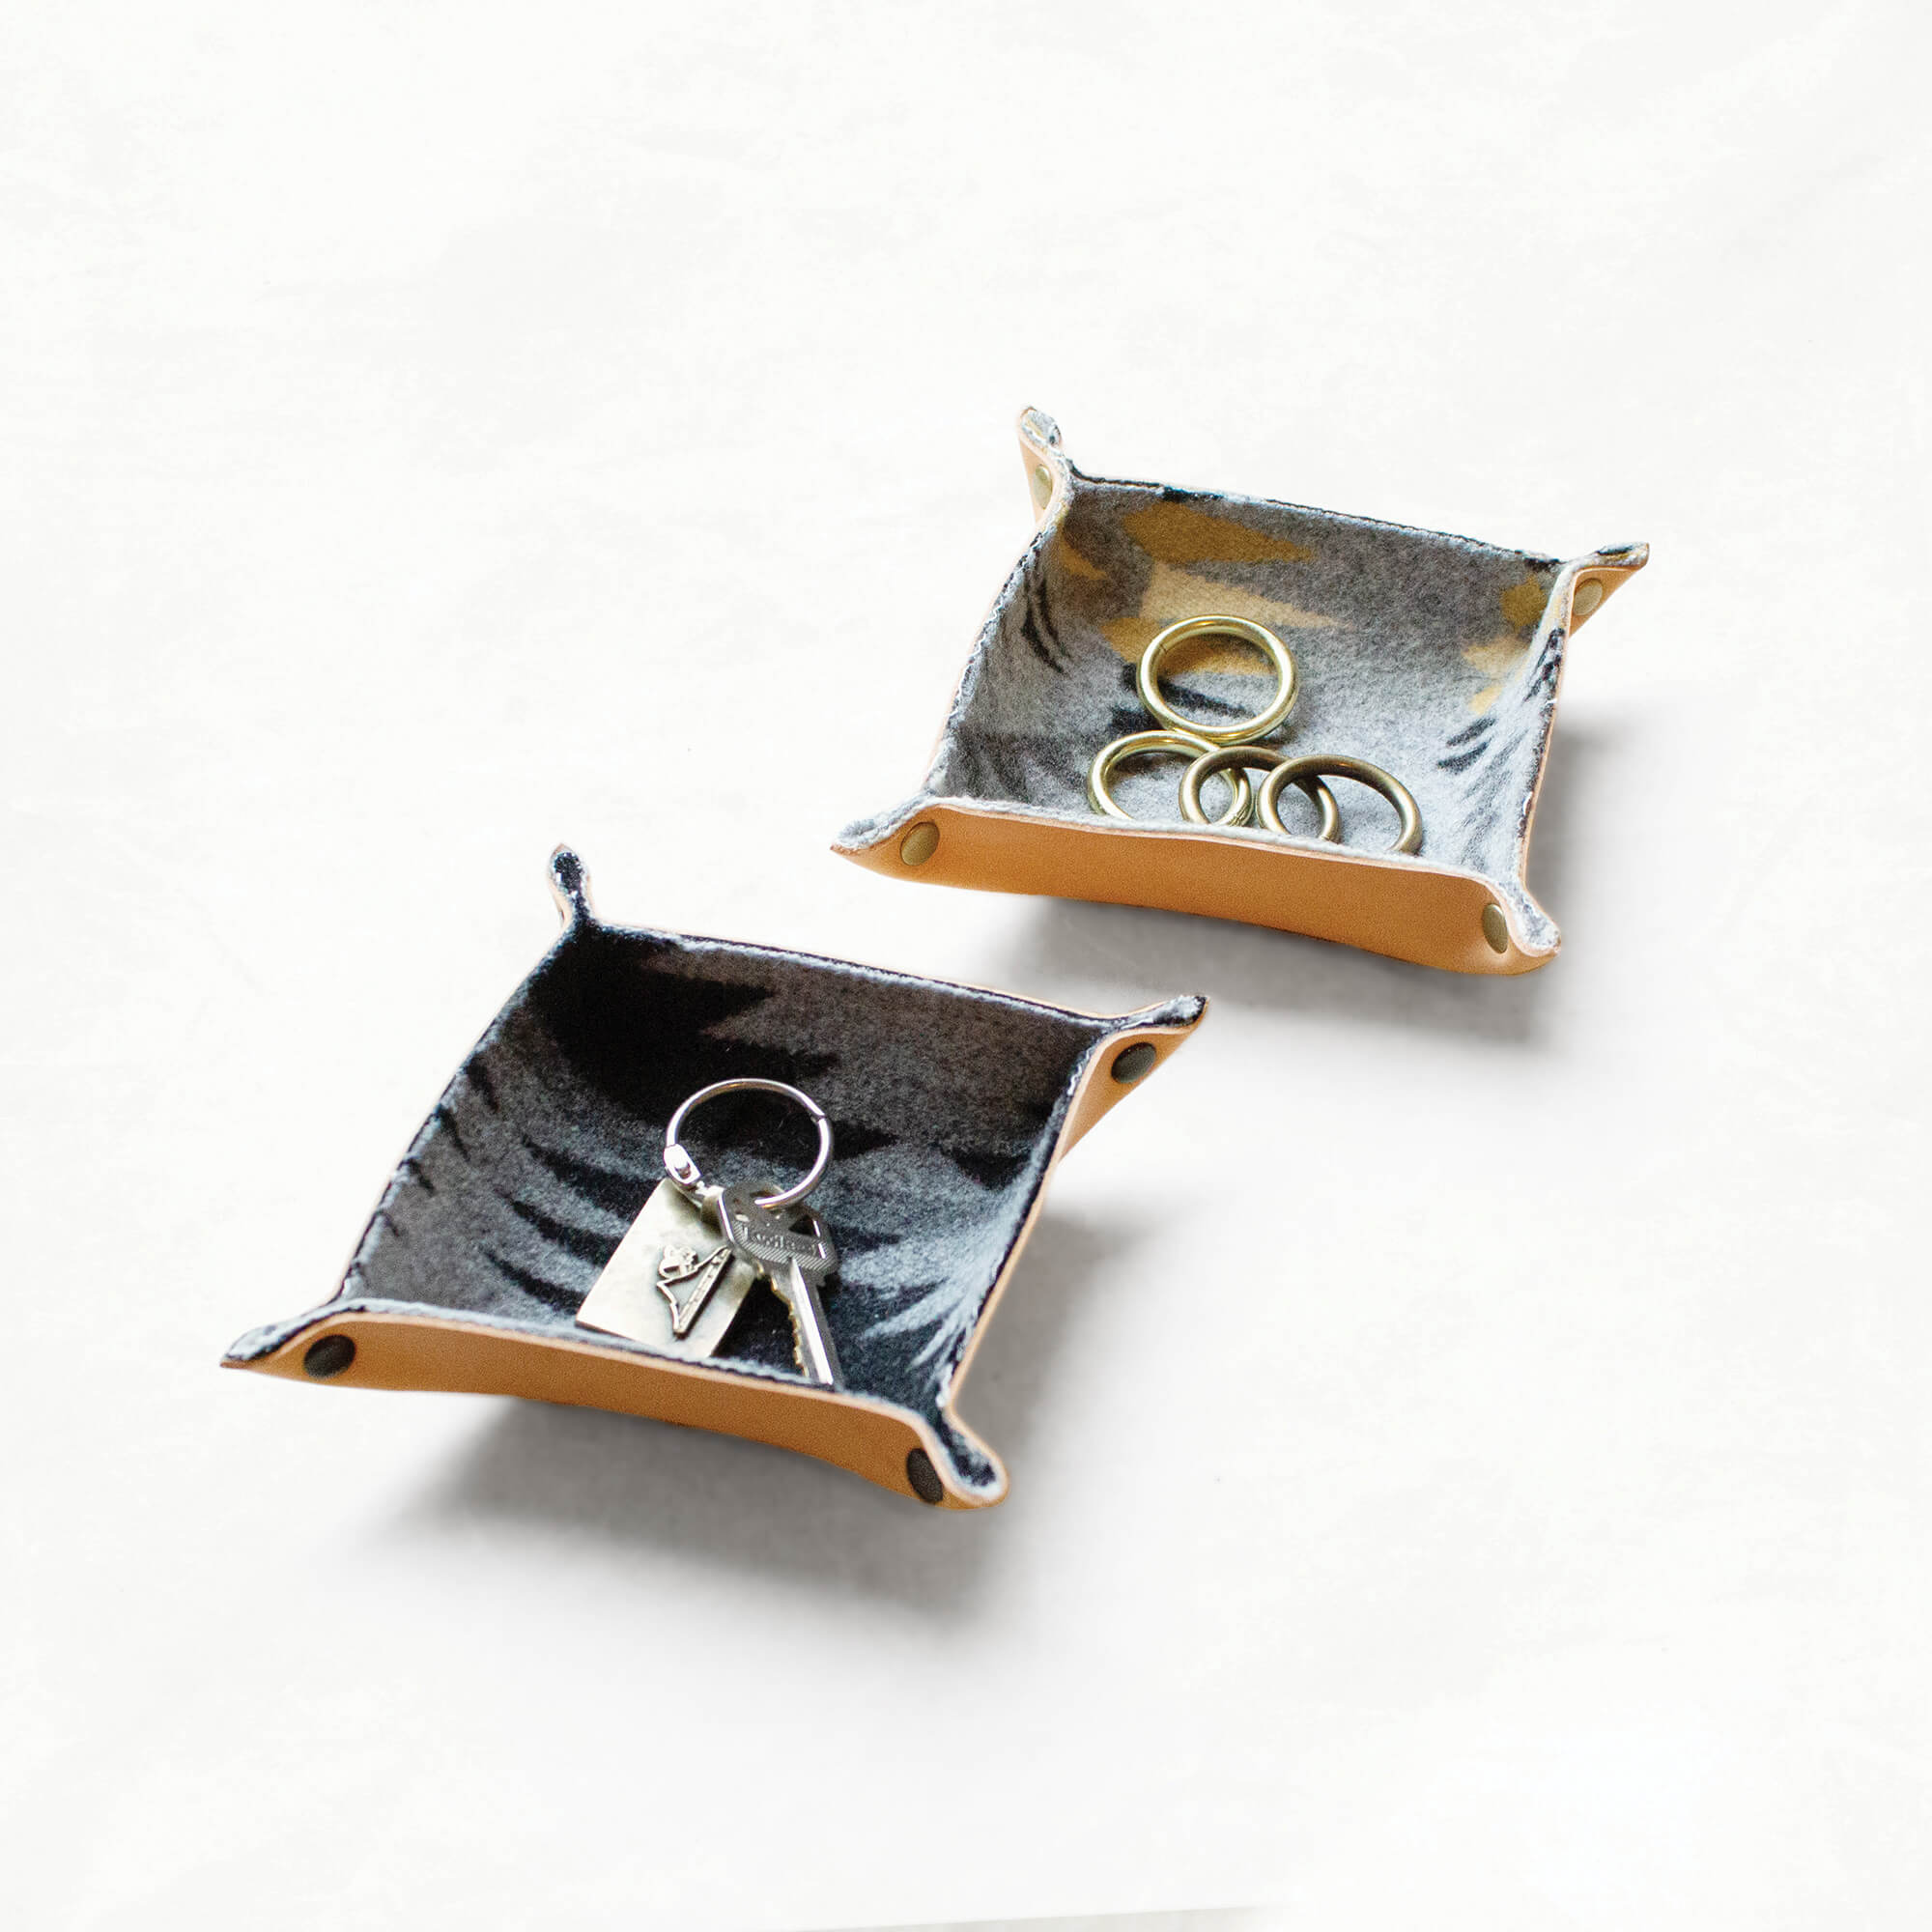
This fun DIY project is a quick win for makers of all skill levels, and it’s great for gifting or for getting little ones involved in the fun. (Kids love to play with glue. 😊)
And here’s the best part: you don’t really need any special tools to make this tray. A household hammer, a household nail, and a hard surface will get you there.
What Tools Do You Need to Make a Leather Tray?
Not many, honestly. Your Leather Tray Kit shows up with the leather pieces already cut and pre-punched, the Pendleton® wool cut to size, and all the rivets you need. Plus a spare, for when you mess one up. (It happens to all of us.)

You’ll need leather glue to bond the wool to the leather, and you can add that plus a spreader to your kit at checkout. The rest you probably already own: a hammer, a hard surface to set rivets on, a straight edge and a blade for trimming, and something to poke holes through the wool. A nail out of the junk drawer works for that last one.
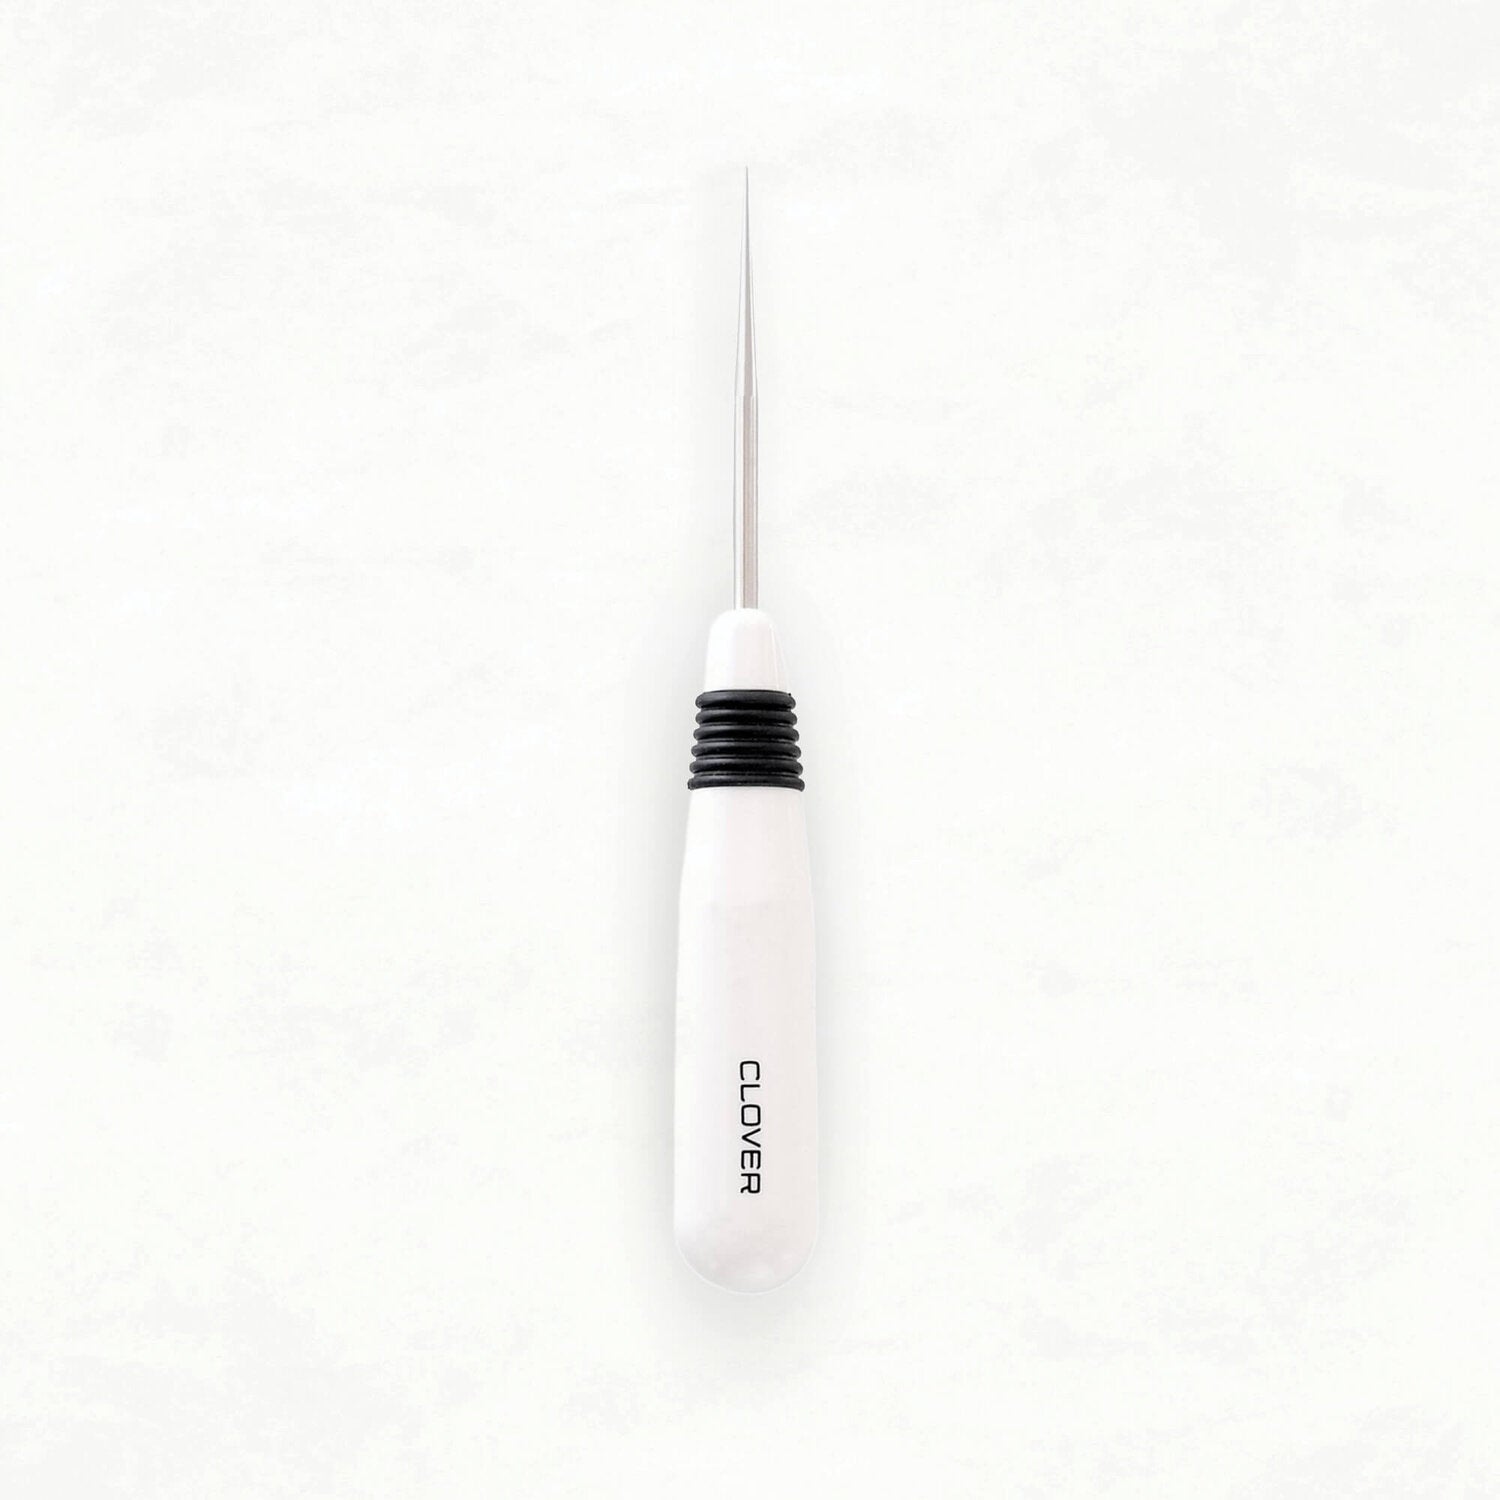
A few tools make it smoother if you’ve got them, and not one is required: a rotary cutter and a self-healing mat, a quilting ruler, a tapered awl or a drive punch for the holes, and a granite slab if you’d rather not hammer on the floor.
Making Your Tray, Step by Step
1. Glue the wool to the leather. The leather has a smooth side and a rough side. The smooth side becomes the outside of your finished tray, so the glue goes on the rough side. Spread it in a spiral from the middle outward, and keep it clear of the pre-punched corner holes so it can’t squeeze through to the smooth face. Use a real leather glue here. Then lay the wool down, line up all four edges, press it flat, and weight it with a slab or a stack of heavy books for 10 to 15 minutes.
Don’t worry about getting glue right to the very edge. A quarter inch of that perimeter comes off in the next step anyway.
2. Trim a ¼" border off all four sides. This is the one step that needs a blade and a straight edge: a rotary cutter and a quilting ruler, or a sharp craft knife and anything straight. Weight the tray down so it can’t shift on you, then take a quarter inch off each edge. If the wool sits a little proud of the leather, measure off the leather edge, not the wool. This is the step that gives you a crisp edge where the two layers meet, and a really clean, professional finished look.
3. Stamp your message, if you want one. The bottom of the tray leaves you about three inches to work with. There’s more on this below.
4. Make holes through the wool. The leather arrives pre-punched; the wool doesn’t. Push a nail or an awl through each existing hole to open a matching one in the wool. A nail hole can close up a little afterward, so if a rivet won’t go through, just poke it open again.
5. Set the four corner rivets. Push the rivet stem through from the smooth side of the leather, the side that becomes the outside of your tray, then fold the corner up, and pinch it so the stem comes through the matching hole. Snap the cap on. The leather and the wool have a lot of memory for lying flat, so hold that corner firmly or the cap will pop off before you set it. Check that the leather edges line up, then start with a few light-to-medium taps to coax the rivet down before one harder strike. It’s set when the cap indents slightly into the leather.
Those four rivets pinch the corners, and that’s what turns a flat square into a tray that can actually hold all your precious little things. 😍
6. Clean up the corners. Trim any stray threads, and snip off any wool creeping up past the leather at the corners. That last minute of tidying is what gives it the finished touch.
How to Personalize Your Tray With Leather Stamps

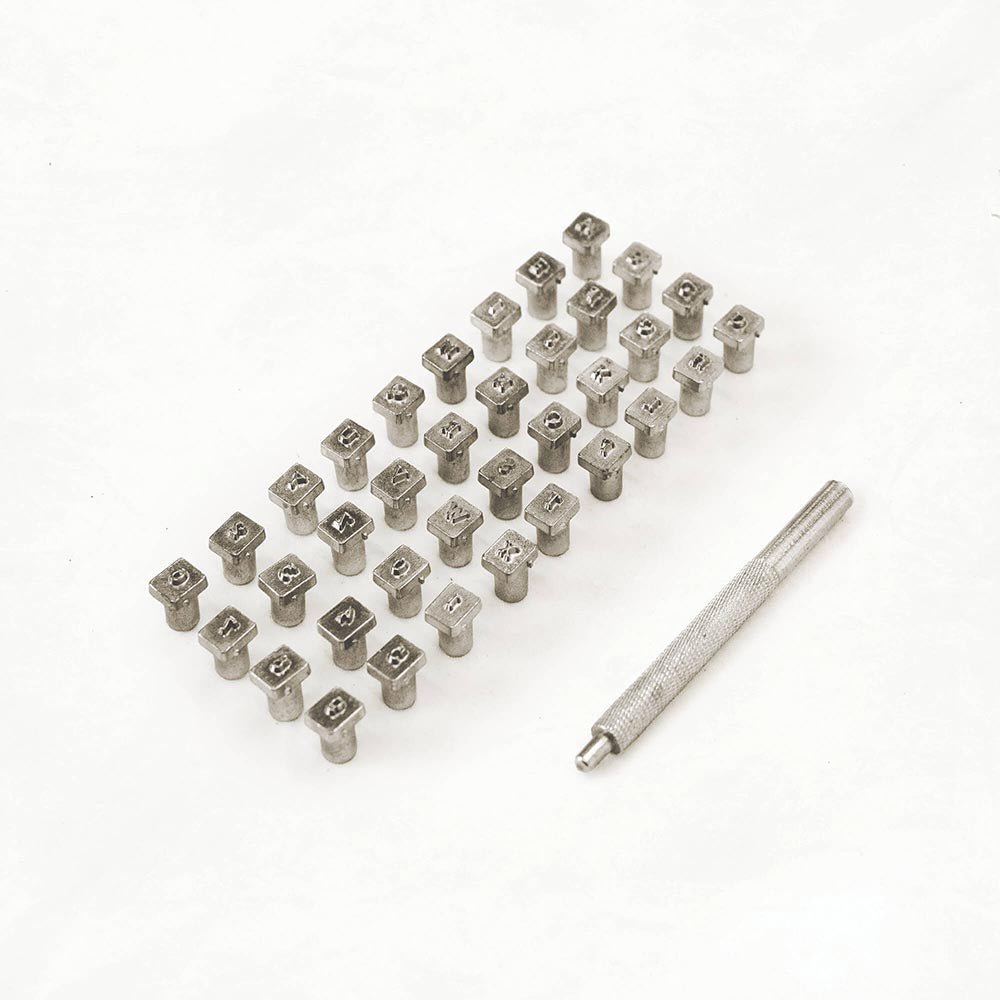
Stamps come in two sizes, ¼" and ⅛", and either one works on a tray. You can measure up from the bottom edge to find your center and draw a light pencil line to stamp against, or you can freehand it. Freehanding is part of the charm here: a tray that’s obviously handmade is the whole point.
Here’s a thing you’ll read everywhere online: wet your leather before you stamp it. For this project, mostly ignore it. Tray leather is 1 to 2 ounce, which is really thin, so barely damp is as far as you want to go.
Leather stamps are metal, so hit them with a mallet, not a hammer. Practice on the scrap that comes in your stamp set first, and go LIGHTER than you think. On leather this thin, and especially with the ⅛" stamps, hitting too hard cuts straight through instead of embossing.
One more thing that matters more than it sounds like it should: work on a genuinely sturdy table, or put your granite slab underneath. A solid surface is what makes the stamp bite cleanly.
“Quick and fun! The kit is very easy to use, the instructions are clear, and the materials are gorgeous. It made a great gift and a fun afternoon of making for me!”
—Sydney J.
Ready to Make Your Own?

Every kit comes with a step-by-step video tutorial, so you can make along with Ellie start to finish. Making a few at once? The 3-Tray Grab Bag comes with a surprise assortment of Pendleton® colorways, so you can make something for everyone on your list.
Shop the Leather Tray Kit
About the Author