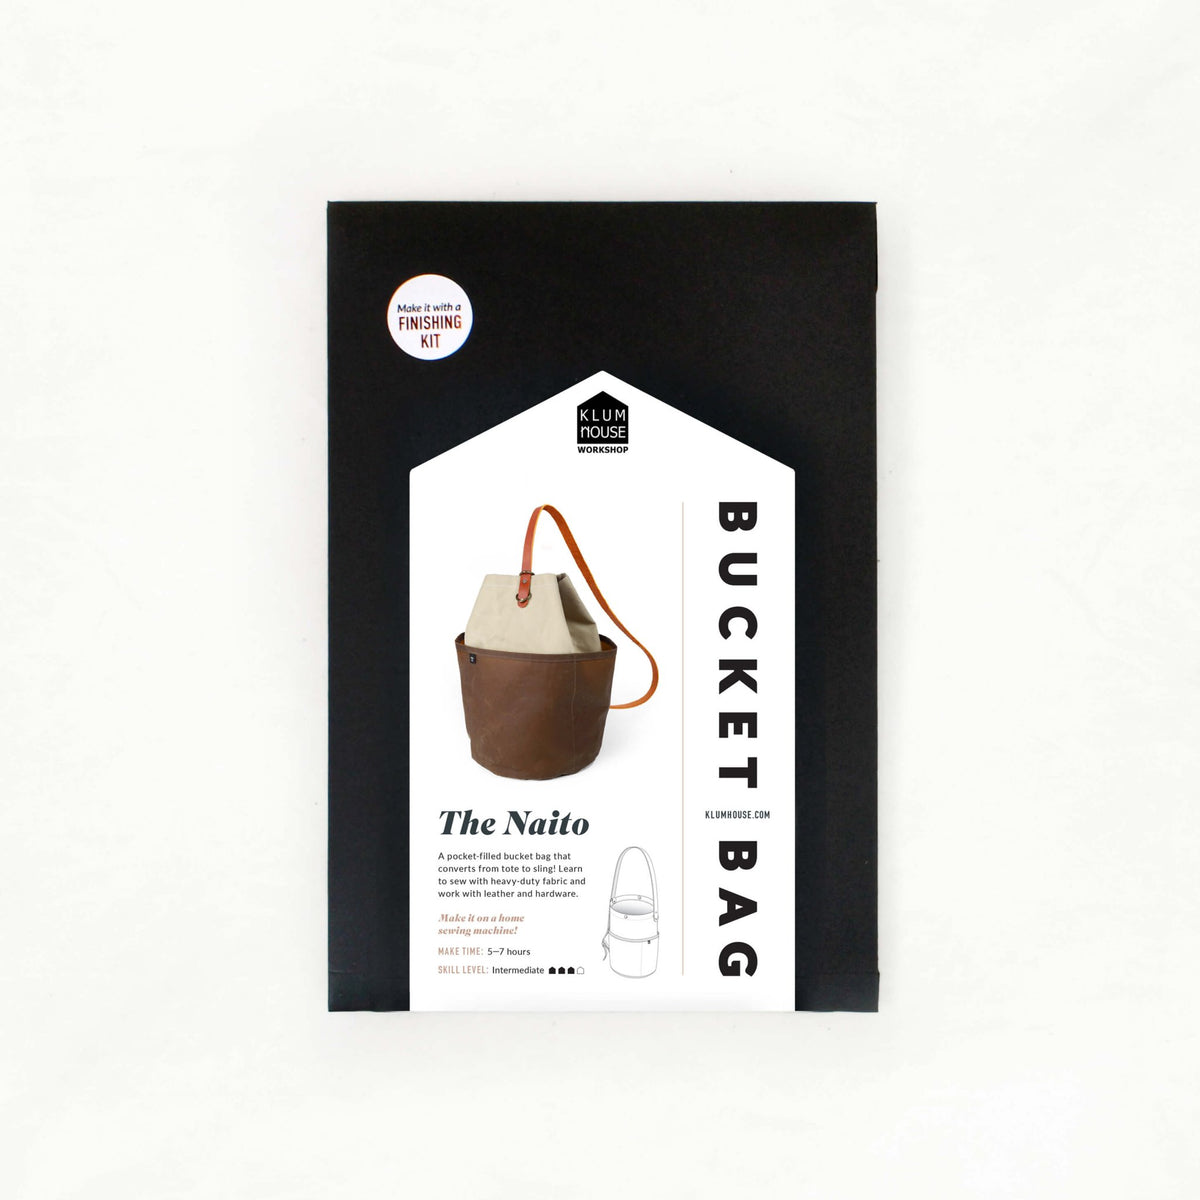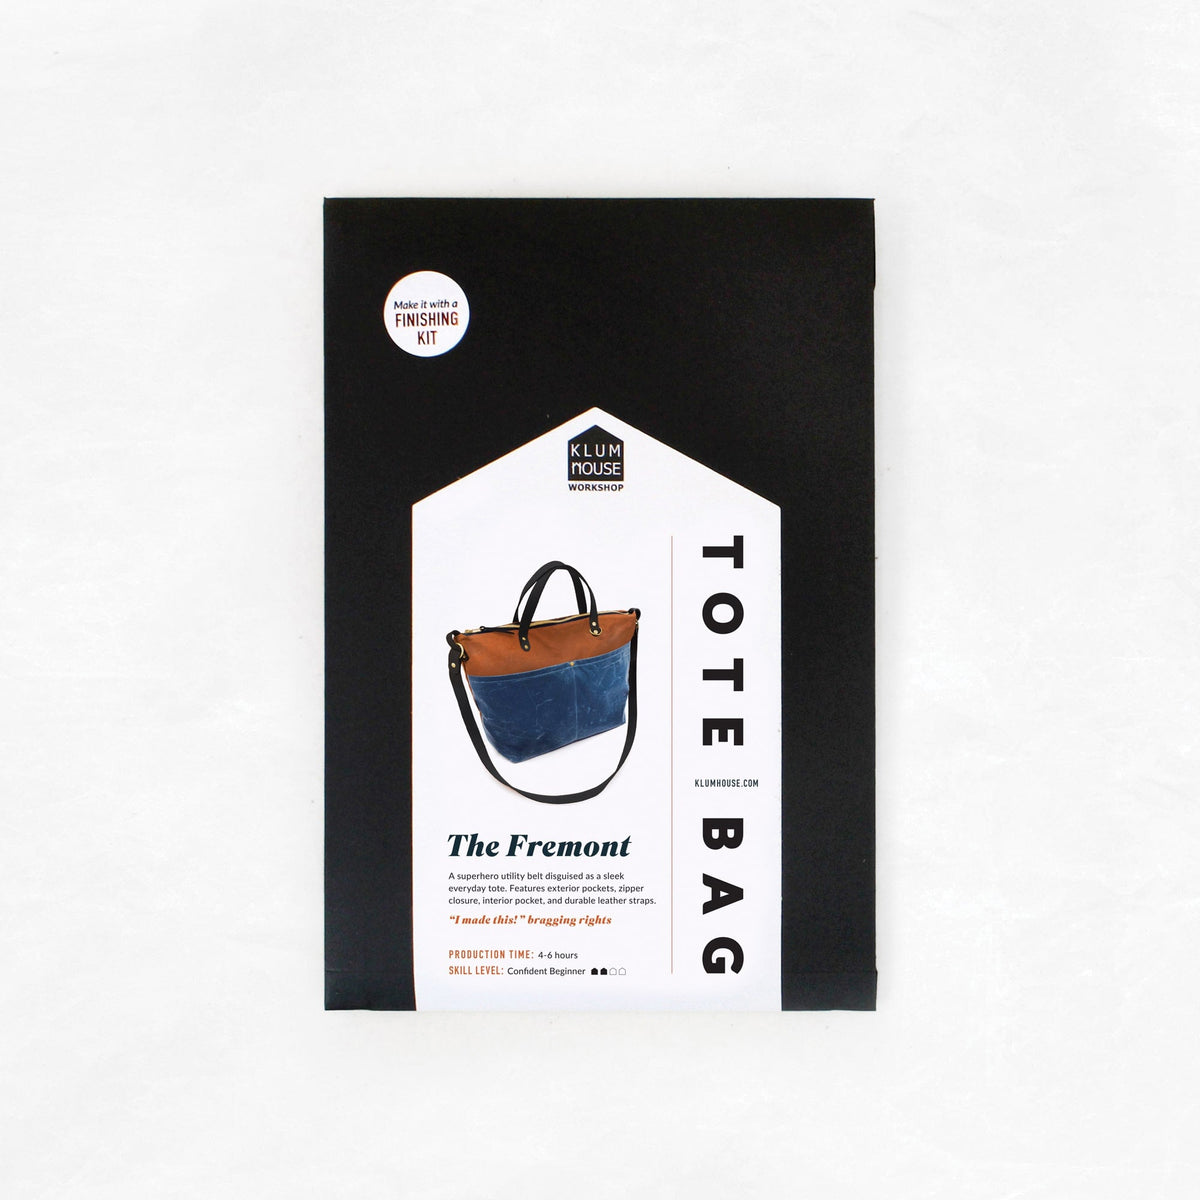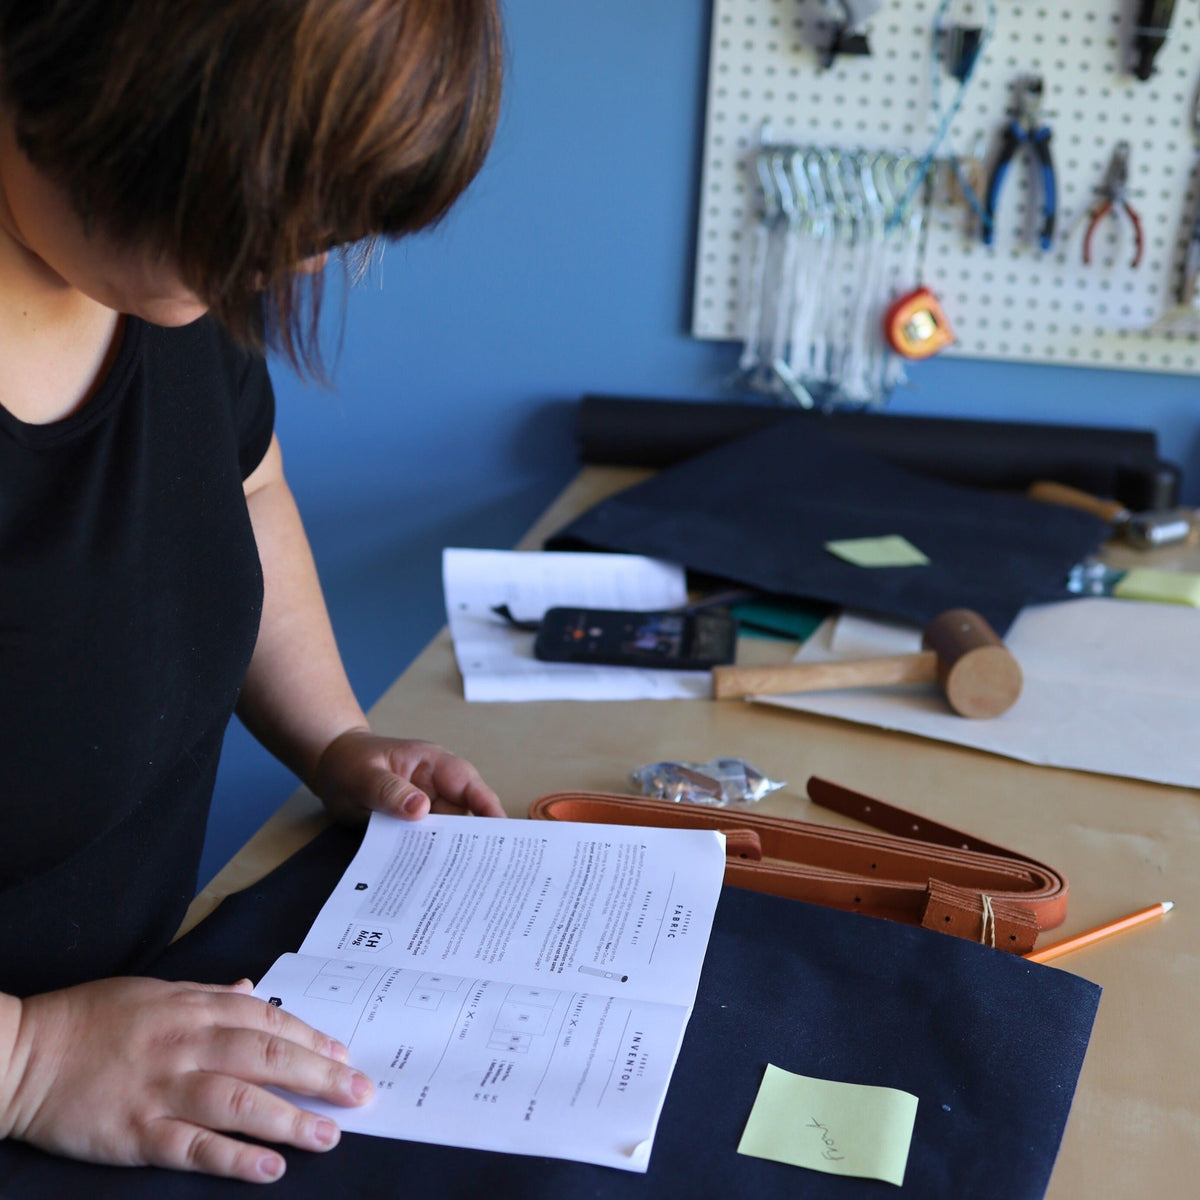

At Klum House, designing a new pattern isn’t just designing a pattern. It requires developing a whole web of interrelated, supporting products that together give makers lots of options, not only for designing their bag, but also for designing their making and learning experience. For us, launching a new bag includes: an instructions booklet, a large format pattern, a full maker kit, a leather + hardware kit, all of the essential tools, and all of the individual supplies and raw materials available to purchase à la carte. Oh, and filming a whole online class. And often expansions! It’s a big undertaking, but it’s crucial that all of these pieces are in place to set makers up for success.
We would never release a pattern that requires hard-to-source tubular rivets, for example, without selling tubular rivets! As well as the tubular rivet peening tool, a high-quality mallet, and proper educational support. We’ve got to cover y’all on all fronts!

Any time Ellie designs a new pattern for the Klum House collection, she has the following considerations in mind:
- What is a silhouette that is missing from the current collection?
- What new skills would I like to help makers build?
- How can this new bag better fill out the overall architecture of our offerings in terms of skill level and price point?
- What am I feeling inspired by and excited about?
Designing for Education and Success on a Home Sewing Machine
Because Ellie has been designing and making bags professionally for over twenty years, she has an extensive archive of reference material to draw from. Often when designing a new bag for Klum House, she will revisit one of the patterns she used to manufacture industrially and think: How can I take this concept and adapt it for Klum House?
Designing a pattern for education and for success on a home sewing machine is much different than designing for industrial manufacturing. She has to always be thinking:
- How can I make this seam less bulky?
- How can I simplify this construction?
- How can I only use hardware that folks can set at home?
- How can I help makers achieve the most professional possible results, given that they are working not in a fully-equipped factory but in their homes?

At R.E. Load Bags, the custom messenger bag company Ellie co-founded back in 1998, she made a lot of rolltop bags, because their extra carrying capacity was useful for bike messengers. This, you could say, was the earliest origin of what would become, two decades later, the Slabtown Rolltop Backpack! In many ways, the Slabtown is a bag that is rooted in her industrial sewing and bike messenger history. (It would make a perfect bag for anyone who commutes by bike today!)
So when it’s time to start designing, out comes the old patterns and reference material and out comes a pencil and notebook. Almost every bag starts with a simple sketch on paper. Very soon after, the design process becomes hands-on. Ellie starts by playing with natural canvas lining fabric, because it is less expensive than waxed canvas, and before she even starts sewing, she simply clips and pins the canvas into different shapes, trying to get the dimensions right. It’s like sketching in three dimensions. She’s taking copious notes in her notebook the whole time to be sure that she can recreate everything later.
If you’re curious about what it takes to design a bag of your own, Ellie talks about her whole design process in how to design your own bag.
It’s a Very Hands On Process

Generally a bag will go through 3–5 finished sewn samples before it’s ready to be taught in an in-person workshop. At Klum House, our in-person workshops are like a research + development laboratory for new patterns. There is so much to learn from watching students make the bag themselves. Common mistakes and confusions are revealed, leaving Ellie with incredibly useful information for tweaking and improving the design. Over time, the bag design evolves.
While they might be hard to spot in a side-by-side comparison, the Slabtown underwent some major transformations as it moved from workshop to finished pattern. The biggest change was the addition of a hidden zipper on the left side of the bag that gives quick-access to the main compartment—a super cool feature that proved to be a huge challenge for Ellie to design.
It took her three months of sample-making to find a way to get this hidden zipper to be sewn successfully on a home sewing machine! She also changed out a bunch of the hardware fasteners to help minimize the cost of the kit and the number of different types of hardware on the bag, so makers didn’t need so many new tools.

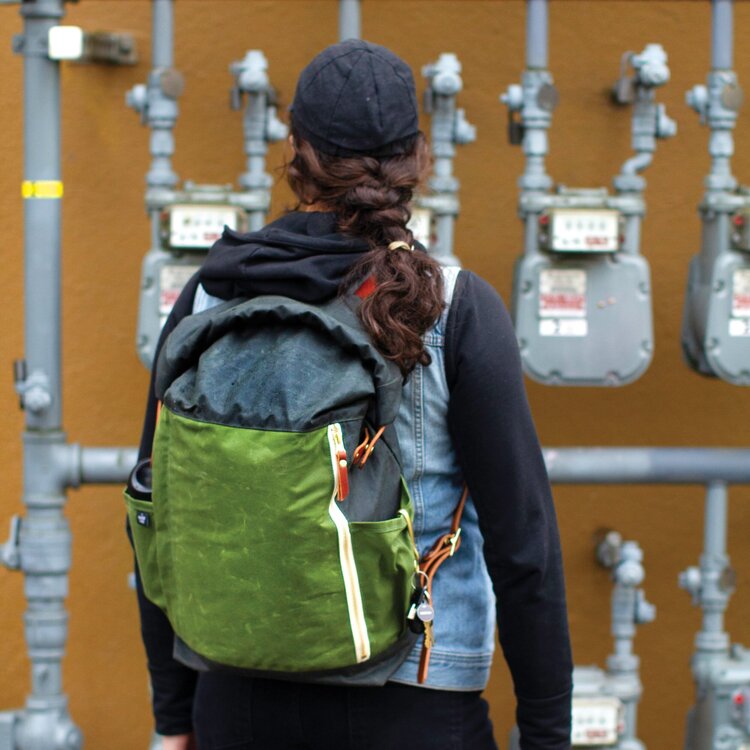
When the Slabtown design was finalized and it was time to begin making the pattern, Ellie began by teaching Ellen (KH copywriter!) and Kath (KH graphic designer!) how to make the Slabtown from start to finish. Before a single word of instructions was written, she wanted us to have a holistic experience of how all the pieces of the bag come together. Then, we started at the beginning, using “step-outs” (partially finished bags) to write and illustrate the instructions step by step.
In the Beginning, Things Are Messy
In the beginning, things are messy. There are post-it notes and step-outs everywhere, digital and physical copies of the instructions, covered in red type or glitter pen notes, respectively, flying back and forth. The first draft is rough. And the second. And the third. By the time draft five or six rolls around, things are starting to take shape, but it’s still a long way to completion.
Check out some before and afters. (Warning: please do not attempt to make a Slabtown using the below leather measurements as some of them definitely changed!)
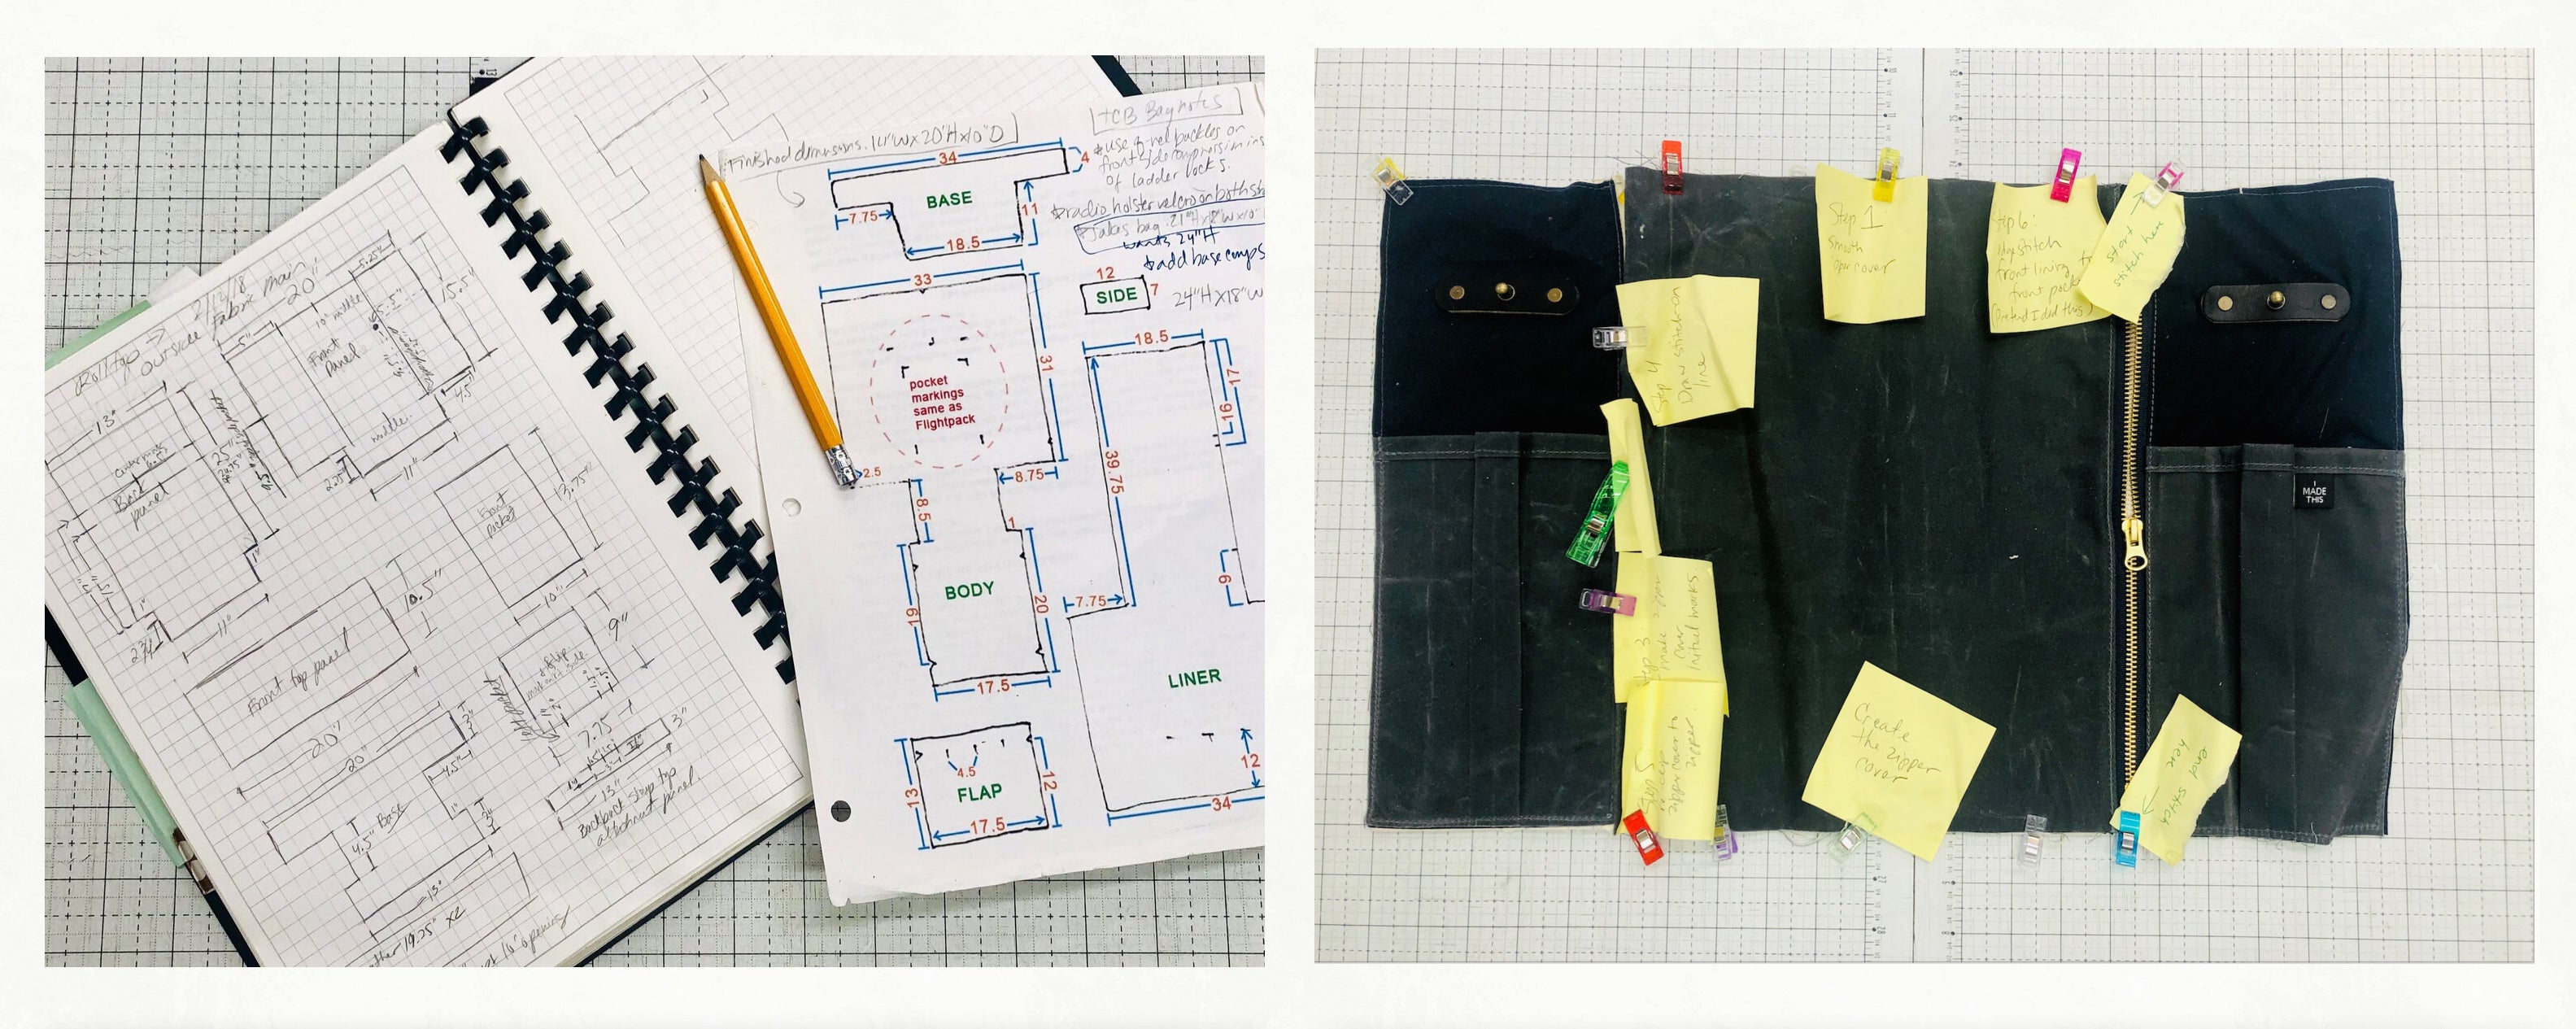
There are many rounds of testing and integrating feedback to go.

There are tiny, barely-perceptible errors—punctuation, spelling, incorrect measurements, illustrations slightly askew—that need to be discovered with many a fine tooth comb.

By sheer mental endurance, many cups of coffee, and frequent chocolate breaks, we make it through. When the pattern is finally ready to go to print, it has undergone a rigorous process of testing, transformation, editing, and the relentless pressure-cooker of our collective perfectionism. If we’re going to release this thing to the world, it’s got to be GOOD.
We can confidently say that the Slabtown is ready. We gave it all we’ve got. This pattern (and the online class) is going to be your trusty guide on this epic backpack making journey. It’s come so far over the last two years, and now it’s your turn to give it a whirl!

Bag Sewing Patterns


About the Author