


Sometimes you just need a quick win, ya know? You can even personalize your keychain with leather stamps. Great for getting little ones involved in the fun.
Make a Leather Keychain, Step by Step
Threading the Hook onto the Leather

The fish hook doesn’t swivel. It’s fixed, so it points one way and stays there. Clip the finished keychain to a bag strap or a belt loop and one face of the leather ends up against you, and the other faces out.
That matters because of where your stamped message lands. The strap is a single piece of leather that folds back on itself, so the face you stamp has to be the one that ends up on the outside. Stamp the wrong side of the fold and your message comes out upside down.
Two more things worth knowing before you start. The end of the strap where the two holes sit closer together is the hook end. And when you fold the strap over, either piece can sit on top: it will function the same, so that one is purely an aesthetic choice.
Dry-Fit It Before You Set Anything
Thread the strap from your keychain kit onto the hook at the closer-holes end, rough side of the leather facing up and the closed end of the hook facing down. Slide the key ring on, fold the strap over so the holes line up, and push the rivet post through. Snap the cap on, but don’t hammer it. A clicked rivet pulls back apart; a set one doesn’t. (If your leather is on the thick side you might not hear the click.)

We’re going slow here and checking that everything is set up correctly before we actually set the rivet. That’s what gives you that success rate.
Stamping Your Message

You can bust out one of these in just a few minutes. Not including the hours you’ll spend mulling over the little message you’d like to add to it. 😉
Take it apart to stamp, and make a mental note of which face is the front before you do. You have about two inches to work with on the front, and another two on the back if you want to use it.
Practice on the scrap of leather that comes in your stamp kit before you touch the keychain. It’s worth the two minutes: the difference between a clean emboss and a cut is smaller than you’d think.
Here’s a thing you’ll read everywhere: wet the leather before you stamp it. This leather is pretty thin, so if you go that route, wet it very, very lightly. Too wet and the stamp sinks too far in, and it can cut the leather instead of embossing it.
Go lighter than you think on the force, too. Barely hitting it still makes a really strong emboss. Hit it harder and it goes dark and starts running the risk of cutting through. Leather stamps are metal, so hit them with a mallet, not a hammer.
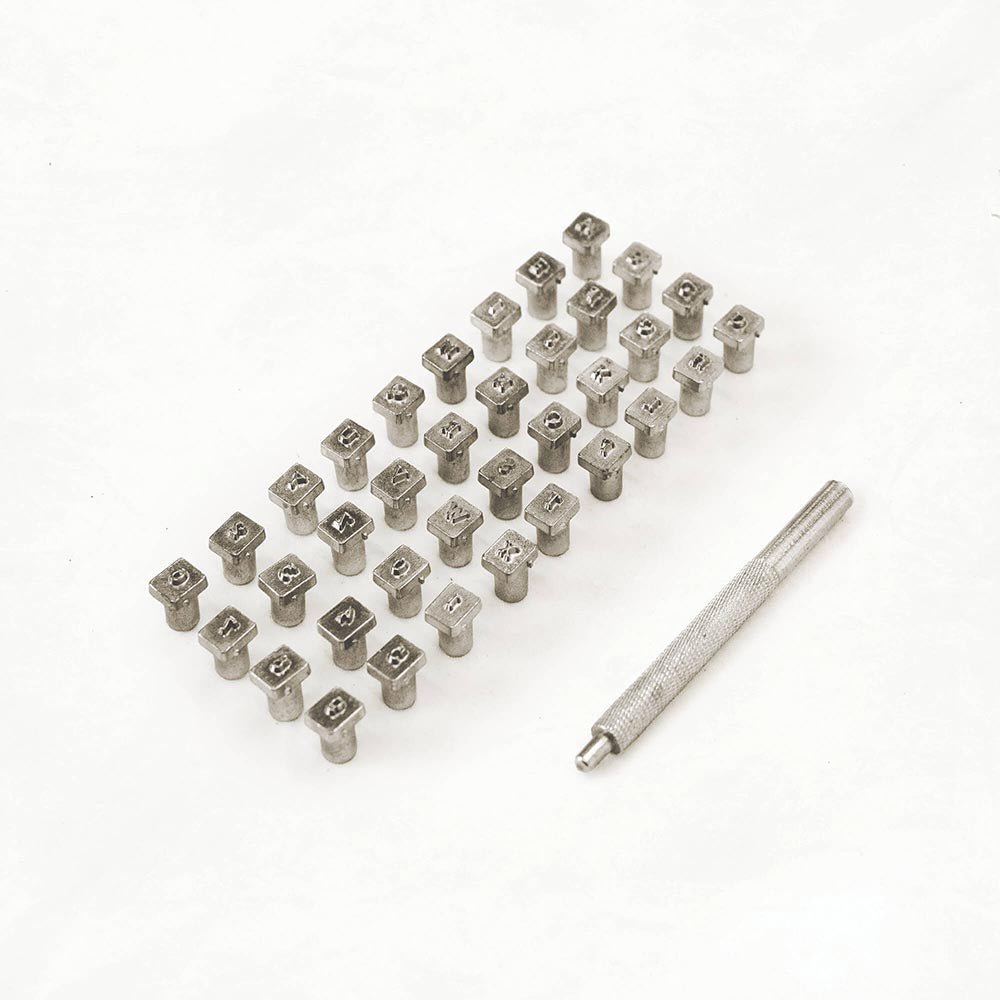
And your letters aren’t going to be perfect. They might end up a little bit crooked. Whoever you give it to, or you, every time you dig out your keys, that’s the reminder that you made it.
Setting the Rivet
Rebuild it and check three things before you set: hook facing back, key ring actually threaded on, message the right way up. Then set the rivet on a hard surface: a stone slab, a metal anvil, or the floor. Use a hammer rather than a mallet for this one. When you strike a rivet directly, a hammer gives you a nicer transfer of force. Start with light-to-medium hits to coax it down, then a couple of harder ones. It’s set when the cap indents slightly into the leather.
If it isn’t setting well on your table, the table is the problem, not the rivet. Take your stone to the ground.
Ready to Make One?

Making multiples? Buy a 3-pack and save $15! The finished keychain comes together quickly—great for making a whole bunch as gifts.
Extra credit points when you attach your keychain to a metal D-ring on your Klum House bag. 😉
Shop the Leather Keychain Kit
About the Author

