


Whether it's a backpack strap, a crossbody strap, or even a belt, learning how to add a buckle to a leather strap gives you more options for adjustability and custom fit.
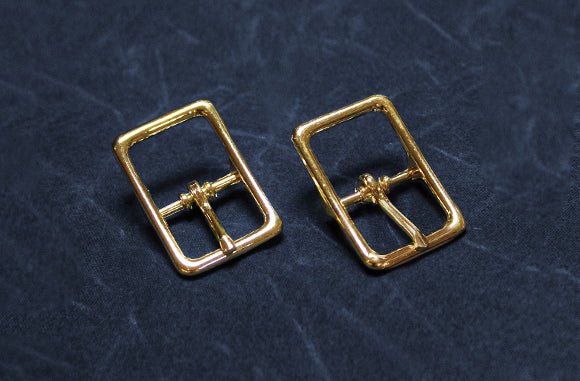
A center bar buckle is the one you already know. It's the buckle on a belt, on a watch band, on the strap of a backpack. A short piece of leather wraps around the frame and gets riveted in place, and from then on the tongue does all the work, dropping into whichever hole gives you the fit you want that day. It's the same buckle method that is used in our Maywood Totepack and Slabtown Backpack patterns.
One rivet holds the whole thing together, and the extra-strength tubular rivets help ensure that your strap will hold up to lots of wear and tear. The part that trips people up isn't the riveting. It's getting the buckle facing the right way before the rivet goes in, because once that rivet is set it does not want to come back out. So we'll go slow on that bit.
In this video, Ellie threads a ¾" center bar buckle onto a ¾" leather strap and sets the tubular rivet that holds it there.
What you'll need
Not much, which is one of the nice things about buckles. Your buckle strap needs its holes punched before you start: one for the tongue, and two more that line up with each other once the leather folds back. You'll use a drive punch to make rivet and buckle adjustment holes in your straps, and ▶️ How to Make Leather Straps for Bags covers cutting the strip and punching it. If you've never used one, ▶️ How to Use a Drive Punch walks through it.
Hardware + leather
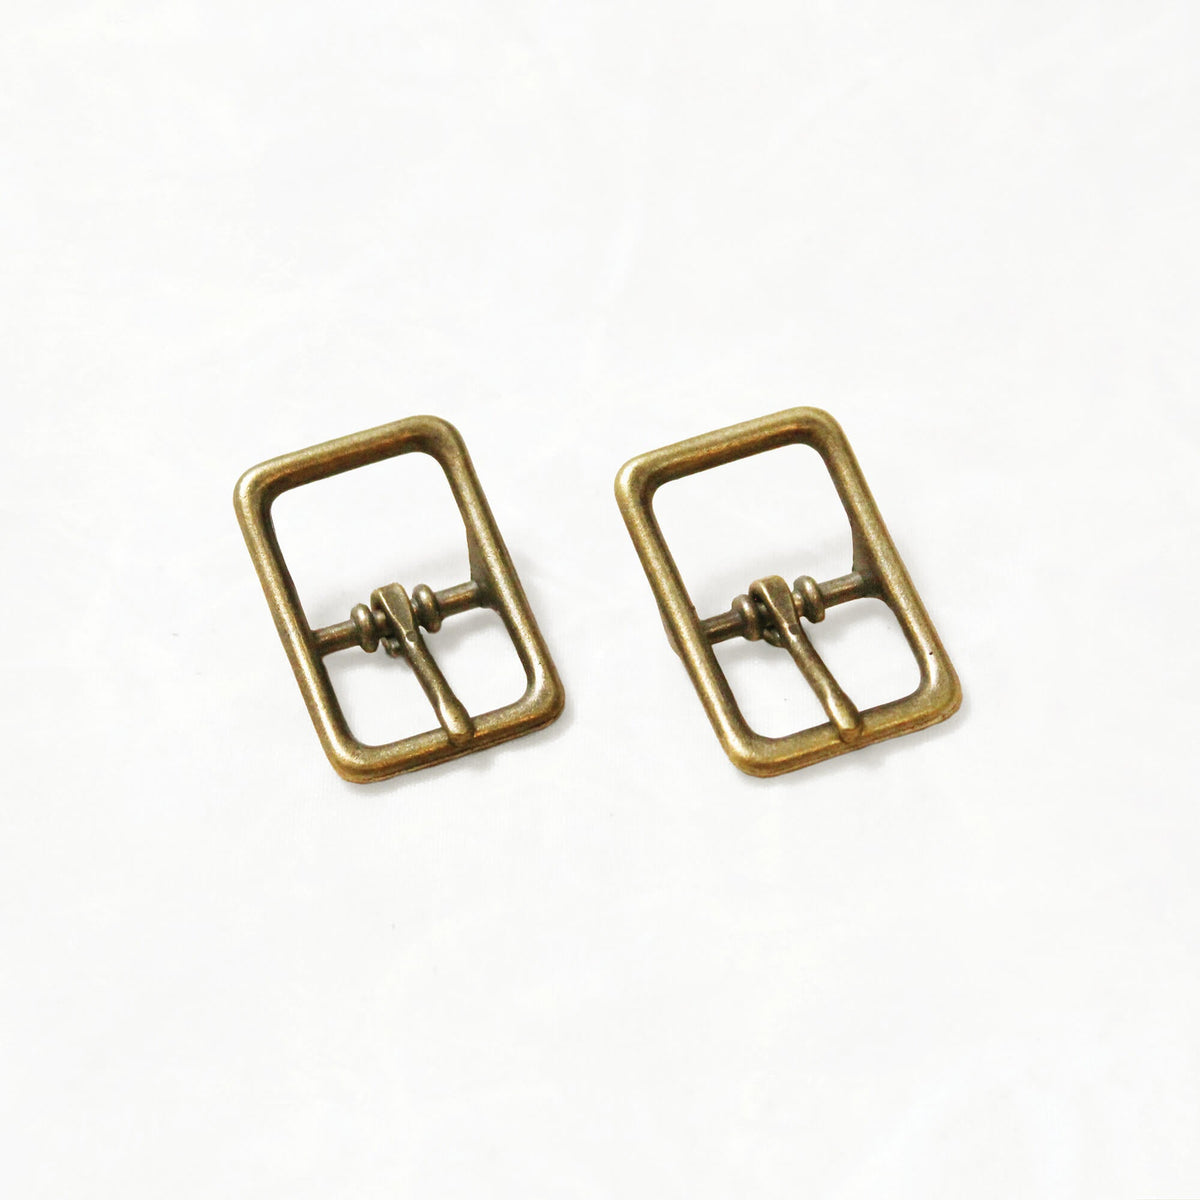
- A ¾" center bar buckle
- Tubular rivets
- A ¾" leather strap, cut from leather strips or ready to go in a tote strap kit
Tools
- A tubular rivet peening tool
- A firm, high-quality mallet, which will be your best friend here
- A drive punch and a punching board
If you're not sure which rivet length your leather wants, our Pairing Leather + Rivets guide has the sizes laid out, and ▶️ Bag Making Rivets 101 covers both commonly used rivet types and the tools needed to set them. For the strap itself, ▶️ Leather for Bag Straps 101 covers which weight and type of leather to use.
The parts of a center bar buckle
Four parts, and the last one is the one that matters.
- The frame is the outer rectangle.
- The center bar runs across the middle. It's what the leather wraps around, and it's what the buckle is named for.
- The tongue is the pin that swings on the center bar and drops into the holes in your strap.
- The crook is the little curve at the very end of the tongue. This is the part that tells you which way the buckle goes on.
How to avoid installing the buckle backwards
When the buckle is oriented the correct direction, the crook on the tongue should be curved down and lean over the frame. That's the whole check. Hold the buckle up, look at it from the side, and see that the crook is laying over the frame.
If the crook is flipped the other way, the buckle is on backwards. Turn it around before you go anywhere near a rivet. (And if you get all the way to a set rivet before you notice, it's fixable, just annoying: ▶️ How to Remove Rivets from Leather will get you back to square one.)
How to thread the buckle onto the strap
- Thread the strap under the frame. Check the crook one more time while you do it.
- Put the tongue through the hole. Hold the tongue vertical and push it through the leather from the wrong side.
- Thread the leather under the other side of the frame.
- Swivel the leather down so the two holes align. That's where the rivet is going.
Now flip the whole thing over and look at it from both faces before you go any further. The front side is the one that'll show on your finished bag.
How to set the tubular rivet
Punch the rivet in through both holes from the right side.
If you're having a hard time inserting the rivet into the wrong side of the leather, go ahead and repunch a hole through the leather from the wrong side, and then the rivet will just pop right in.
Now, in order to set the rivet, you want to make sure it lays flat on your setting surface. The buckle gets in the way of that, so hold the piece with the buckle hanging off the side of your punching board. That way the tubular rivet can lay really flat.
Grab your tubular rivet peening tool and align it vertically over the rivet. Hold it in there with some pressure, then hit it with the mallet several times, until you see a nice, fully set tubular rivet. That's it. That's your buckle strap.
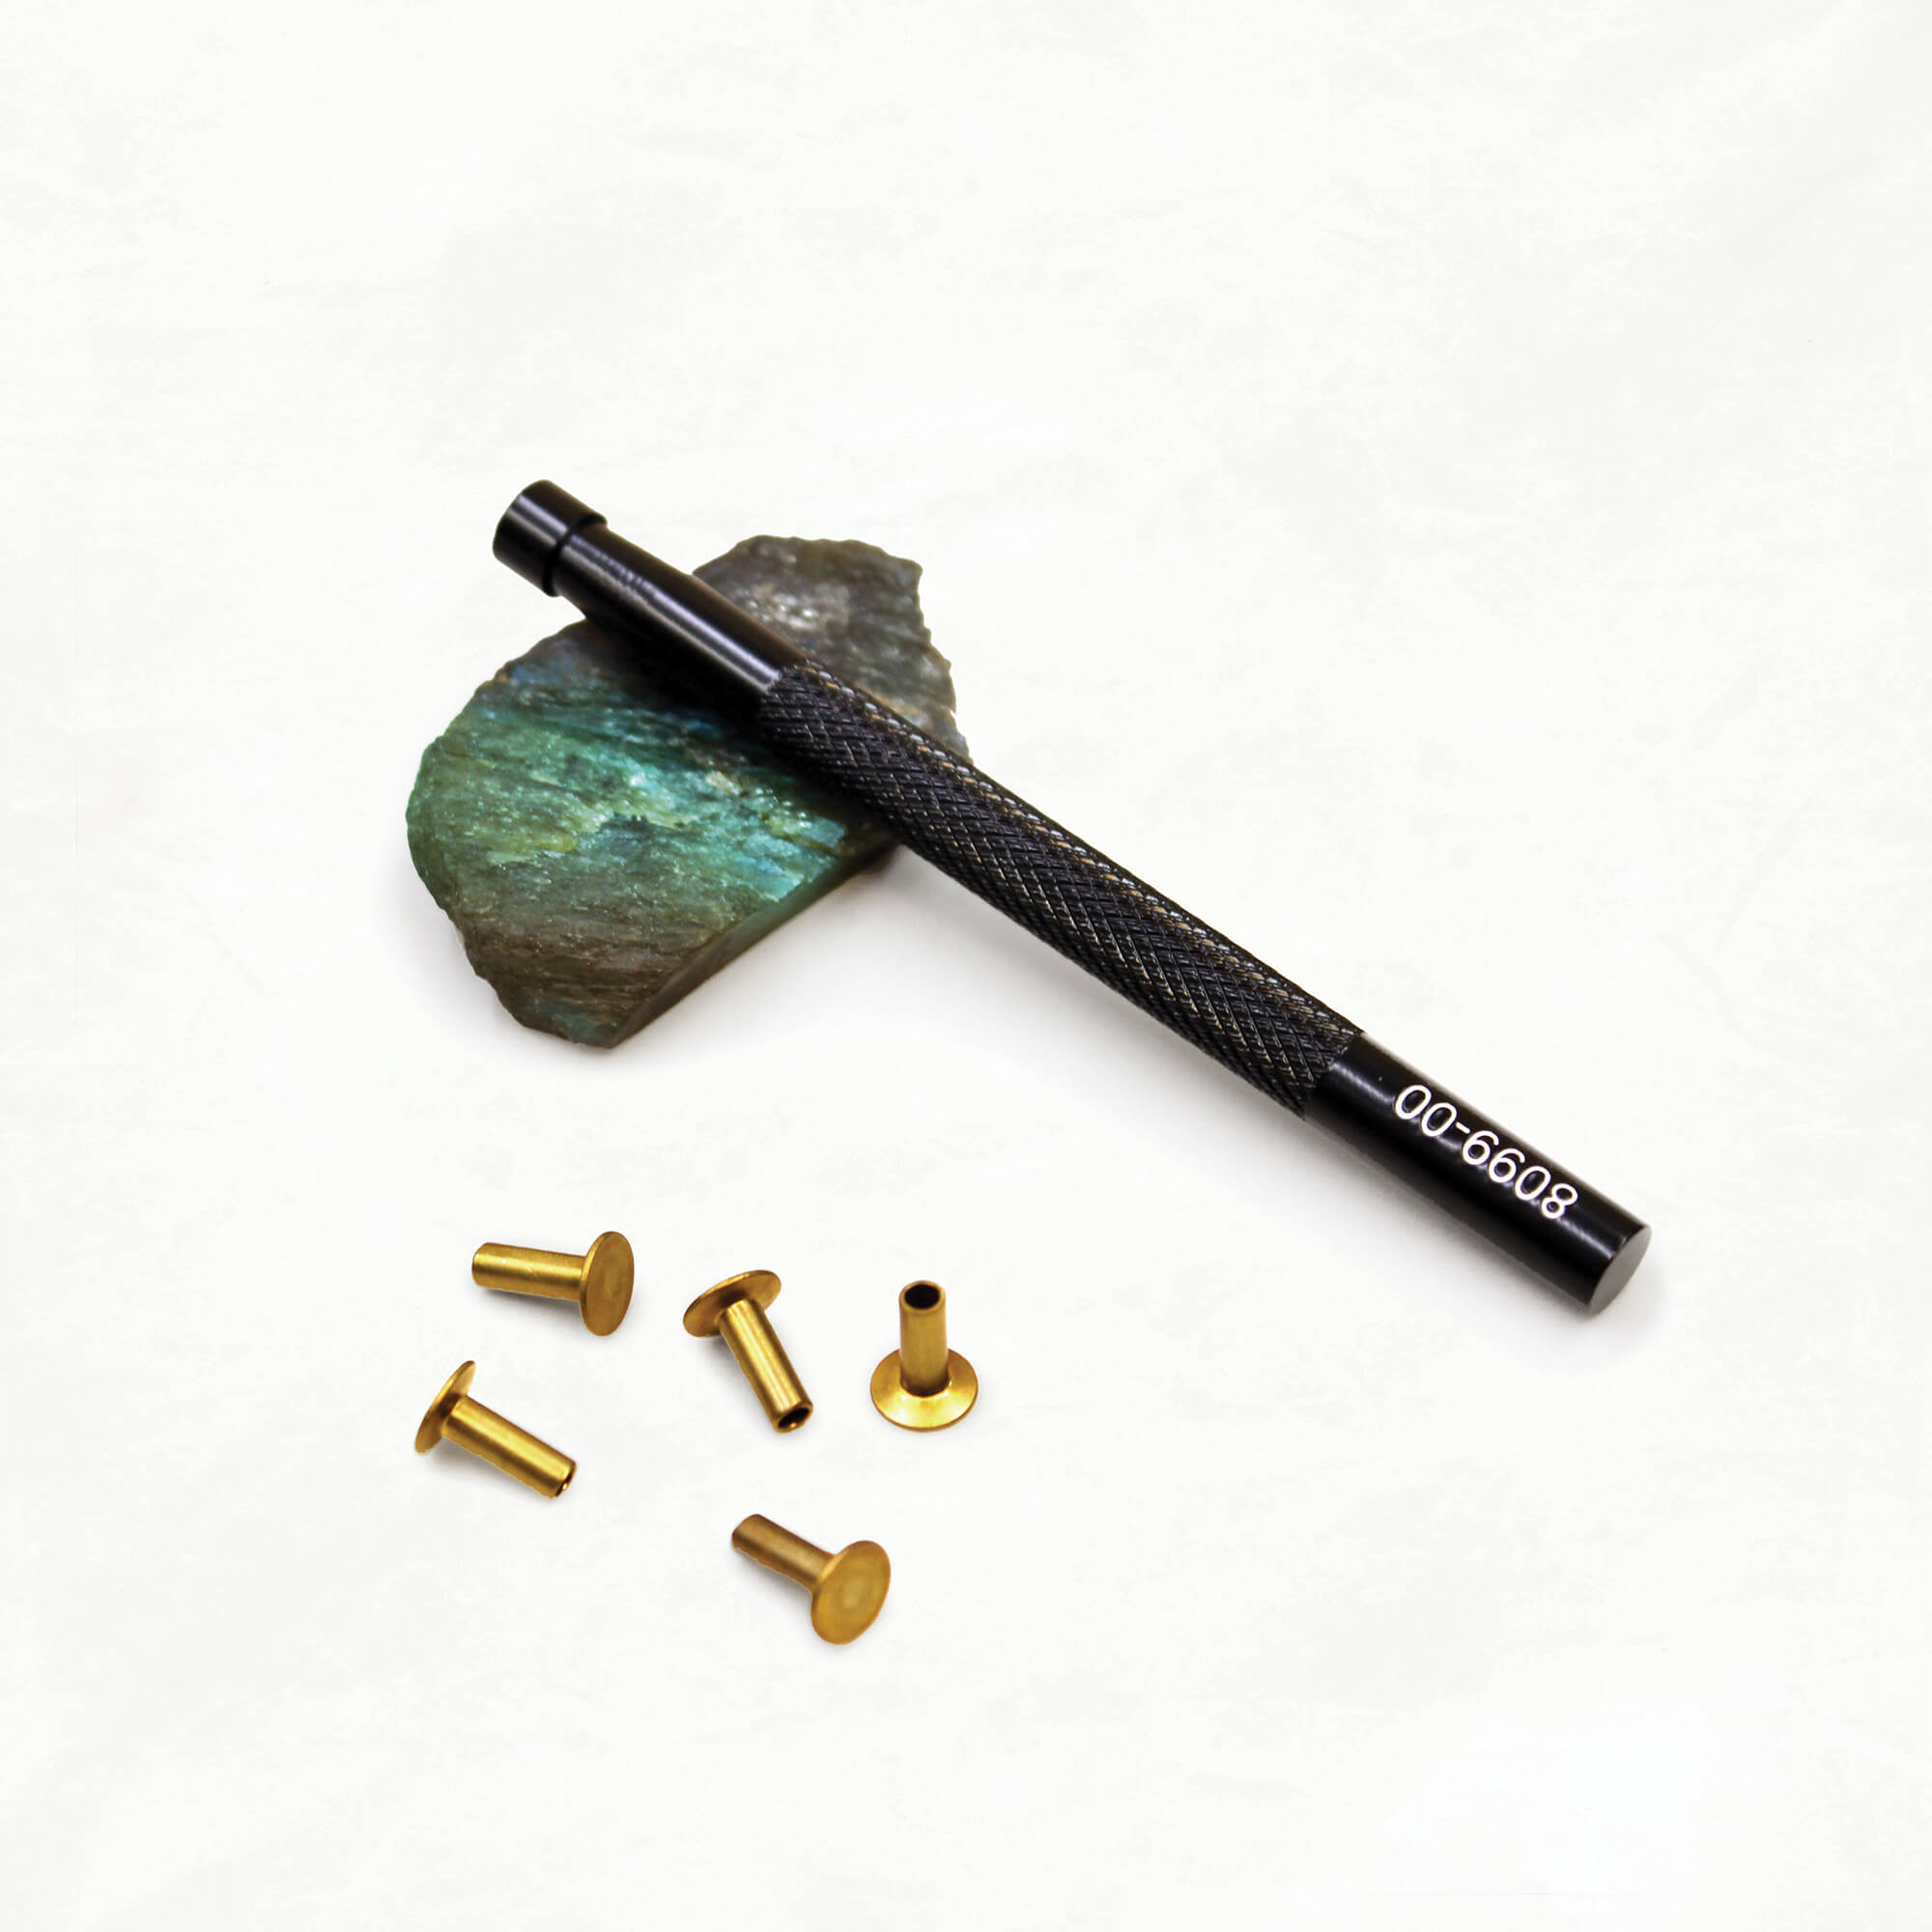
If you want to go deeper on the peening tool and what a properly set tubular rivet looks like, ▶️ How to Set Tubular Rivets is all about the heavyweights.
More leather strap tutorials
Straps and hardware show up on nearly every bag we make, so we've filmed most of it. ▶️ means there's a video.
- ▶️ Leather for Bag Straps 101. Which weight and type of leather to use for straps, and every strap tutorial.
- ▶️ How to Make Leather Straps for Bags. Cutting strips from a hide, rounding the ends, punching the holes. Two videos.
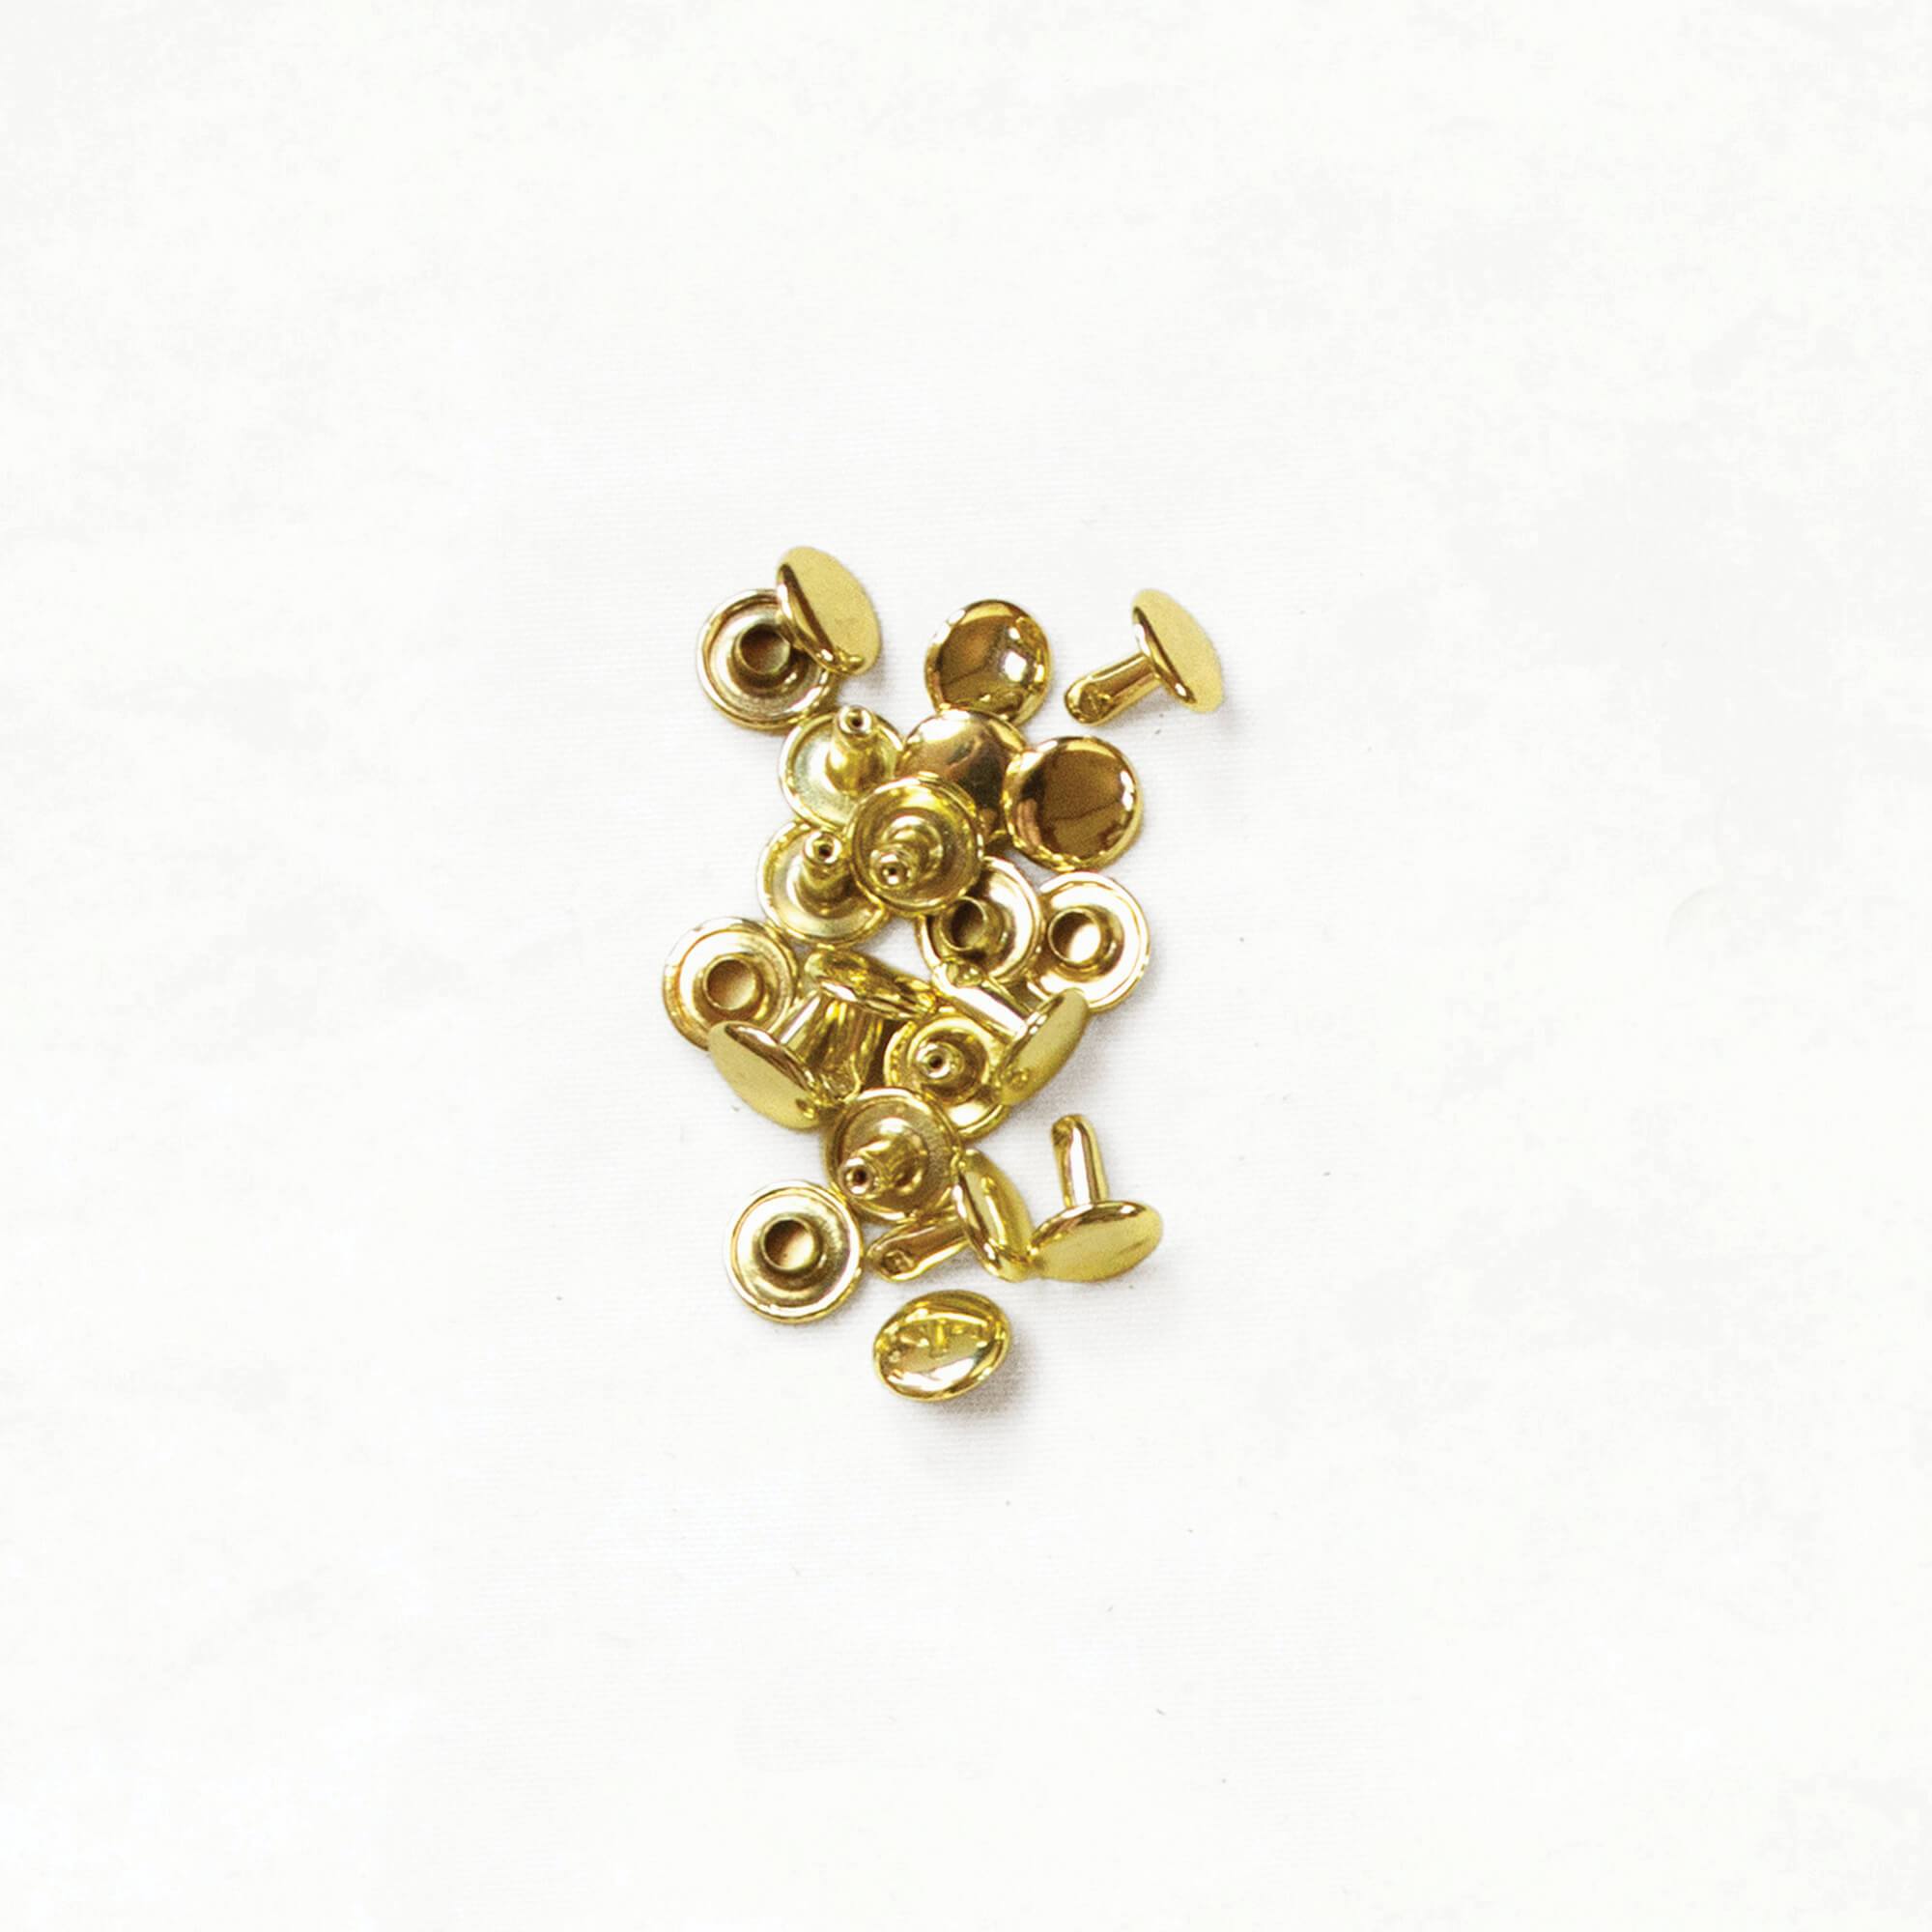
- ▶️ Bag Making Rivets 101. Which rivet type, what length, and every tutorial for setting them.
- ▶️ How to Set Tubular Rivets. The heavyweights, and the peening tool that sets them.
- ▶️ How to Rivet Leather Straps to a Bag. Attaching handles to a finished bag, with leather washers and a D-ring.
- ▶️ How to Install Chicago Screws. The attachment you can undo, for straps you want to swap or adjust later.
- ▶️ How to Use a Drive Punch. Punching clean holes in leather and fabric.
- ▶️ Let's Talk Bag Hardware. A Lunchtime Live session with Ellie on magnetic snaps, Line 24 snaps, Chicago screws, buckles and O-rings.
- ▶️ How to Remove Rivets from Leather. Both types, with and without the removal tool. Two videos.
- Pairing Leather + Rivets. Matching rivet length to your material thickness.
Level up your bag making skills with our ✨FREE✨ Bag Maker's Guide to Leather + Rivets.
Download Free Leather Guide
Rivets


About the Author
