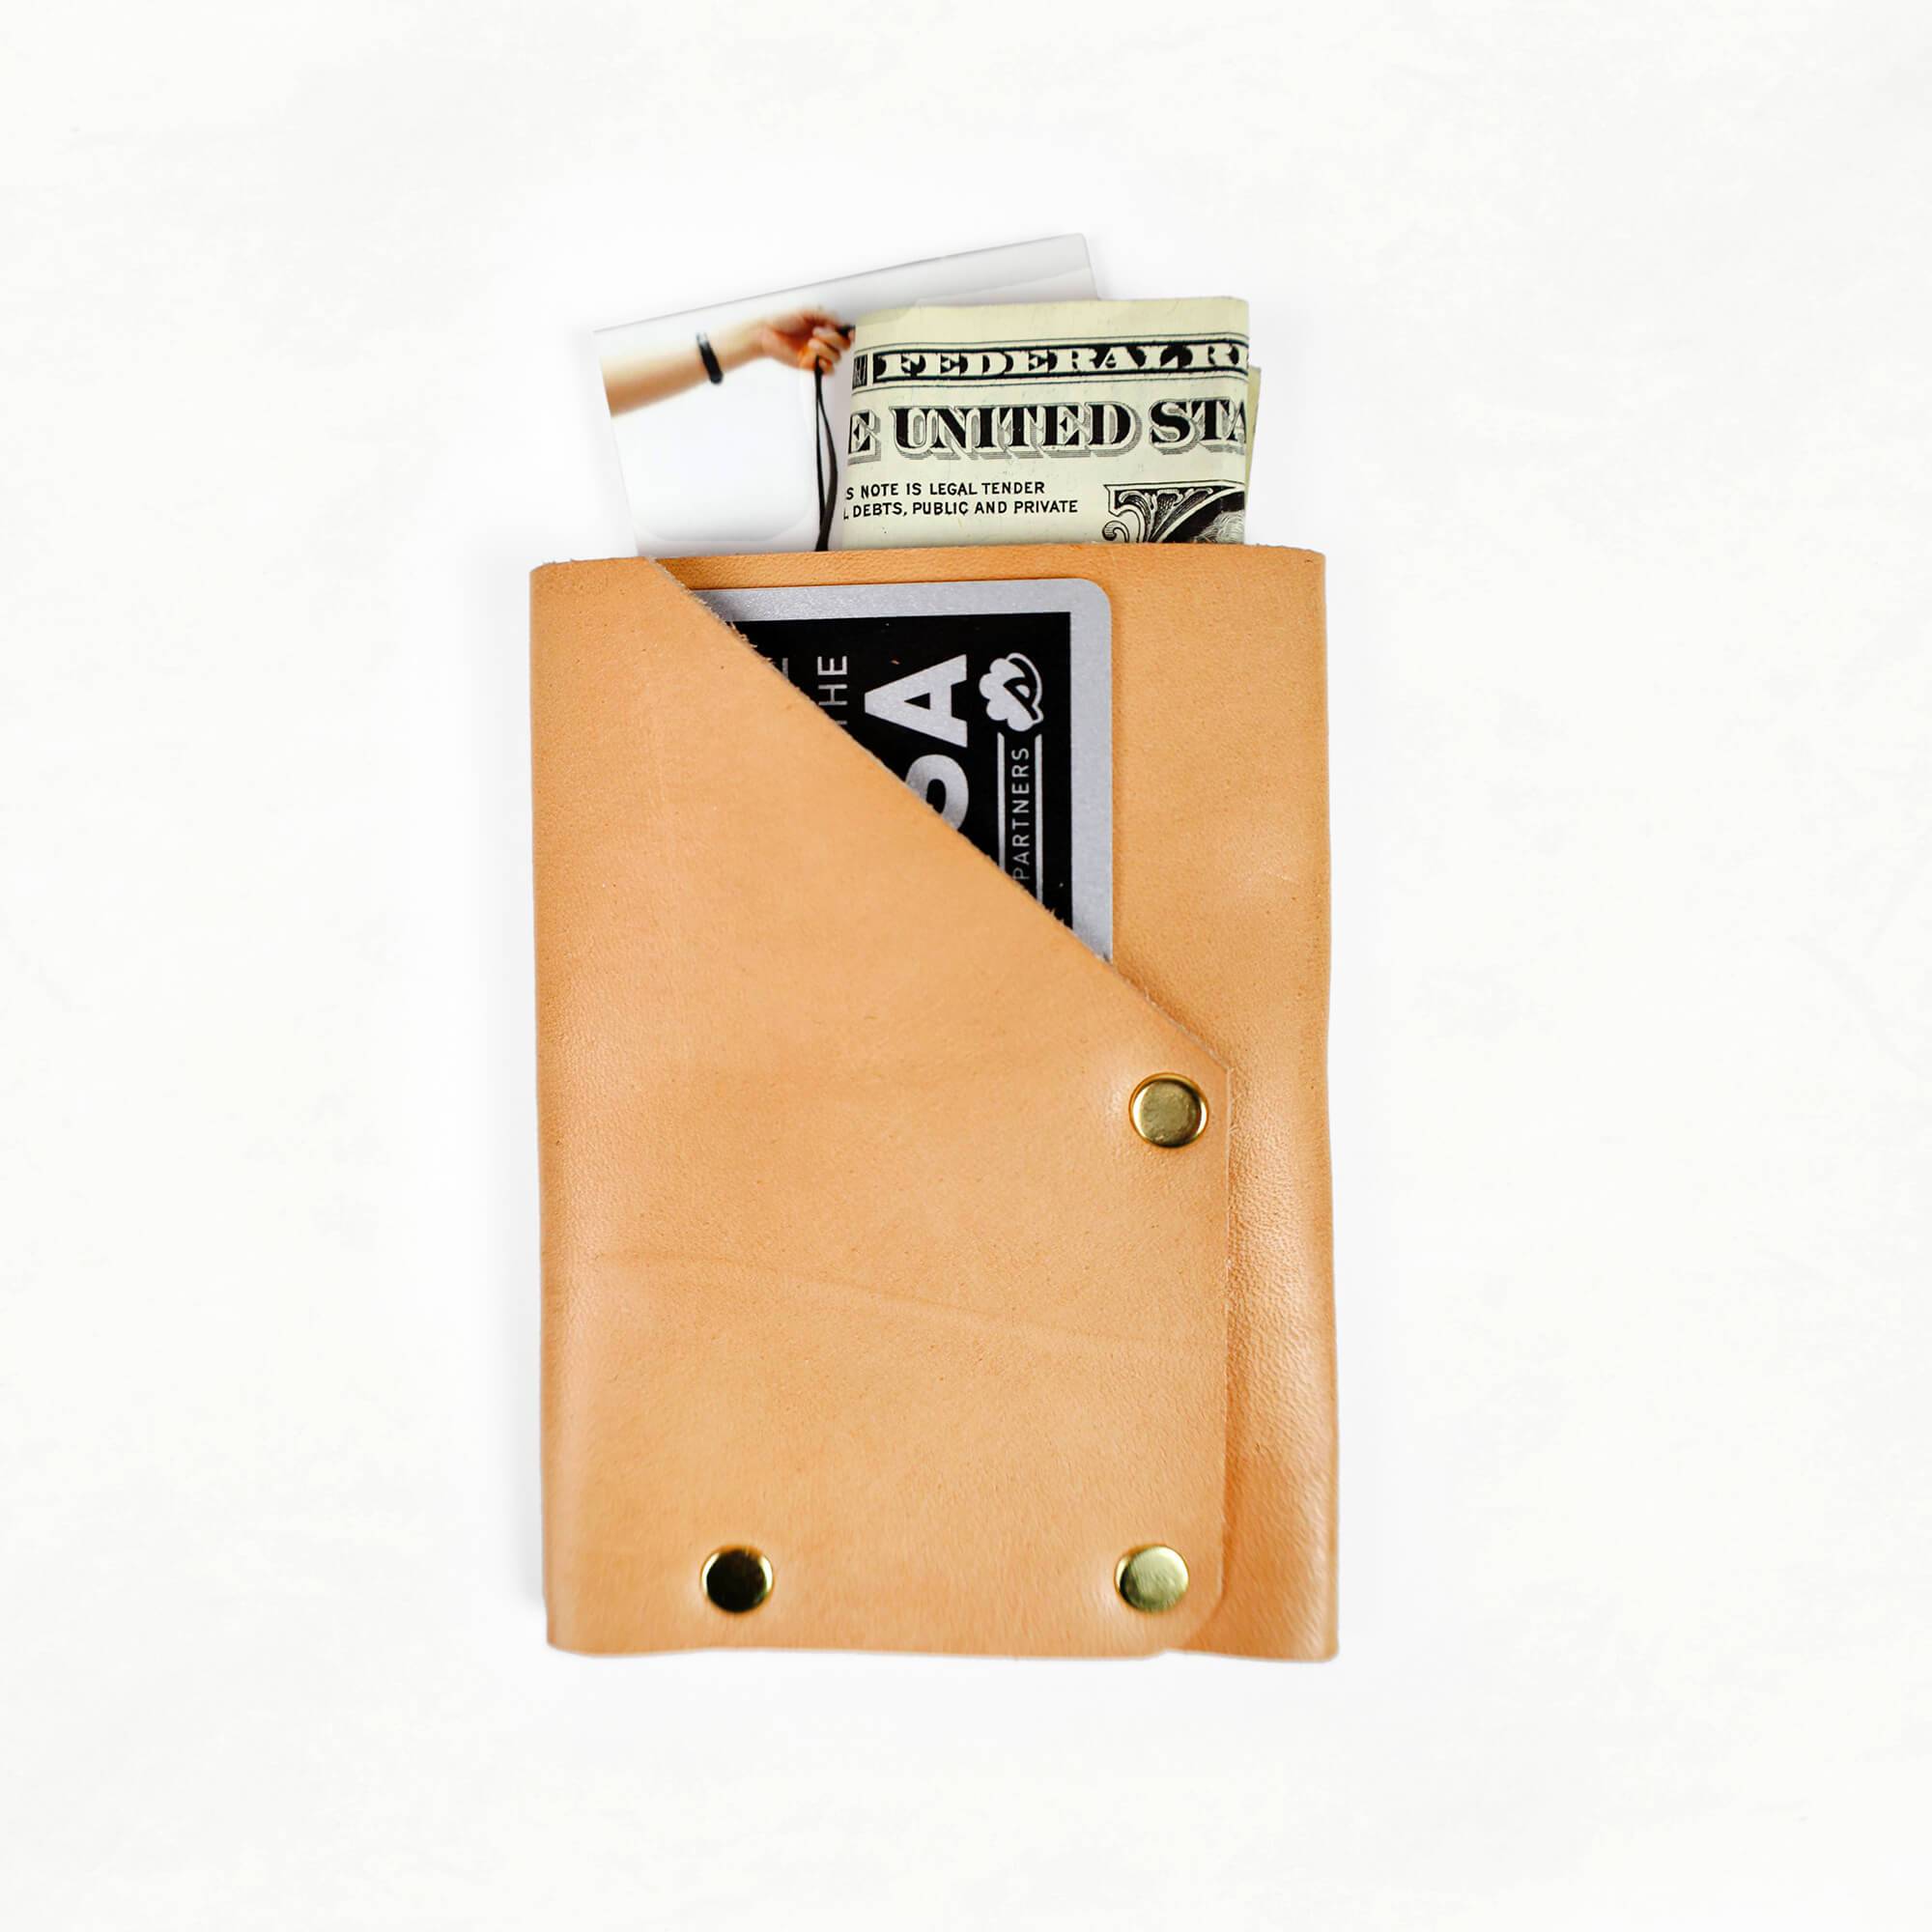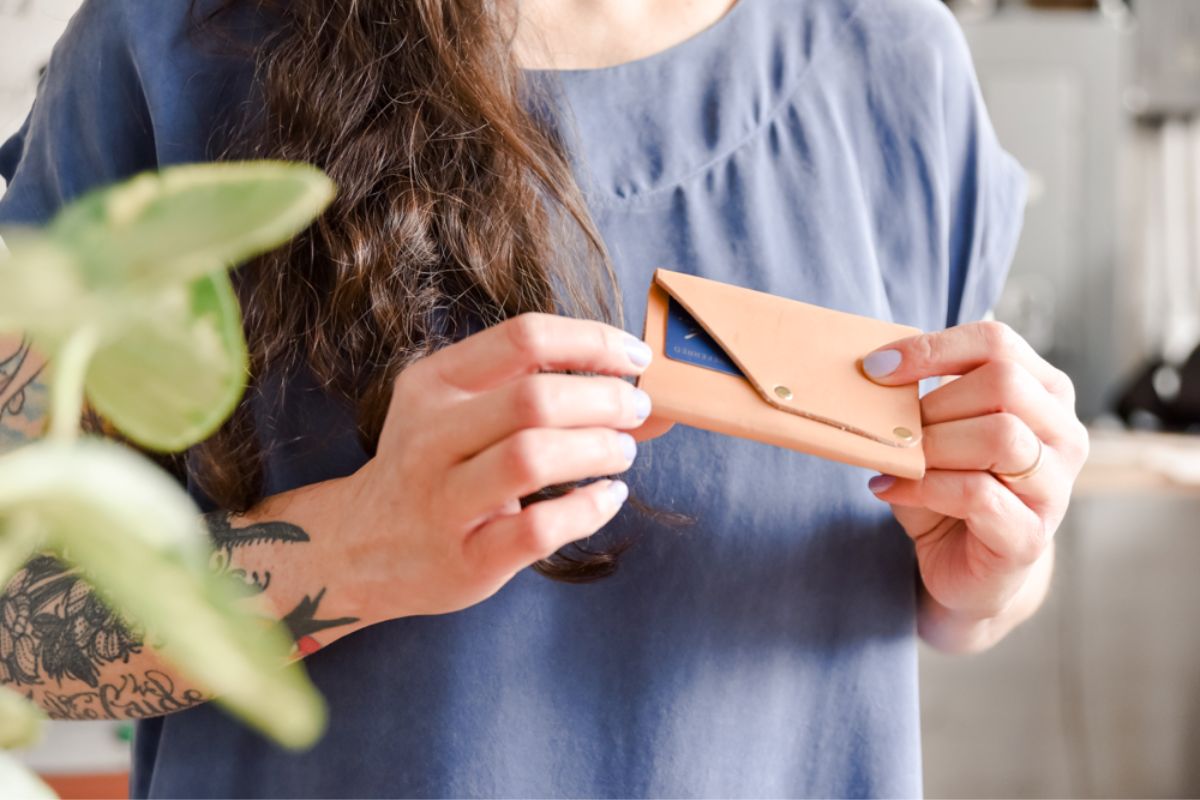
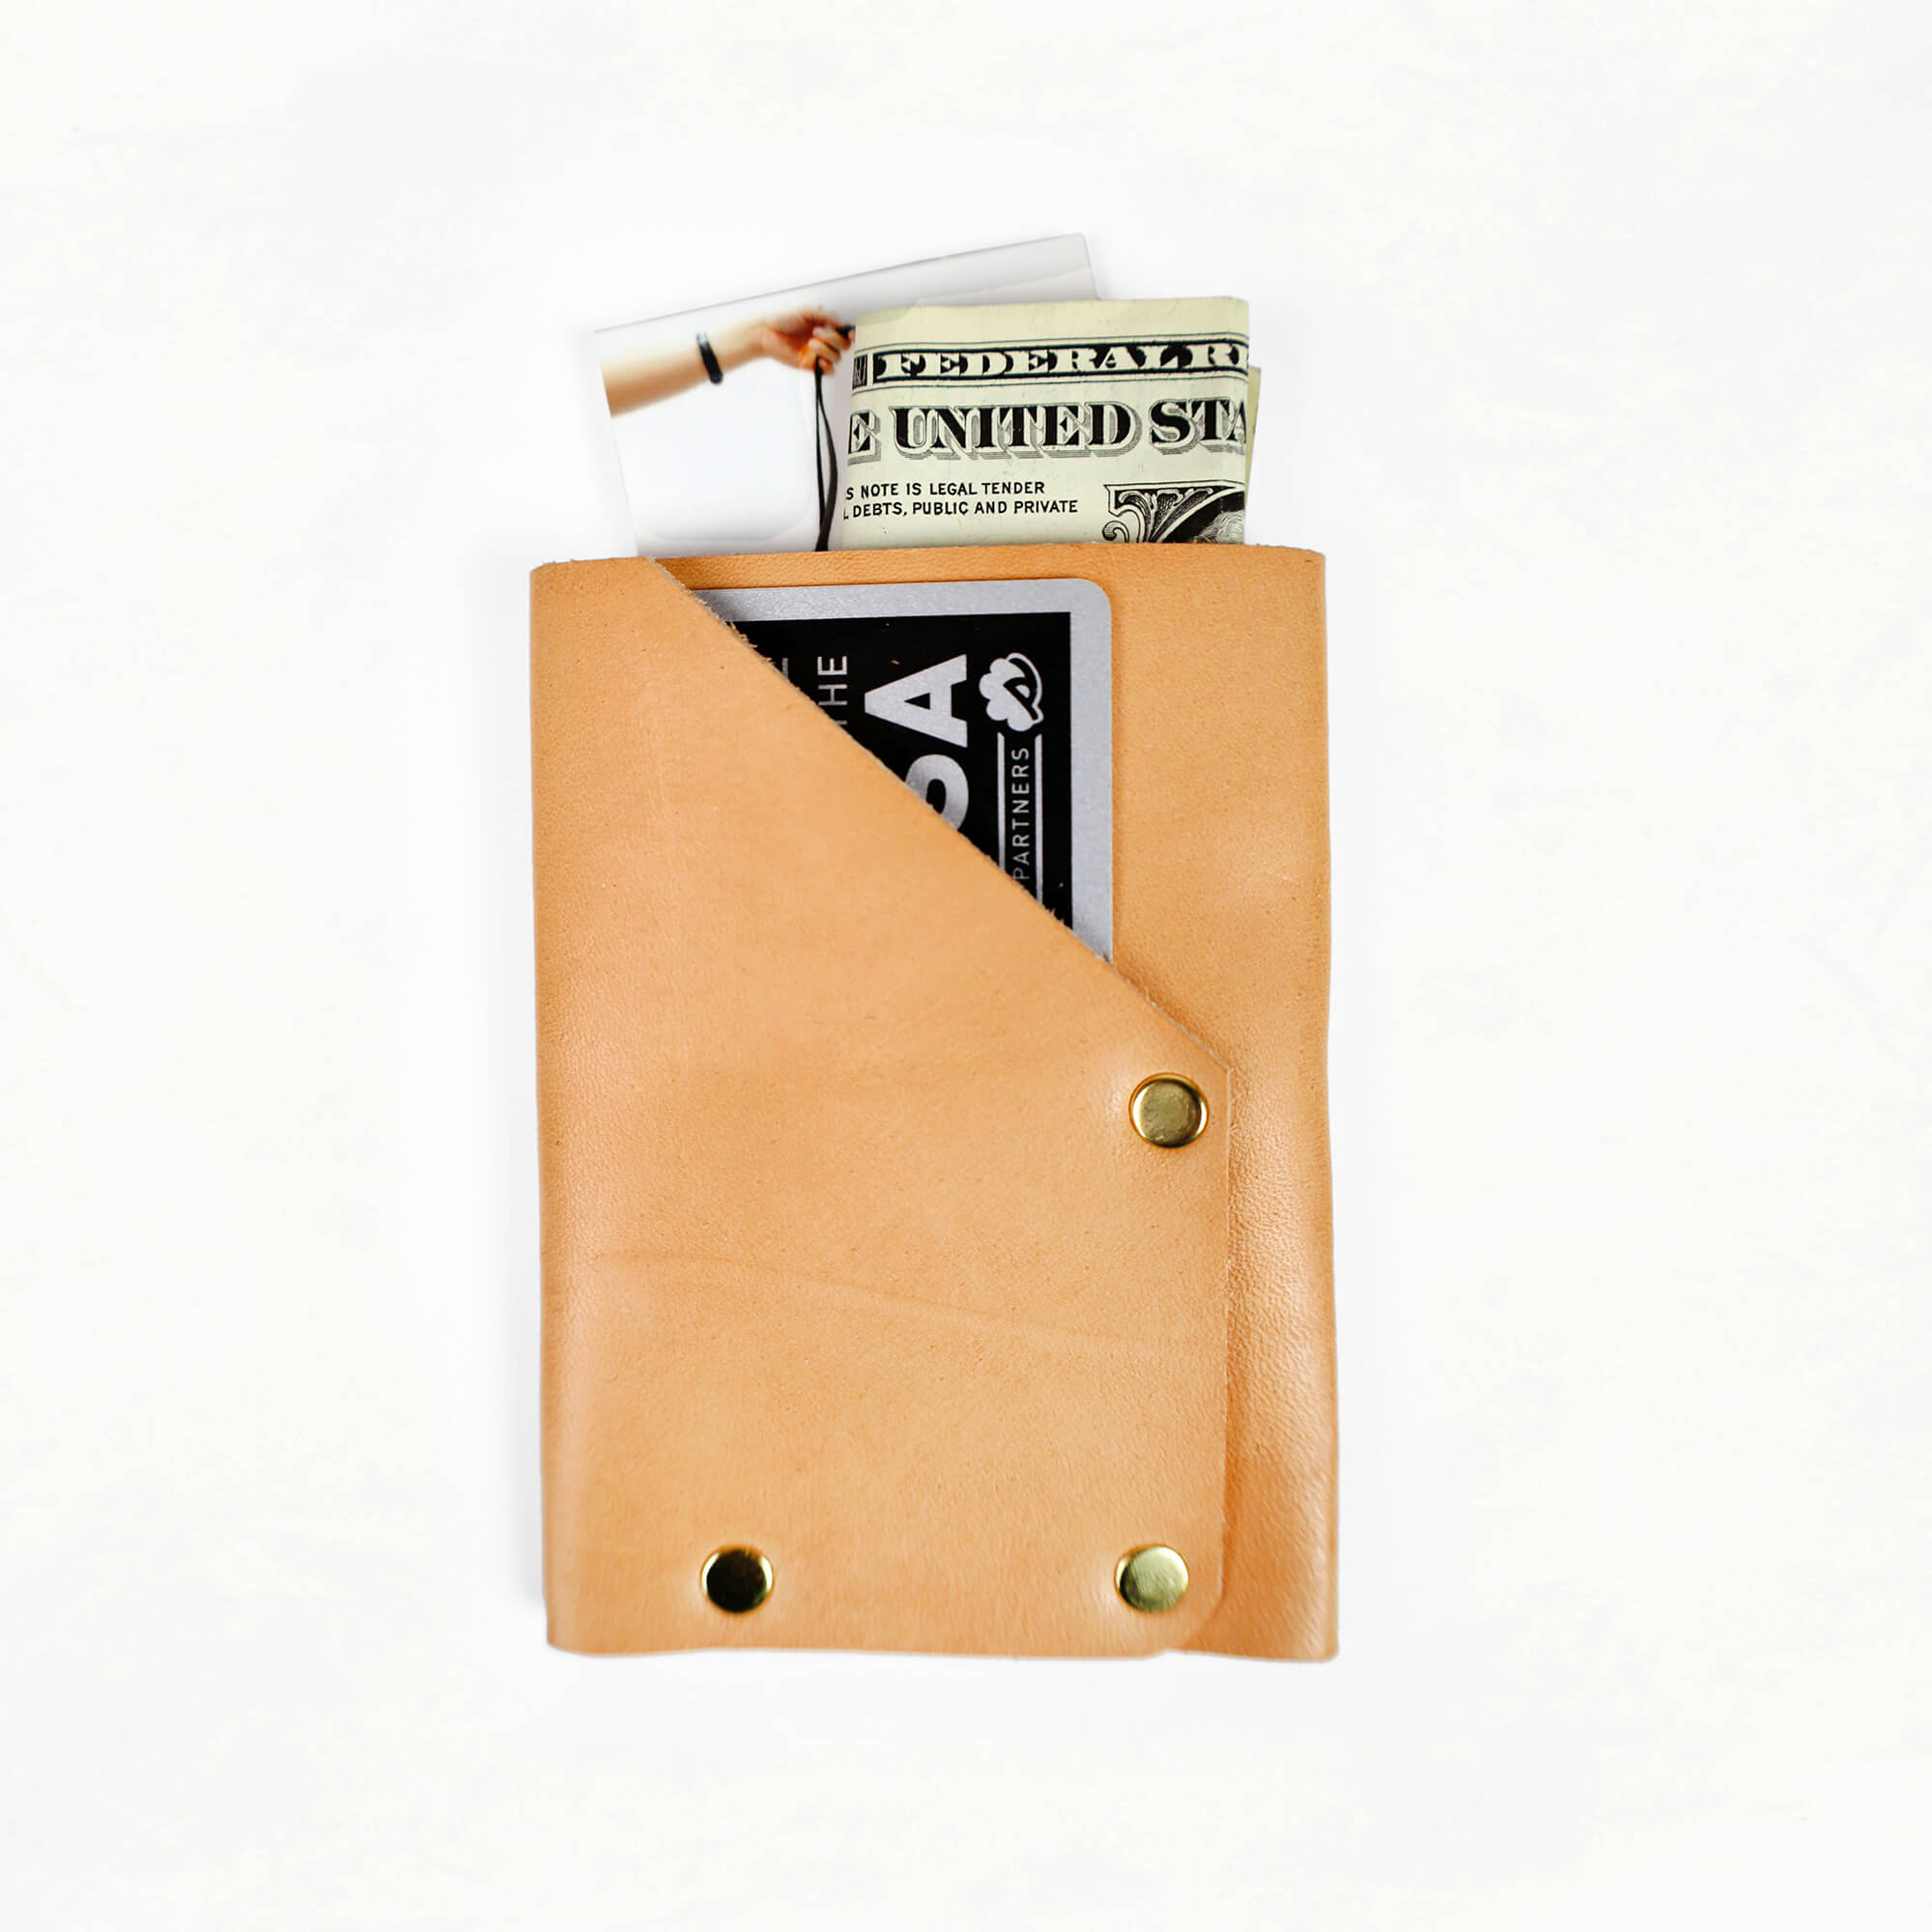
There’s no sewing involved, just some stamping, folding, and hammering. It folds up almost like origami, and is held together with brass hardware. All you need is a metal dot anvil, a hammer, and a hard surface to set the hardware.

It’s so satisfying to open up your kit and start with all the ingredients organized. The leather is already cut and hole-punched, and the rivets are counted out: four small double-cap rivets, three to build it and one spare.
Customize It!
One of the great things about making one of these, especially as a gift, is that you can put a little message inside and make it a little more personal. Conditioning, stamping and painting are all optional, and they all happen while the leather is still flat. (We recommend stamping before constructing.)

Condition it with leather salve. Veg-tanned leather will last longer and look better if you take the time to protect it with leather salve. Salve adds water-resistance and creates a barrier that helps keep the leather soft and clean. Veg-tanned leather shows water stains when it gets wet, so that barrier earns its keep.
The best way to apply it is with a horsehair brush, worked into the right side of the leather. It’ll look dark and splotchy going on, which is alarming the first time. It lightens back up as the leather absorbs the oil and wax. Give it about ten minutes, then buff it in circles with a flannel cloth until it shines. The buffing is what sets the wax and takes the tackiness off.

Stamp your initials into it. Adding text with leather stamps is such a fun way to customize, and veg-tanned leather is awesome for stamping because it doesn’t have a synthetic coating, so your letters imprint deep and stay visible. Names, monograms, poetry, song lyrics, little love notes.
Mark a light pencil line ⅜" up from the bottom edge to keep your letters on the same baseline, and stamp on a hard surface. Damp leather takes a stamp a little more easily, so you can wipe the spot with a wet paper towel first. Dry works too. The stamps are sharp, so tap them gently. Hit one hard and it’ll cut into the leather instead of pressing into it. Your stamp set comes with a practice piece for exactly this reason.
It can be challenging to get hand stamping perfectly straight. Part of the charm is that you hand-stamped it yourself, so we don’t care that much if the letters come out a little bit crooked. ▶️ More on stamping leather, with video.
Paint it! The Leather Paint Set is a palette of five mixable colors with two brushes. Same reason stamping works: no synthetic coating, so the leather takes the color.
How to Make the Card Holder Step-By-Step
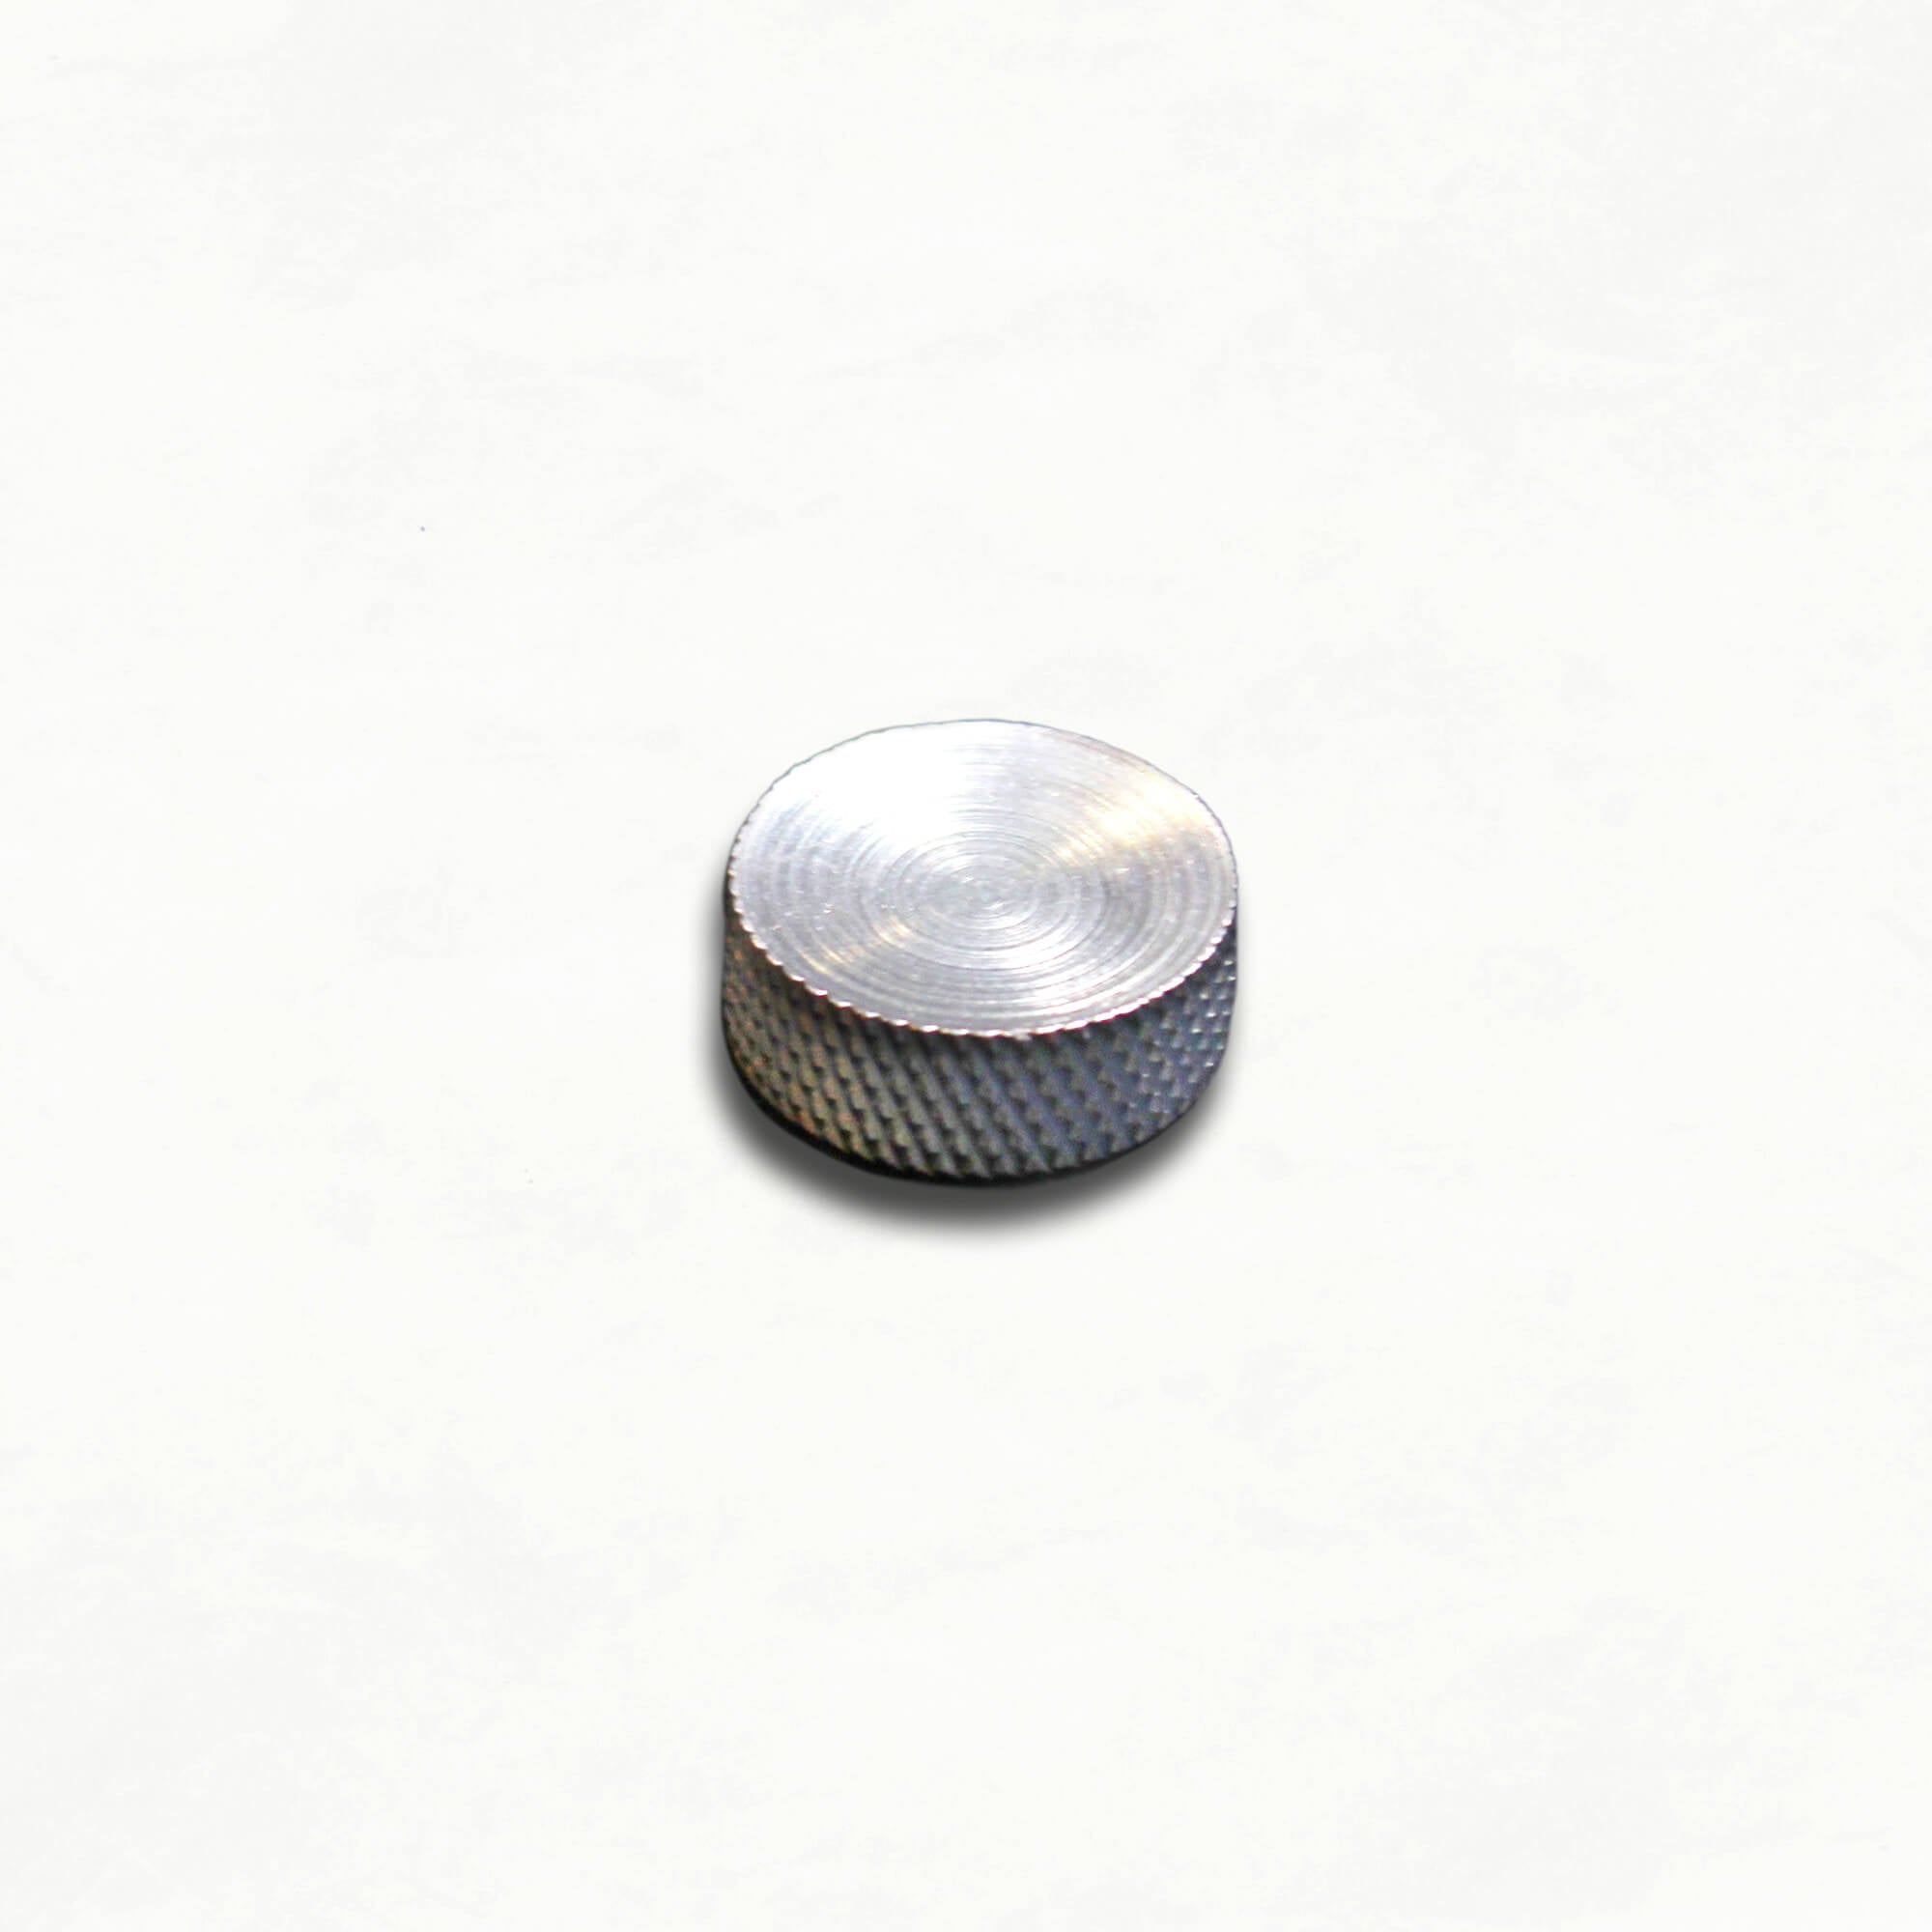
Three rivets hold the whole thing together. They’re small double-caps: two parts that click together, capped the same on both faces, with a shorter stem than the medium and large sizes. One of the things we love about this project is you don’t really need any specialty tools to set them. A hammer and a hard surface will do it, and if you don’t have a stone slab, you can use the ground. The dot anvil is the exception. It’s necessary for setting the last rivet, and it isn’t in the kit.
- Set the posts, then fold. The rivet posts go in from the right side of the leather, two at the back, plus a third that has to go in before you fold anything. Then fold the leather over, push it down onto the posts so they come through all three layers, and click a cap onto each one. The caps will feel loose and may want to pop off. That’s fine. Nothing is set until you hammer it.
- Crease the fold. Straight out of the kit the leather hasn’t been creased yet, which is what the bone folder is for. Press along the crease and it’ll hold. This is 3-4 oz leather, so it takes a crease easily without any help.
- Set the two bottom rivets. Keep the rivet vertical and hit it straight on the top. Start with a couple of light-to-medium taps rather than one big swing, then a couple harder once you feel it going. You’ll know the rivet is set when it starts to indent into the leather. It doesn’t take many hits.
- Set the last rivet over the dot anvil. The back of that last rivet sits inside the card holder, so if you set it flat on your slab the underside of the rivet presses into the leather behind it and marks it. Slide the dot anvil inside the card holder instead, concave side facing up, and work it under the rivet until you feel it seat. The dish gives the back of the rivet somewhere to go. Then set it the same way as the others.
A hammer is totally fine for this. A double-cap rivet setter has a slightly concave end that preserves the round dome on top of the cap instead of flattening it. If you use one, use a mallet rather than a hammer. Metal on metal doesn’t transfer the force as well, and it’ll damage the tool over time.

Cards in one side, cash in the other.
Troubleshooting
Your rivet won’t set. Check to make sure you’re on the correct work surface. It needs to be hard and non-bouncy, because you want to isolate the force onto the rivet itself so the hit actually smashes it. On a table with any give in it, the rivet bounces down into the table and takes the force with it, and you never get a nicely set rivet. ▶️ Bag Making Rivets 101 covers rivet types, sizing and setting in more depth.
The leather won’t crease. 3-4 oz creases fine dry. If you’re working with something thicker, 5 or 6 oz, or it’s just not behaving, wet the leather first and it’ll crease a lot easier.
Your stamp cut into the leather. That’s too much force. The stamps are sharp, and a hard hit slices instead of pressing. Practice on the scrap piece that comes with your stamp set until you find the lightest tap that still leaves a clean impression.
MAKE YOUR OWN CARD HOLDER
About the Author