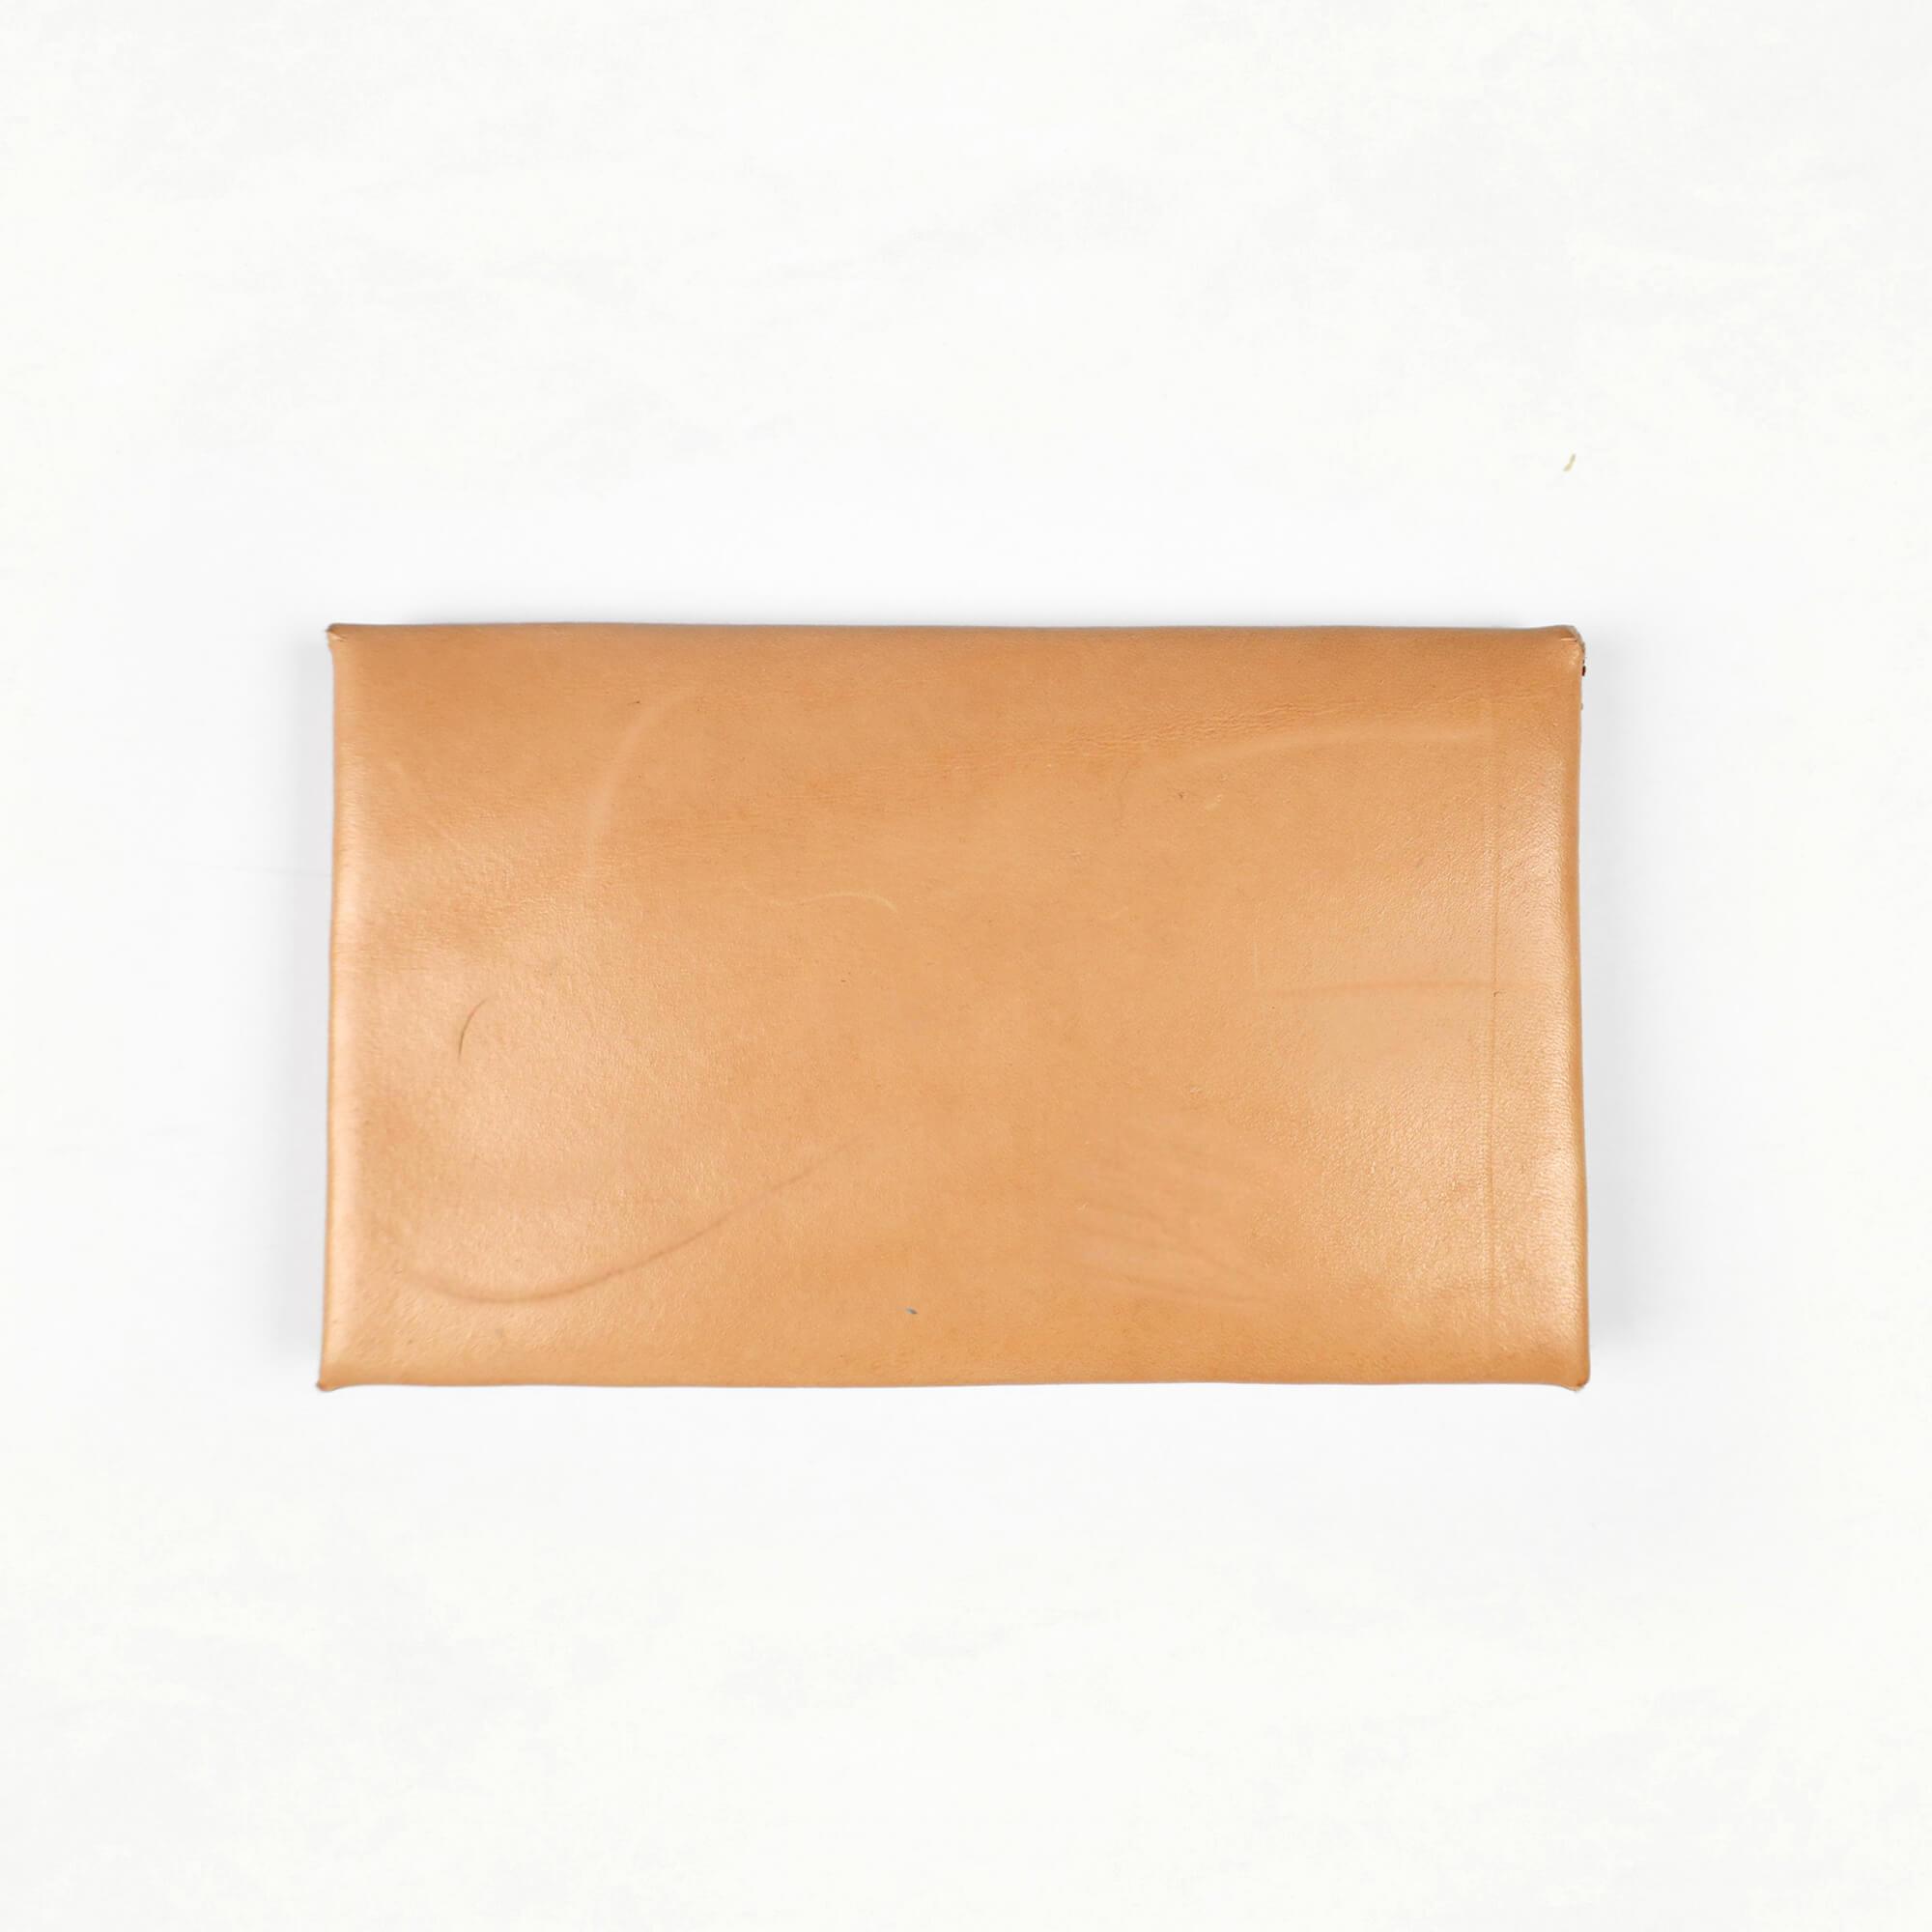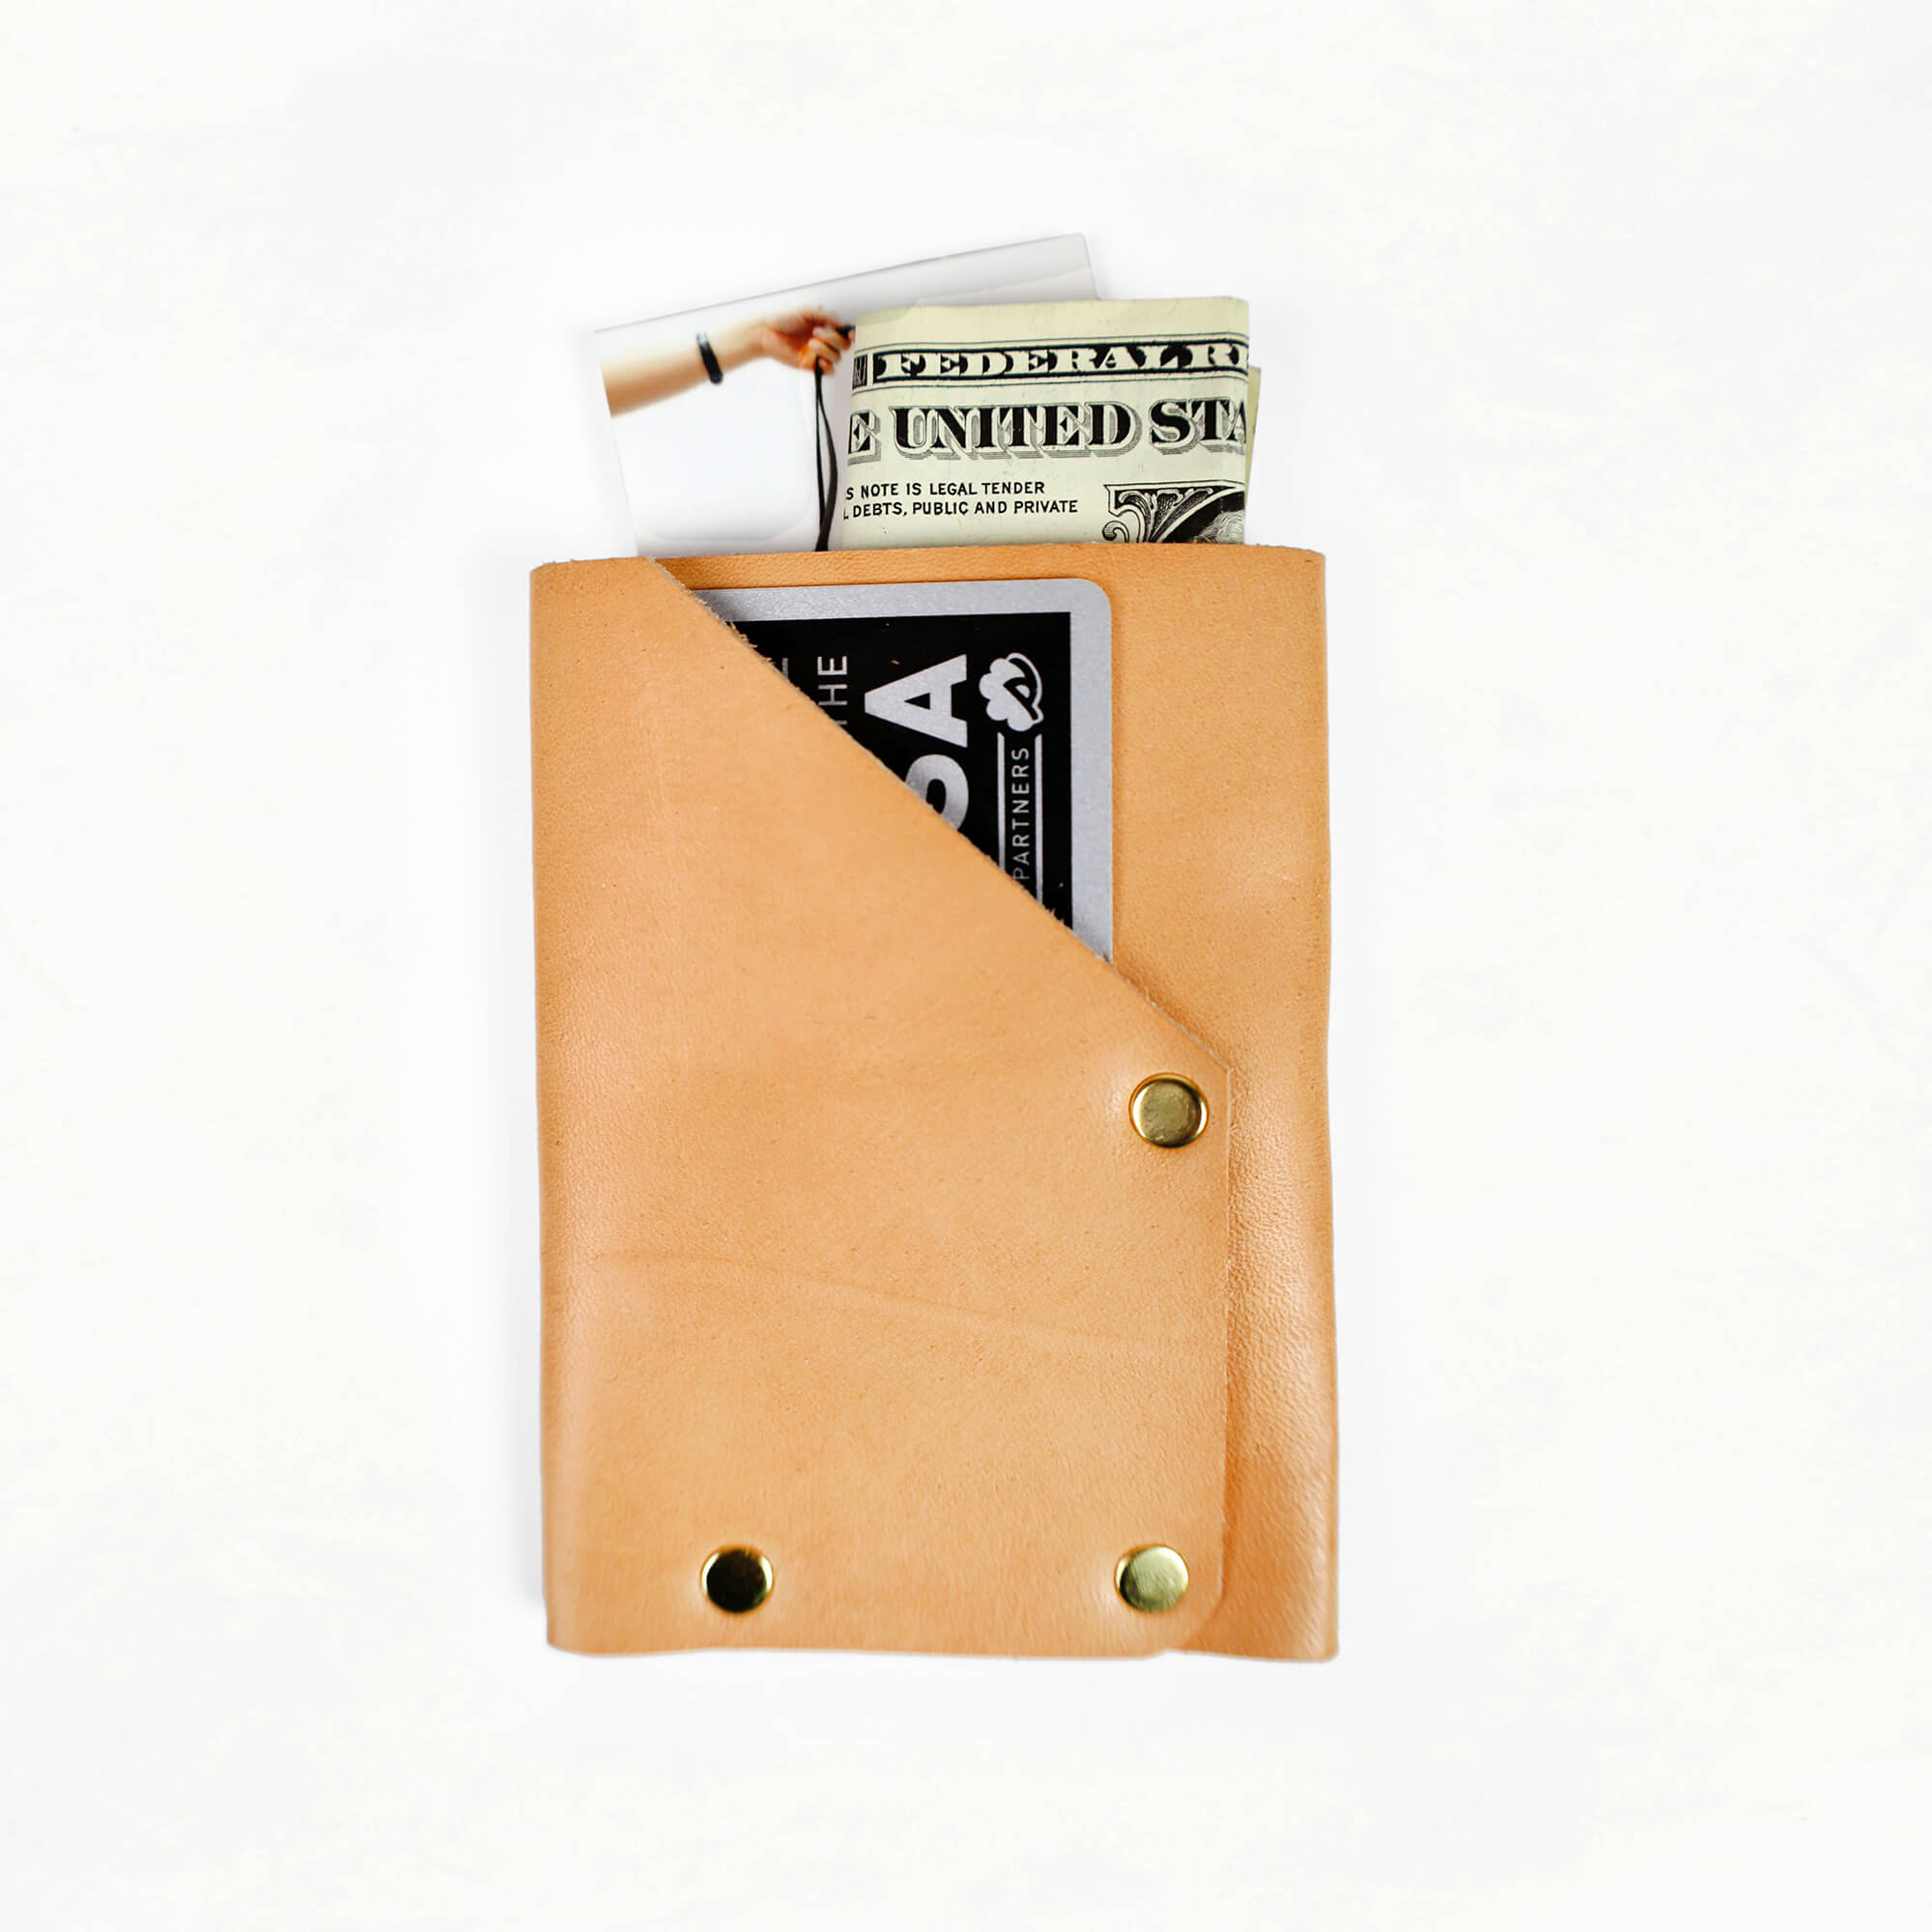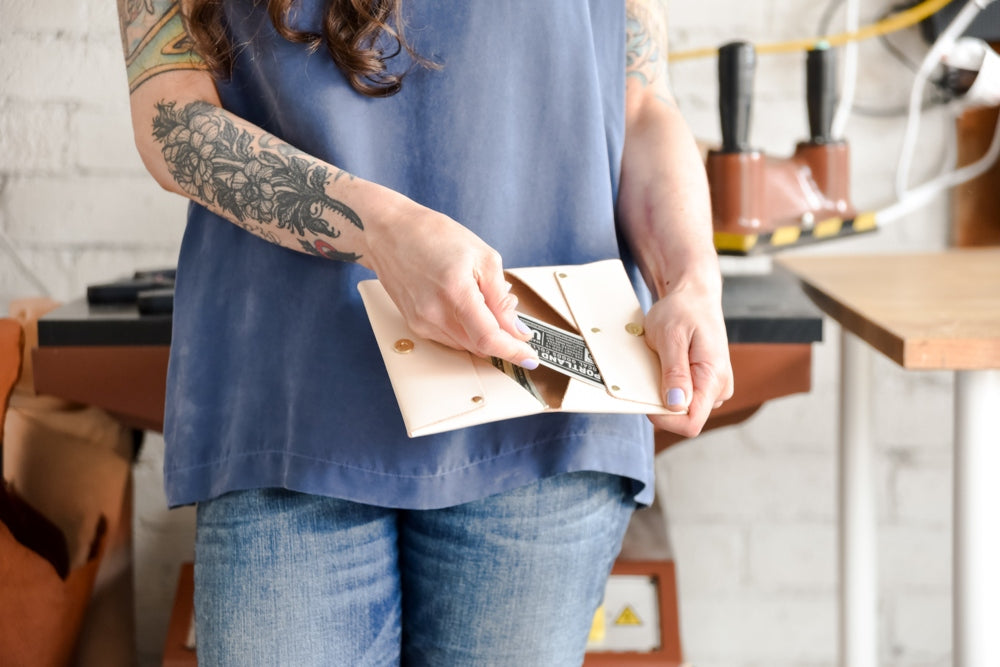
In this video, Klum House founder Ellie Lum shows how to make a vegetable-tanned leather wallet from a Klum House kit. First she protects and conditions the leather with leather salve, using a horsehair brush and buffing cloth. Then she customizes it with leather stamps. Finally, she constructs the wallet by setting brass rivets with a hammer and dot anvil.

In your kit you’ll have one piece of vegetable-tanned leather, all cut out, hole punched and ready to put together. Seven double-cap rivets: six to construct the wallet and one extra. And one magnetic snap.
The essential tools you’ll need are a dot anvil and a bone folder. The bone folder isn’t 100% necessary the way the dot anvil is, but it’s very highly recommended, and it helps you crease the leather really nicely. You’ll also need a hammer and a hard surface, like a stone slab.

Customize It!
Conditioning and stamping are both optional, and they both happen while the leather is still flat. (We recommend stamping before constructing.)

Condition it with leather salve. Dip a horsehair buffing brush into the leather salve, get it nice and gooped up, and work it into the right side of the leather in circular motions. You’ll see the salve darken and sink in. It keeps the leather water resistant, softens it up, and makes it easier to work with as you construct the wallet.
Put it aside for 10 to 15 minutes so the salve can soak in, then buff it with a flannel cloth, circular motions again, until the leather goes shiny. Buffing sets the wax and the oil. You’ll know you’ve buffed it enough because it’s no longer super tacky and the cloth won’t want to grip it. No flannel buffing cloth? An old t-shirt works too. ▶️ More on how veg-tanned leather ages.

Stamp it! Monogram! Personalize! Write tiny love notes! Leather stamps come in large (¼") and small (⅛"). You’re stamping the flat piece, in the band that ends up on the front of the closed wallet. Mark a light pencil line an inch and ⅜ down from the top edge and sit your letters on that.
Your stamp set comes with a sample piece of leather, and it’s worth testing on it. It’s really important to not hit the stamp super hard or it will cut into the leather. Work on a hard surface so the stamp indents well, check your letter isn’t upside down, and tap it with a mallet. It doesn’t take much force at all. ▶️ More on stamping leather, with video.
Eyeball the spacing as you go. We don’t care a ton if some of the letters come out a little crooked. It adds character and a handcrafted look.

Paint it! Veg-tanned leather takes paint the same way it takes a stamp, because there’s no synthetic coating in the way. The Leather Paint Set is five mixable colors, Black, White, Red, Yellow and Turquoise, with two brushes, so you can mix whatever you want and go as graphic as you like. Paint it while the leather is still flat, same as stamping.
How to Make the Wallet Step-By-Step
We don’t sew through leather on our home machines, we attach it with hardware. The most common type in our patterns is double-cap rivets, which are quick and easy to set with just a hammer. A double-cap rivet comes in two parts, a part with a post and a part with a cap, and every post goes in from the wrong side of the leather. Six of them plus one magnetic snap hold this wallet together, and you want a hard surface under you throughout.
- Crease the folds. Two wings fold in and one side folds up, on each half of the wallet. Pre-crease those edges with the bone folder before you worry about lining up any rivet holes. This is where the bone folder really starts to shine. Veg-tanned leather has a lot of memory, so once you start to crease it, it wants to stay creased.
- Set the magnetic snap. Start with the outie half. Working on the right side of the leather, push its two prongs through the slits that are already cut for them, slide a washer on from the back, and press the prongs flat with the bone folder, pivoting them right down at the base. Flip the wallet around and do the innie half the same way.
- Drop in the rivets. Three rivet posts per side, each pushed through from the wrong side. It doesn’t matter which hole you start with.
- Fold it up and cap the rivets. Pull the leather up and over the posts and click a cap onto each one. They won’t hold tightly yet, because nothing is set until you hammer it. Now that the rivets show you exactly where the leather lands, go back over the folds with the bone folder and give them more memory.
- Set the rivets over the dot anvil. The dot anvil has a concave side and a flat side, and you want the concave side face up. Face down, its metal rim can indent your leather. Work it under the rivet until you feel it seat, then hit the rivet with the hammer. Don’t swing hard right away, coax it down with light to medium hits. You can tell a rivet is set when it indents into the leather and the head has flattened.
- Do the other side, then crease the middle. Same sequence on the second half. Then give the wallet a little memory to fold in the center.
An alternative is to set your rivets using a rivet setter instead of hitting the rivets directly with the hammer. It has a concave end that preserves the roundness of the rivet cap rather than flattening it. If you use one, use a mallet rather than a hammer, because metal on metal doesn’t transfer the force as effectively and it can damage the tool over time. It’s a very slight aesthetic difference and it depends what you like. Ellie just likes setting rivets with a hammer, and finds it a bit more straightforward and easier.

Four card slots, two cash pockets, and a very satisfying snap. As the wallet wears in it flattens, darkens and softens, and develops a story and a patina over time.
Troubleshooting
Your rivet won’t set. Check to make sure you’re on the correct work surface. A rivet has to be set on something hard, so the force goes into the rivet instead of into the table. ▶️ Bag Making Rivets 101 covers rivet types, sizing and setting in more depth.
The leather won’t crease where you want it. Lightly wet it. A damp sponge over the fold is enough to help it crease down. You don’t want to get it too wet, and with this leather you may not need to at all.
The snap prongs won’t line up with the slits. Take the prongs and move them in or out as needed until they do.
Your stamp cut into the leather. That’s too much force. Practice on the sample piece that comes with your stamp set until you find the lightest tap that still leaves a clean impression.
Your stamped message came out upside down. The main thing to watch out for. Work out how the wallet folds together before you stamp, so you know which way up your message needs to sit.
MAKE YOUR OWN LEATHER WALLET
About the Author