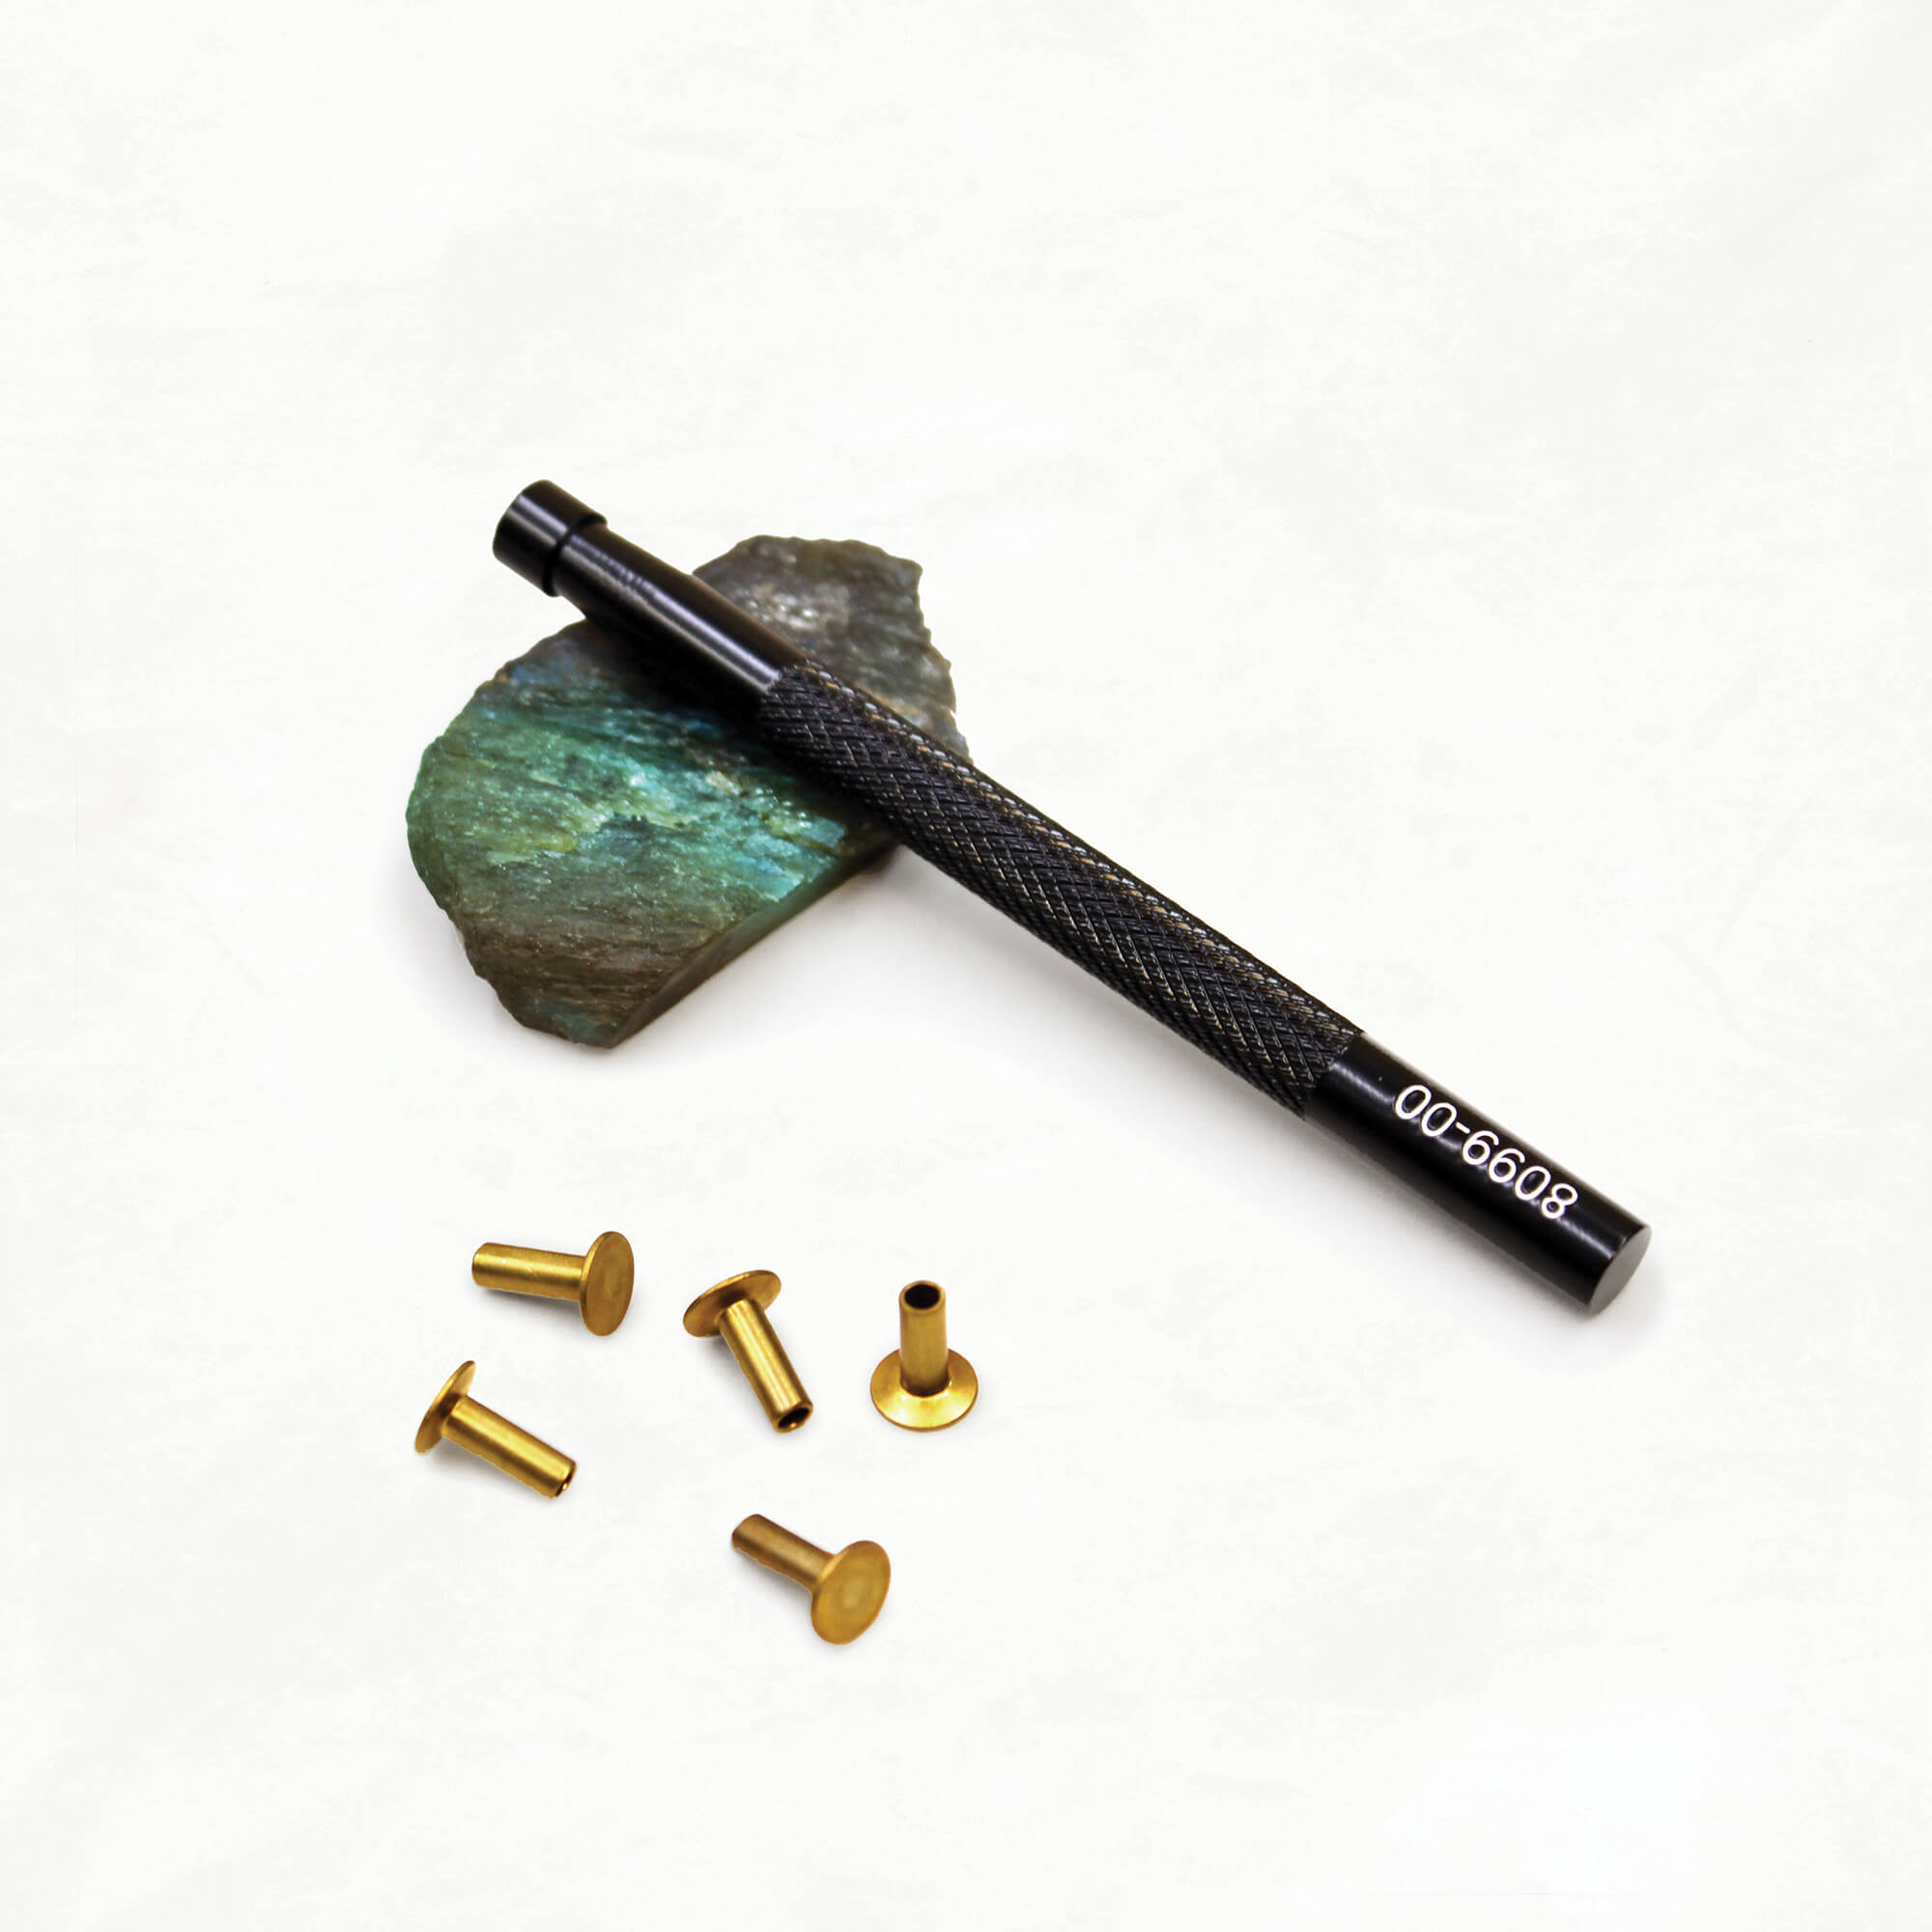
Two Rivet Types to Know 🔩
- Tubular Rivets: These are the heavyweights. Use them where you need serious strength, like attaching backpack straps. They need a special tool to set, but they're worth the extra effort. (Here's how.)
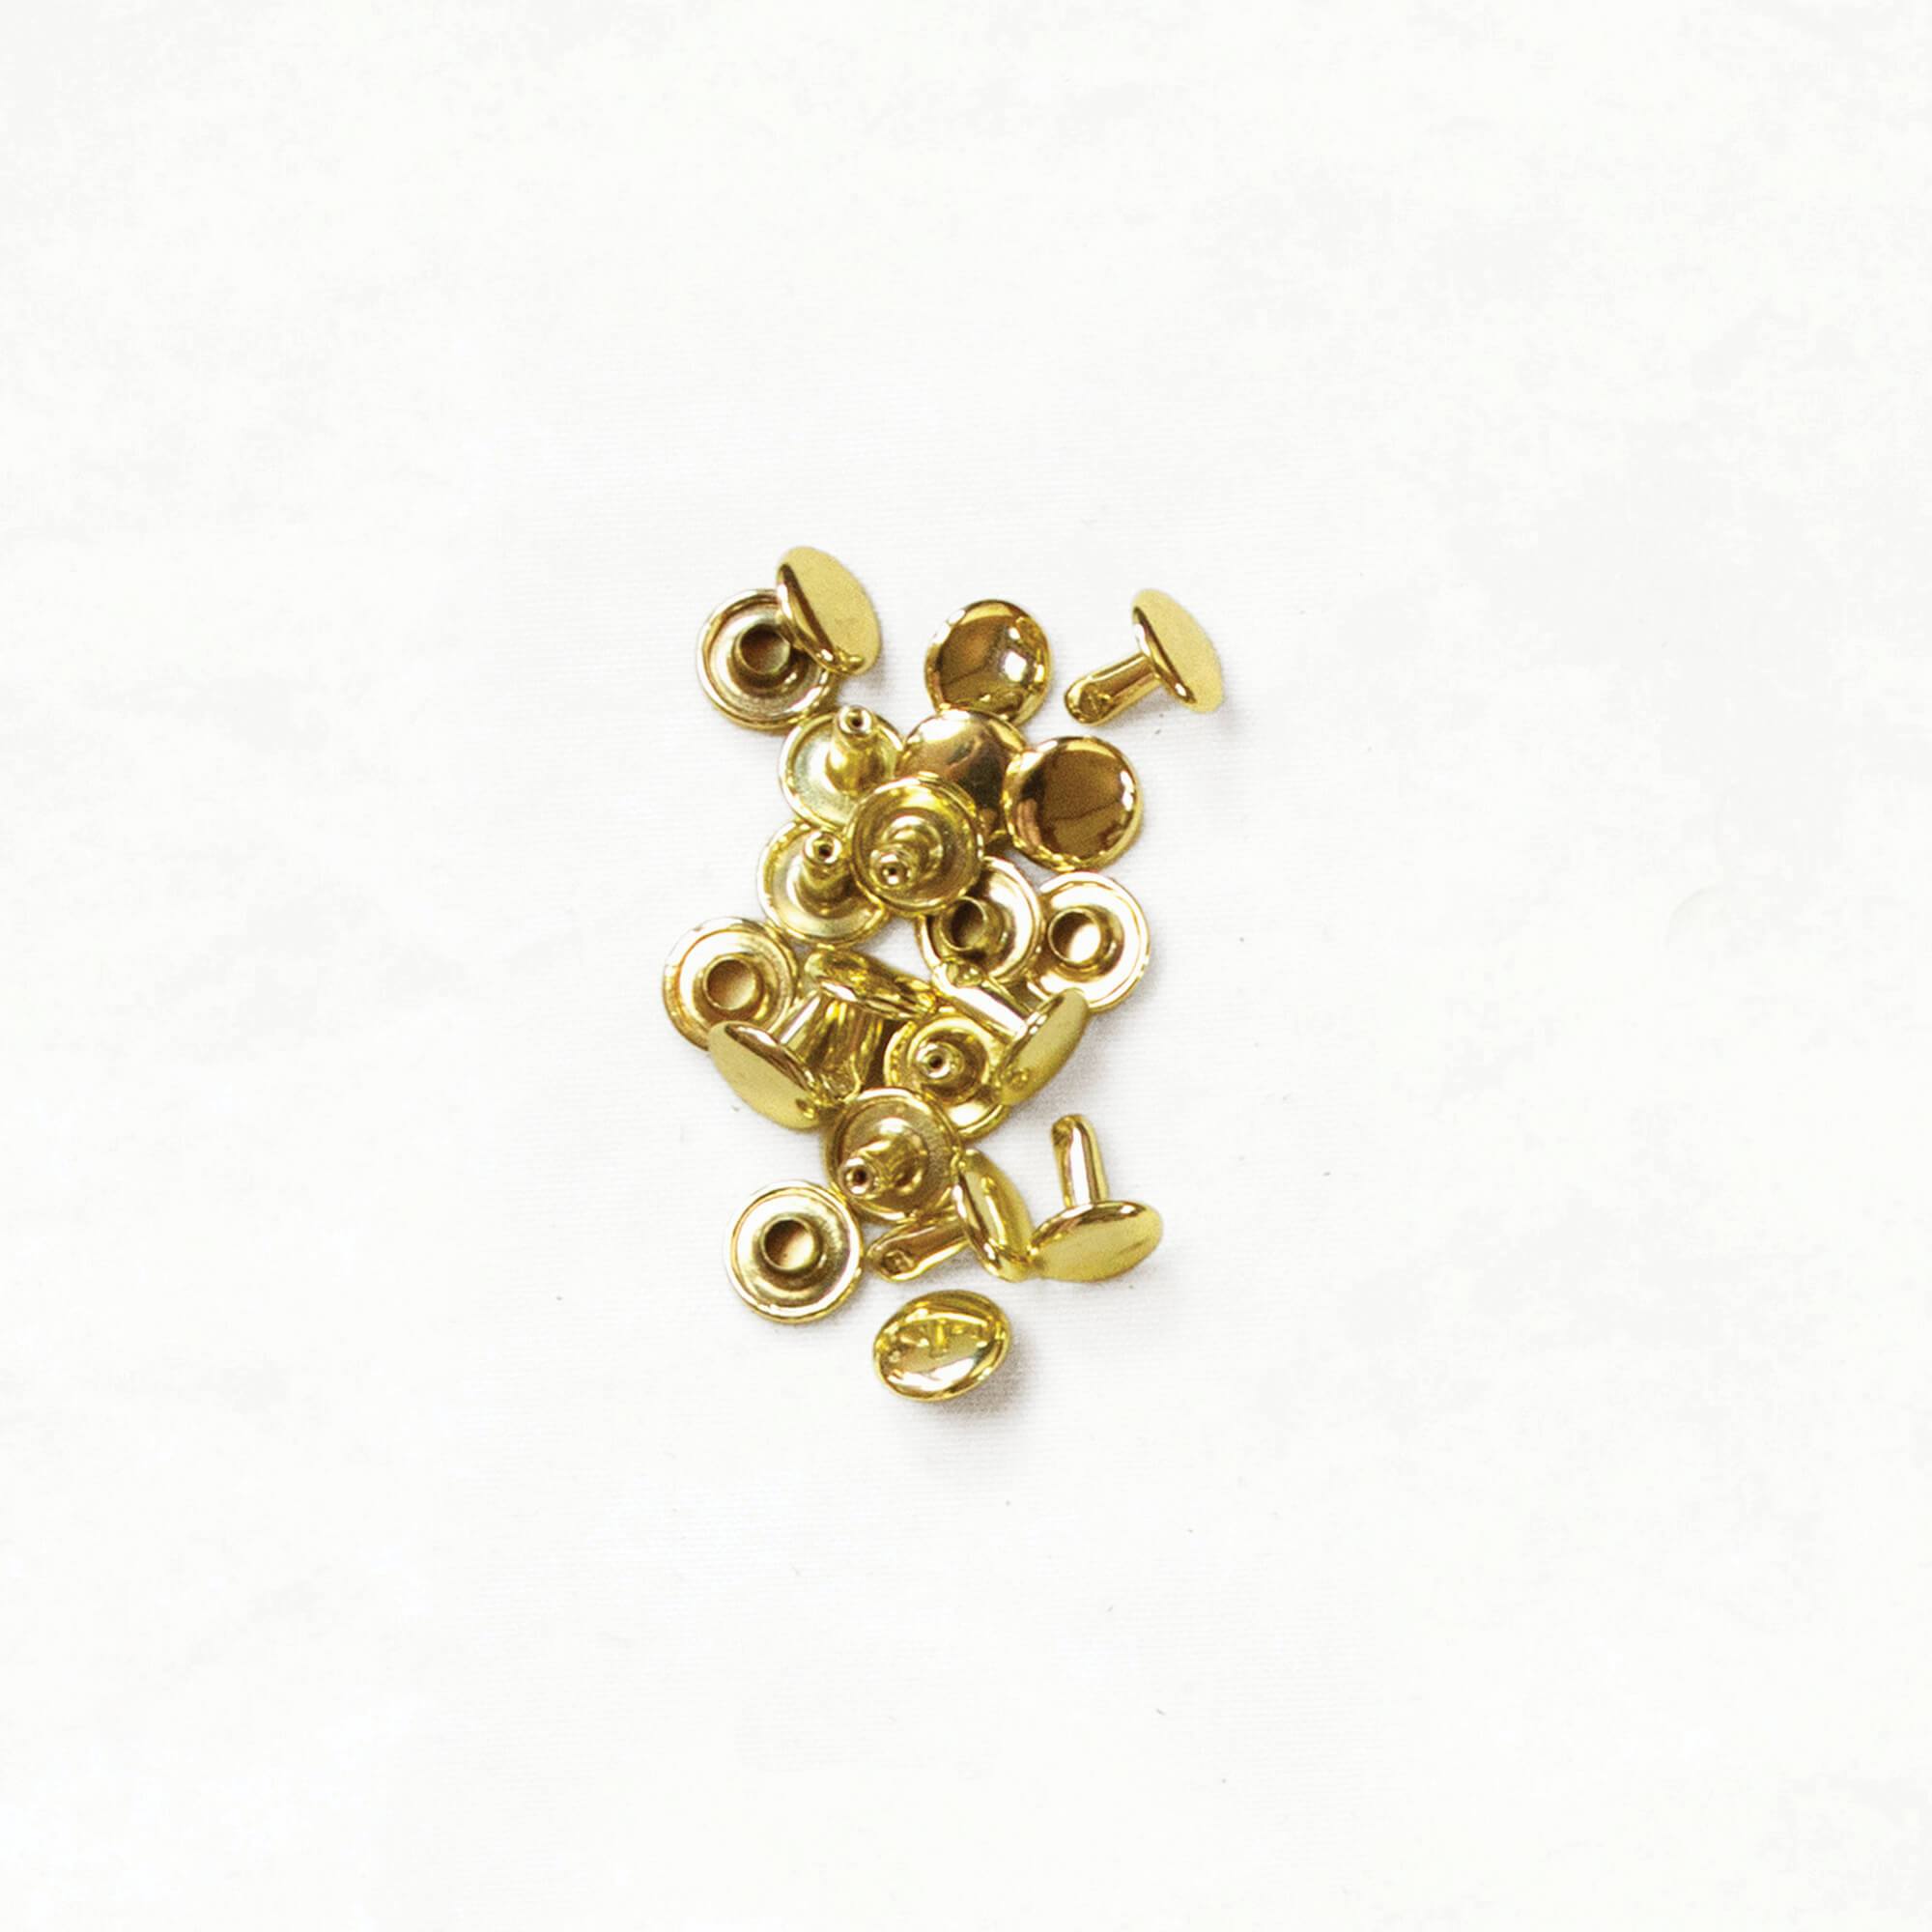
- Double Cap Rivets: These two-part rivets are common in bag making. While they might look simpler, they require just as much skill to set properly. They're versatile and great for various applications. (Three ways to set them.)
Still not sure which one your project wants? We put them head to head in Double-Cap vs. Tubular Rivets.
Picking the Right Rivet 🤔
Choosing rivets isn't rocket science, but there are a few things to keep in mind:
- How thick is your material?
- How much stress will this spot take?
- What look are you going for?
Pro Tip: Match your rivet length to your material thickness. You want the stem sticking out about a sixteenth to an eighth of an inch. Get this right, and you'll avoid wonky rivets that can mess up your bag's strength and looks. Our Pairing Leather + Rivets guide has the sizes laid out.

Why Rivets Rock 🤘
Rivets let you add leather to your bags without having to sew through it (your sewing machine will thank you). They're perfect for attaching straps, reinforcing stress points, or just adding some industrial chic to your design.
Plus, let's be real - there's something incredibly satisfying about setting rivets. Need to blow off some steam? Grab your mallet and go to town on those rivets. It's a great way to get your aggressions out while making something awesome. Win-win! 😉
Sure, you'll need a few special tools, but once you get the hang of it, you'll be riveting everything in sight. Trust us, your bags (and your stress levels) will never be the same.
The Number One Mistake People Make When Setting Rivets
If you've ever made a Klum House bag, you know that we LOVE rivets. And if you want your bag straps to hold up (and not pop off mid-grocery run), you have to get your set-up on point before you whack anything. It's not about pounding the hell out of your rivets. It's about using the correct surface, tools, and rivet size.
The number one thing Ellie sees people do: set their rivet on a punching board instead of a granite slab.
TIP 1 · Work on a solid surface. A stone slab on a countertop = gold. Regular tables bounce too much.
TIP 2 · Ditch the rubber mallet. A metal hammer works best. If you're using a mallet, make it Bakelite.
TIP 3 · Use the right rivet length. The post should stick out just a sixteenth to an eighth of an inch above your materials for a strong, secure set.
Watch Ellie walk through all three below, plus how to fix a wonky rivet.
Every rivet tutorial, in one place
Rivets show up on nearly every bag we make, so we've filmed most of it. Here's the whole library. ▶️ means there's a video.
Setting Rivets
- ▶️ How to Set Double-Cap Rivets, 3 Different Ways. Classic, with a reinforcement tab, or with a leather washer. Set with a hammer, a rivet setter, or an industrial press.
- ▶️ How to Rivet Leather Straps to a Bag. Attaching handles to a finished bag, with leather washers and a D-ring.
- ▶️ How to Set Tubular Rivets. The heavyweights, and the peening tool that sets them.
- ▶️ How to Set a Magnetic Snap Rivet. Different hardware, same idea.
- ▶️ How to Install a Buckle on a Leather Strap. Riveting a buckle onto a leather strap.
- ▶️ How to Add a Leather Zipper Pull. Riveting a leather pull onto a zipper slider, with a tubular or double-cap rivet.
Choosing Rivets
- Double-Cap vs. Tubular Rivets. Which type does what, and when to reach for each. Photos and a side-by-side chart.
- Pairing Leather + Rivets. Matching rivet length to your material thickness.
- ▶️ Leather for Bag Straps 101. The leather side of the pairing: which weight and type to rivet, and every strap tutorial.
Fixing Rivets
- ▶️ How to Remove Rivets from Leather. Both types, with and without the removal tool. Two videos.
- ▶️ How to Remove a Magnetic Snap Rivet. The magnetic snap version, step by step.
Ready to up your rivet game? Grab our ✨FREE✨ Bag Maker's Guide to Leather + Rivets for even more tips and tricks.
Download Free Rivets Guide
Rivets


About the Author