We've sent you an email with a link to update your password.
Login
Reset your password
We will send you an email to reset your password.
How to Make Leather Straps for Bags
If you plan on doing lots of bag making, at some point you might want to learn how to make leather straps! In this article, you'll learn how to cut perfectly-uniform straps from a full hide, as well as how to hole punch and end punch raw leather strips to create lots of different straps, handles, tabs, washers, and more. Learning to process leather in this way opens up a new world of possibility for future projects.
Klum House kits come with fully-prepped leather pieces, so all you have to do is attach them, but if you’re down to learn some new skills, you can totally take strap-making into your own hands! With a little practice and the right tools, you’ll be processing leather for all of your own bag making projects in no time.
Start with a hide or pre-cut leather strips
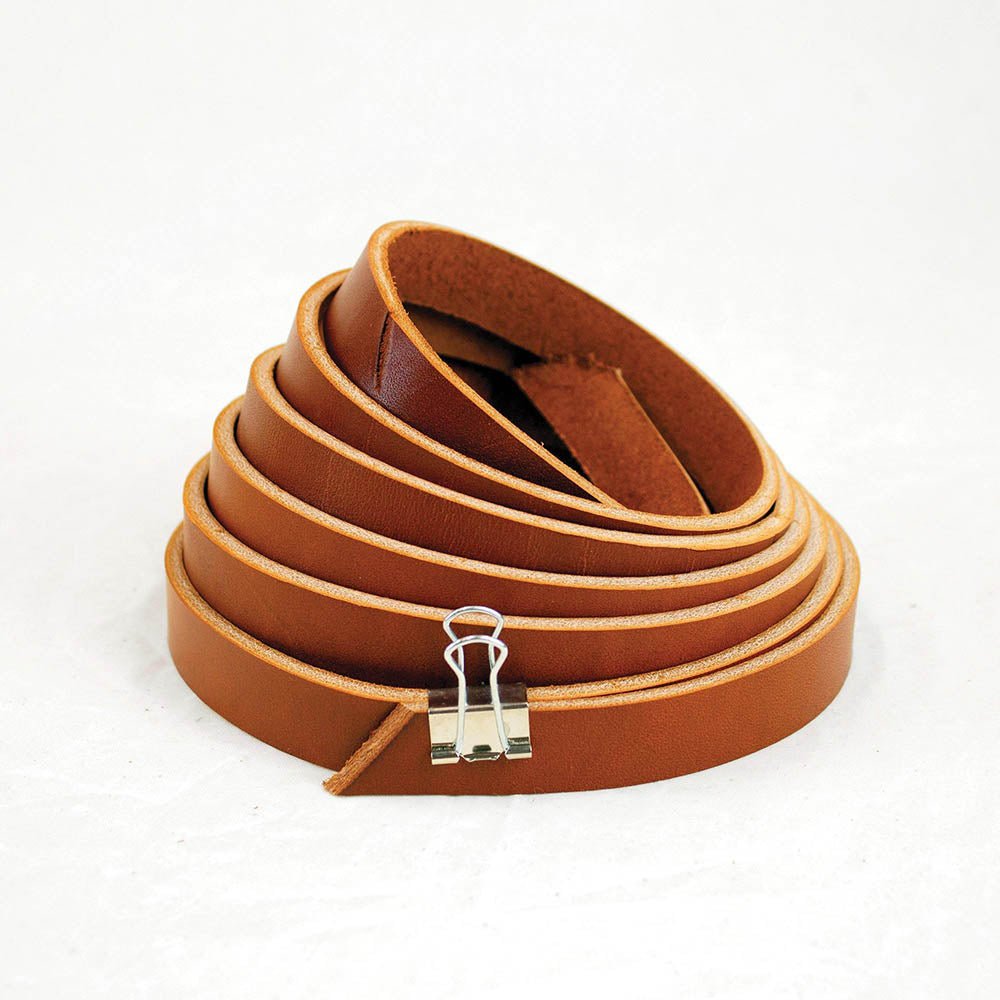
You can start with a whole hide or a side and cut your own leather strips off of it, or you can start with pre-cut leather strips.
Purchasing a full leather hide can be quite expensive and not every bag maker needs THAT many straps. A hide runs anywhere from $100 to $400, and it’s more leather than you need for one bag, which is why most people start with strips.
Our leather strips come in a variety of widths (¾" & 1") and are between 80”–100” in length, so you can cut them down to any length to suit your needs.
When purchasing pre-cut leather strips, pay attention to the thickness, or “weight,” of the leather. For most bag straps you want something between 5 and 10 oz. Thinner than that stretches, thicker gets stiff and heavy.
The tools you need
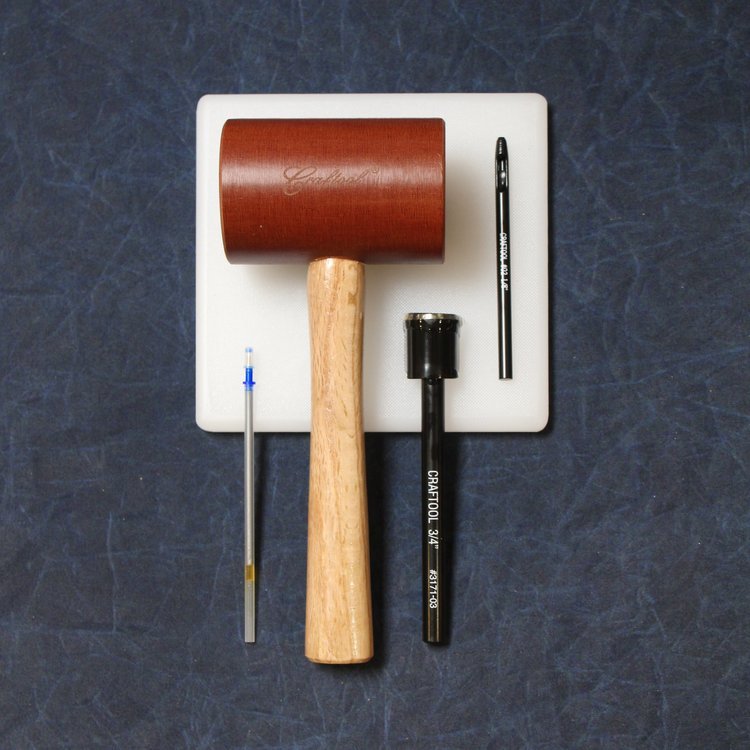
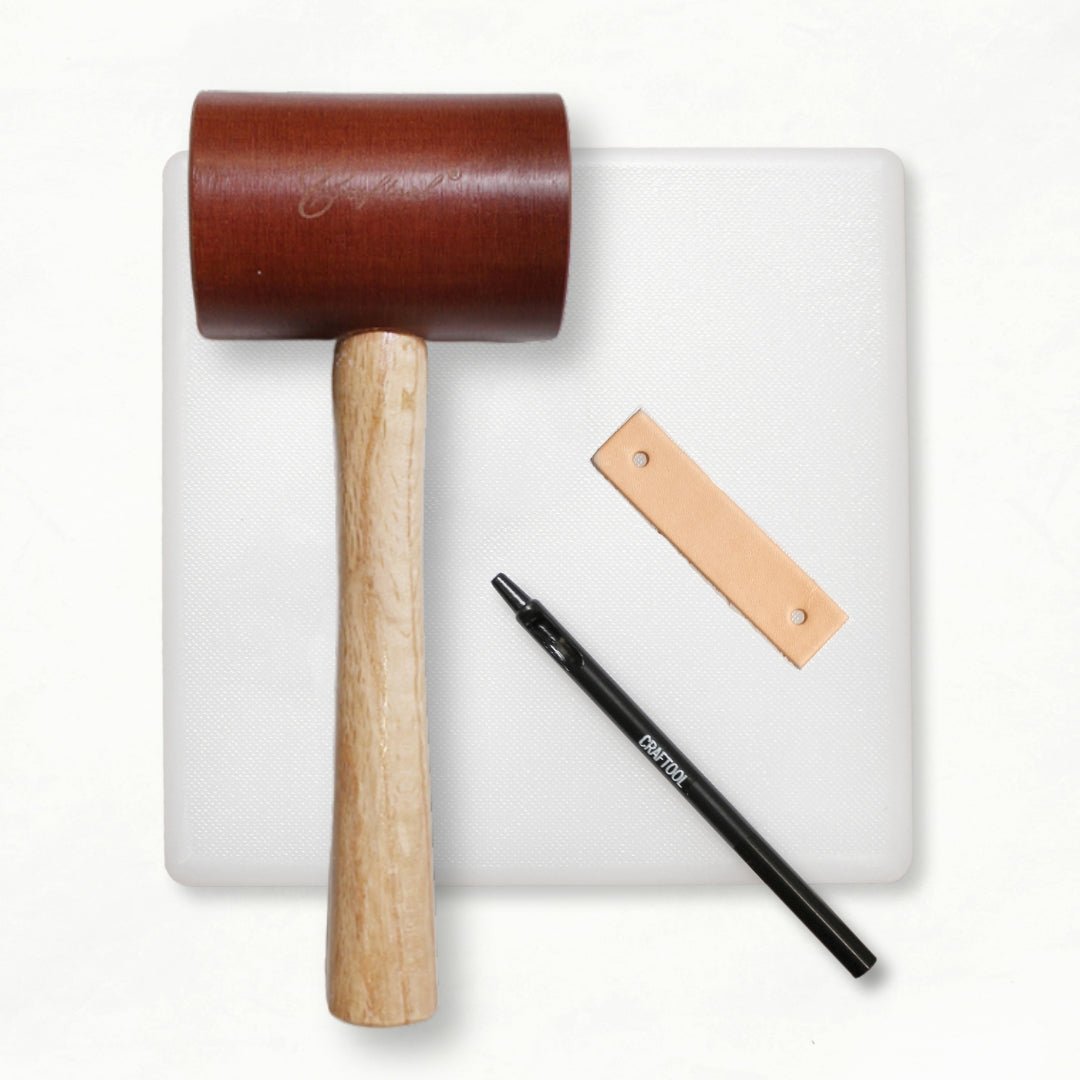
You’ll need a way to cut the straps and punch the holes. We’ve bundled those tools together in our Leather Straps Toolkit: a mallet, a punching board, an ⅛” drive punch, a ¾” round end punch, and a leather marking pen.
Every bag maker's tool kit should include a high-quality, heavy-duty mallet. Whether you’re striking punching tools, setting rivets, or embossing leather with stamps, a mallet will be your trusty friend. When it comes to strap making, a mallet is used to punch holes for future hardware installation and to create nicely rounded strap ends with a round strap end punch.
Keep in mind, all mallets are not created equal! Avoid using a rubber mallet, as they tend to bounce and don’t do a great job of transferring the force of your strike. Similarly, a metal hammer will bounce off your metal tool—and might damage it in the process! Our favorite is this Bakelite Mallet, which has a solid poly head for transferring force, a large surface area, and is just the right weight.
When making straps, you'll often need to punch holes in your leather for setting rivets or other hardware. There are two options for punching holes in leather:
Use a hand-squeeze rotary punch, which has a barrel that rotates to select different punch sizes.
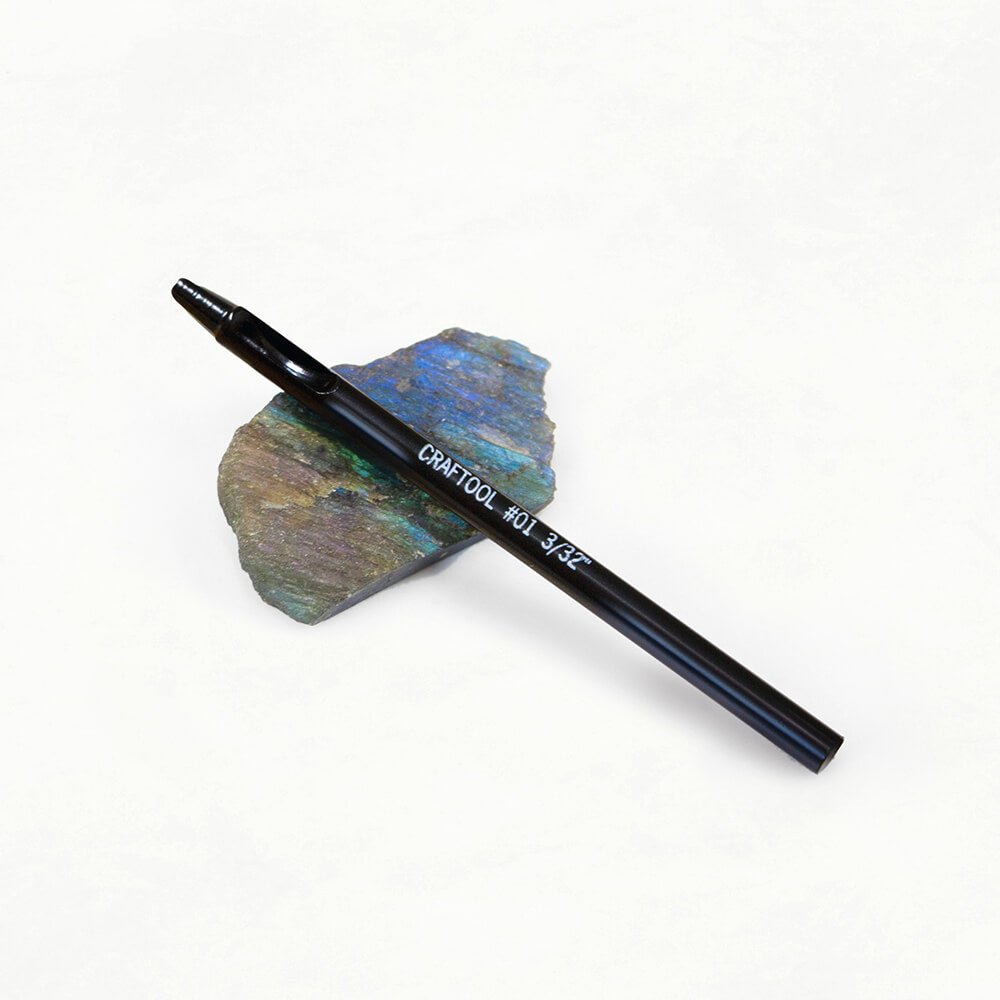
Use a drive punch of the correct size with a mallet on top of a punching board. In either case, be sure to punch the correct sized hole for the hardware you are using.
If you’re not sure which size hole to punch, hold your hardware post up to the punching tool to compare sizes. When in doubt, start a little smaller, because you can always size up! You want the post to fit in the hole snugly, without wiggle room.
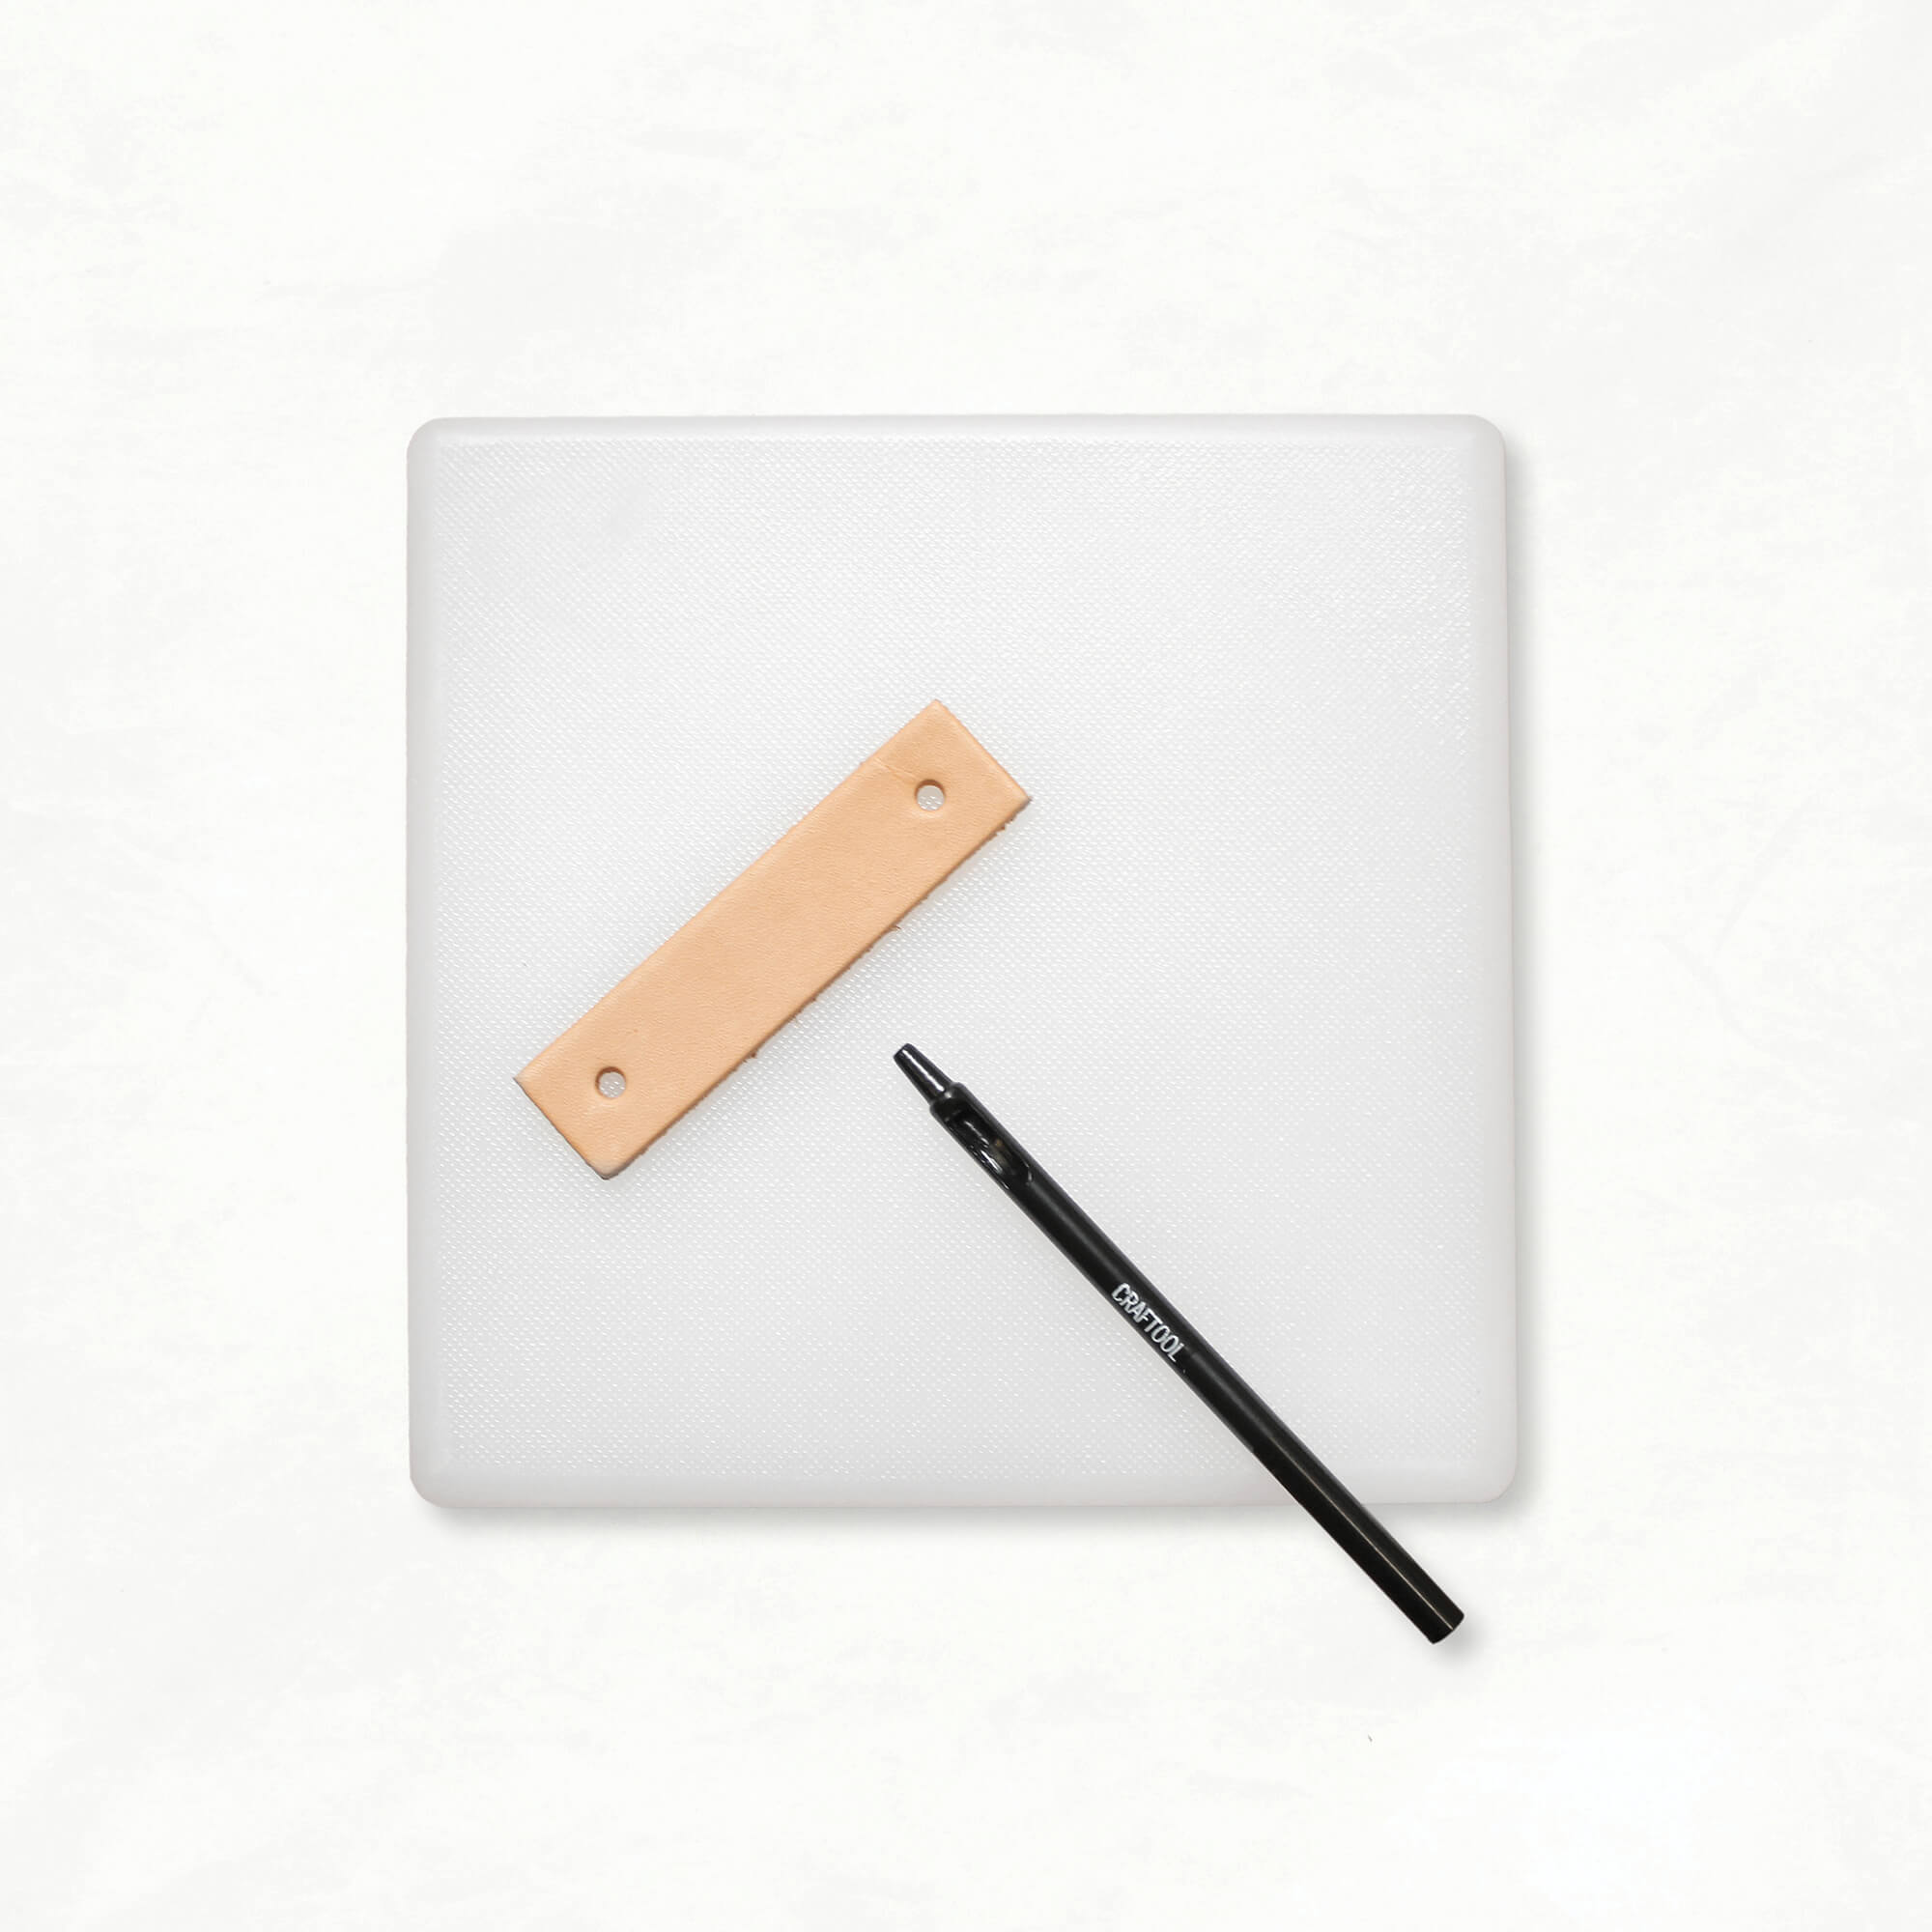
When working with punching or cutting tools, you'll need protection under your work to preserve your work surface and keep your tools sharp. Leatherwork cutting boards should be soft enough to allow tools to bite into them and thick enough that the tool will not pierce through. We love this small poly punching + cutting board. It’s even self-healing, so it can hold up to a lot of wear and tear.
End punches come in different shapes. Round end punches are the most common, but you can also find an English point end punch, which is basically a rounded V-shape. They also come in different widths. You’ll typically want to match the width of the end punch to the width of your strap (i.e. ¾” strap = ¾” end punch).
If the end punch is slightly wider than the strap, it will do just fine. The curve just won’t hug the edges quite as tightly. We stock a ¾” punch and a 1” punch, which between them cover most of the straps on our bags.
This little leather marking pen is the best we’ve found for creating easy-to-see, impermanent marks on leather. Other pens like gel or ink pens will permanently mark leather while the ink of this pen can easily be wiped away. Plus, the silver ink shows up on both dark and light-colored leather.
This 3-in-1 bundle is perfect for any bag maker. Our drive punch, poly punching + cutting board, and bakelite mallet are designed to work together, making punching holes in fabric or leather a breeze.
Once you have your leather strip, there are three main steps.
1. Mark the length. Lay your pattern template on the back of your strap. The back is where you want your marks, because if you mark something wrong it stays hidden. Mark with a leather pen. On a curved end you don’t need to trace the whole curve, just the apex, because that’s the point you line the tool up to.
2. Round the ends (if you’re doing so). Match the punch to the strap: a ¾” strap gets a ¾” punch. Line the apex of the punch up with your pen mark and hold it vertical, then rock it back just slightly, because most of the cutting happens on the far edge and the tool wants to collapse forward. Before you strike, check where the ends of the punch land. They should sit right on the edges of your strap or slightly over them. We’re looking for an even curve spread across the strap. Then whack it with the mallet.
3. Mark the holes and punch them. Punch the rivet holes out of your paper template first, so you can mark straight through them onto the leather. Then punch with an ⅛” drive punch on a punching board.
Always punch on a cutting board, never on a setting stone. Think about your kitchen. When you’re using a knife you use a cutting board, not the countertop, because stone would totally ruin your knives. These punches are basically knives. A setting stone is for setting rivets and hardware.
How to cut leather strips from a hide
If you want to make your straps from scratch, there’s a little more involved. But you get the economy of scale: if you need a lot of straps, working from a whole hide is the way to go.
You’ll need a leather strap cutter, sometimes called a strapper. It has an adjustable blade that lets you set the exact width you want, and it runs along the edge of the hide to cut a strip off. Even for an experienced leatherworker, it’s hard to get an even, straight cut on a hide without one. It takes a little finesse, and it’s not a skill most people pick up right away unless they’ve worked with leather or hand tools a lot. But it’s super fun once you get going.
Give yourself a straight edge first. The strapper runs along the edge of the hide, so that edge has to be straight. Lay a long ruler along it and cut the uneven edge off with a rotary cutter.
Set the width with a seam gauge. Loosen the wing nut, move the blade until the gap measures your strap width, then tighten the wing nut pretty hard. If it’s loose it migrates while you cut and your strip gets larger and larger down the hide, which is weird and hard to shave back down.
Keep the hide flush against the wooden handle. That’s the main thing. Cradle it in your palm with your fingers underneath the hide so you can run them along as you cut. Don’t push so hard that you curl the leather, but don’t let that wooden part come off the hide either. If the blade has trouble biting in at the start, which is really common, grab your ruler and start it out with a little cut, then feed that into the strapper.
Strap the long way down the hide to get the most straps off the pull. If you don’t want a strap that long, cut the hide first wherever you want the strap to stop, and save the rest for other projects.
A caution on thin leather. The strap cutter works best on stiffer leather. Veg tan is the easiest to cut because it’s really stiff. When leather gets thin, down around garment weight, there isn’t enough of an edge for the tool to run against. Chrome tan works, but it takes more control because it’s softer.
No strap cutter? Use a rotary cutter. You can cut leather strips with the tools already sitting around your sewing studio: a super sharp rotary cutter, a self-healing cutting mat, and a long quilting ruler with an anti-slip back. It’s nice to start with a fresh blade, and use a different rotary cutter than your fabric one, because leather dulls a blade faster.
Watch the full tutorial
If you want to see a step-by-step video of how to do all of this, from a whole hide to a finished strap, check this one out.
Tips for getting started
Getting into leather tools can feel like a lot, so don’t start there. If this is brand new for you, start with a kit where the leather is pre-cut for you. Get to know the leather and learn to set the rivets, without also having to learn every leather type and buy a pile of tools at the same time.
Once that feels good and you want to keep making bags, move to a leather + hardware kit and cut your own fabric. Then buy strips and cut your own straps. And eventually, if you’re really in it, a whole hide. Each step adds one new skill instead of ten.
Not sure which leather to use in the first place? Start with ▶️ Leather for Bag Straps 101, which covers weights, veg tan versus chrome tan, and how to pick for the strap you’re making.
Klum House founder Ellie Lum has over 25 years of professional bag making experience. Ellie's superpower is teaching makers to achieve professional-quality results on a home sewing machine— and have a hell of a lot of fun while doing it. She's passionate about empowering folks through sharing her craft.