Let's talk leather — the backbone of durable, professional-looking bags. It's not just about aesthetics (though a well-chosen leather strap does look amazing). The right leather can turn a good bag into a long-lasting, everyday essential.
When we're making a bag, we want it to be durable and easy to use. We don't want it to fall off our shoulders, and we want it to feel good in our hands. The leather you pick for your straps decides most of that.
A home sewing machine won't go through 10 oz of leather. And if it does, the stitch won't be that great, because the machine has trouble keeping optimal tension and timing through a material that dense and thick. So on a heavy-duty bag, the leather gets attached with rivets instead.
Check out our full Leather 101 video to get the lay of the land with leather straps. I'll walk you through everything step-by-step.
Two Leather Types to Know 🐄
- Vegetable-tanned leather. The tanning process uses vegetable oils. English bridle is a type of vegetable-tanned leather, and it's exactly what it sounds like: the leather used for bridles. Veg-tan starts firm, then wears in and becomes softer over time.
- Chrome-tanned leather. Chrome tanning uses more chemicals, which results in a more supple leather. It's thinner and more supple than veg-tan right off the bat. Most garment-weight leather, anywhere from a little below 1 oz up to around 5 oz, is chrome tan, because it's a little more bendy and a little more soft.
All of the leather at Klum House is vegetable-tanned. Our Guide to Vegetable-Tanned Leather covers how to care for it and what everyday wear does to it. Water, sunlight, oil and dirt all change the color and the feel.
Picking the Right Leather 🤔
When we talk about the weight of leather, we're talking about thickness. 8 to 10 oz leather is a little bit thicker than 5 to 7 oz leather, and there are millimeter measurements that correspond to those weights.
For straps, what you want is strong and durable, especially at the attachment point. Thinner leather tends to be more stretchy. Thicker leather tends to be more durable and not as stretchy. You want the strap to keep its integrity.
Pro Tip: For most bag straps, stick to leather between 5 and 10 oz. Thinner than 5 and it'll stretch. Thicker than 10 and the strap gets stiff and heavy.
Choosing leather for your straps isn't complicated, but there are a few key points to remember:
- How do you plan on attaching your leather?
- How much weight will the strap need to support?
- Do you want a strap that's immediately supple, or one that will develop character and softness over time?
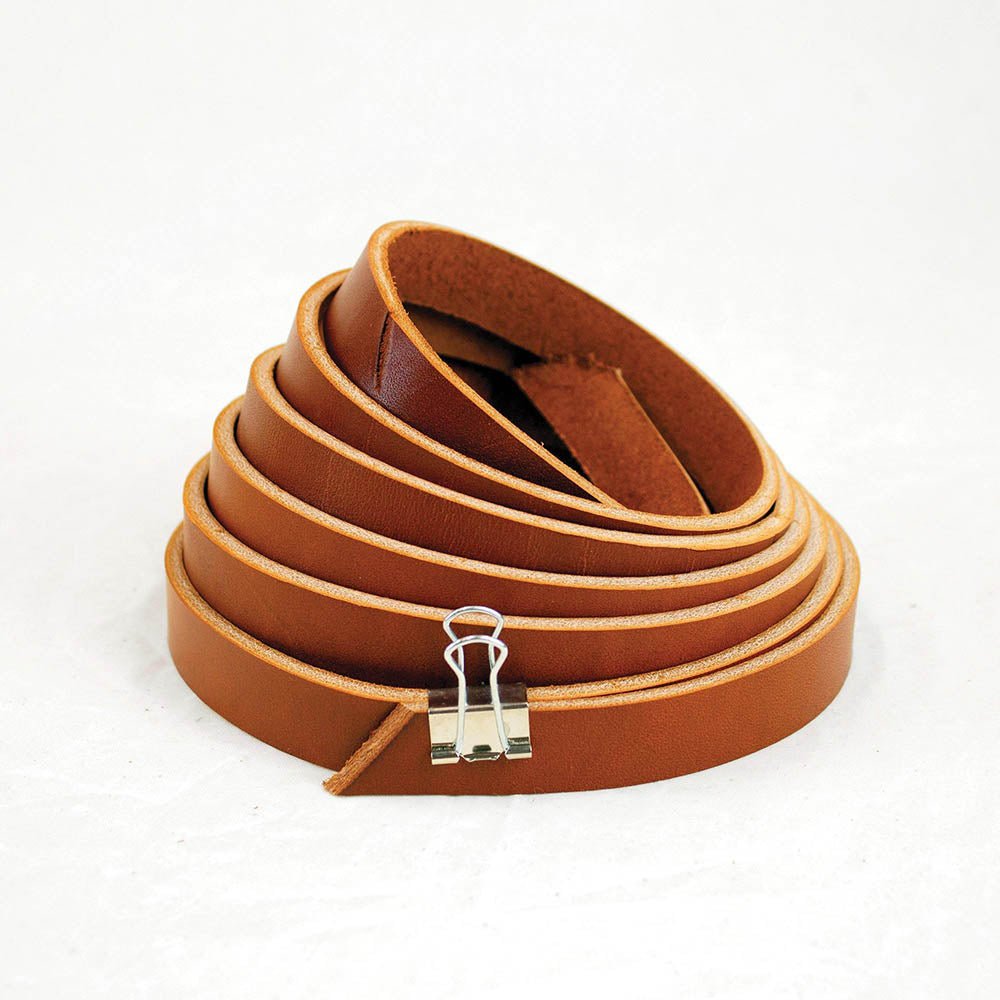
Our leather strips run 80" - 100" long, so you can cut your own straps to whatever length your bag needs.
Then match your rivet length to your material thickness. Our Pairing Leather + Rivets guide has the sizes laid out.
Sewing Leather on a Home Machine 🧵
Whether your machine can sew leather comes down to one thing: can it keep tension and timing and still make a good stitch through that many layers?
Because whenever you're sewing something, you're sewing more than one layer. If you're sewing 3 oz leather, that's 6 oz once you've got two layers under the needle, and 6 oz is about where most home sewing machines max out. If you know you're going to go over four layers, pay attention to that.
Test it before you commit. Put in a leather needle, set your stitch length to 3 mm or longer, and sew a scrap stack at the thickness your project actually calls for. Watch what the stitch does. Skipped or wonky stitches are almost always a tension issue, and as a general rule of thumb, tension should increase slightly as thickness increases. You may need to adjust it several times through a project.
A walking foot helps too, because it feeds the layers evenly instead of dragging the top one along. And for a topstitched look, skip the topstitching thread. ▶️ Two Ways to Topstitch On a Home Machine walks through the method we actually use: two spools of all-purpose thread run through a single needle.
Why Leather Rocks 🤘
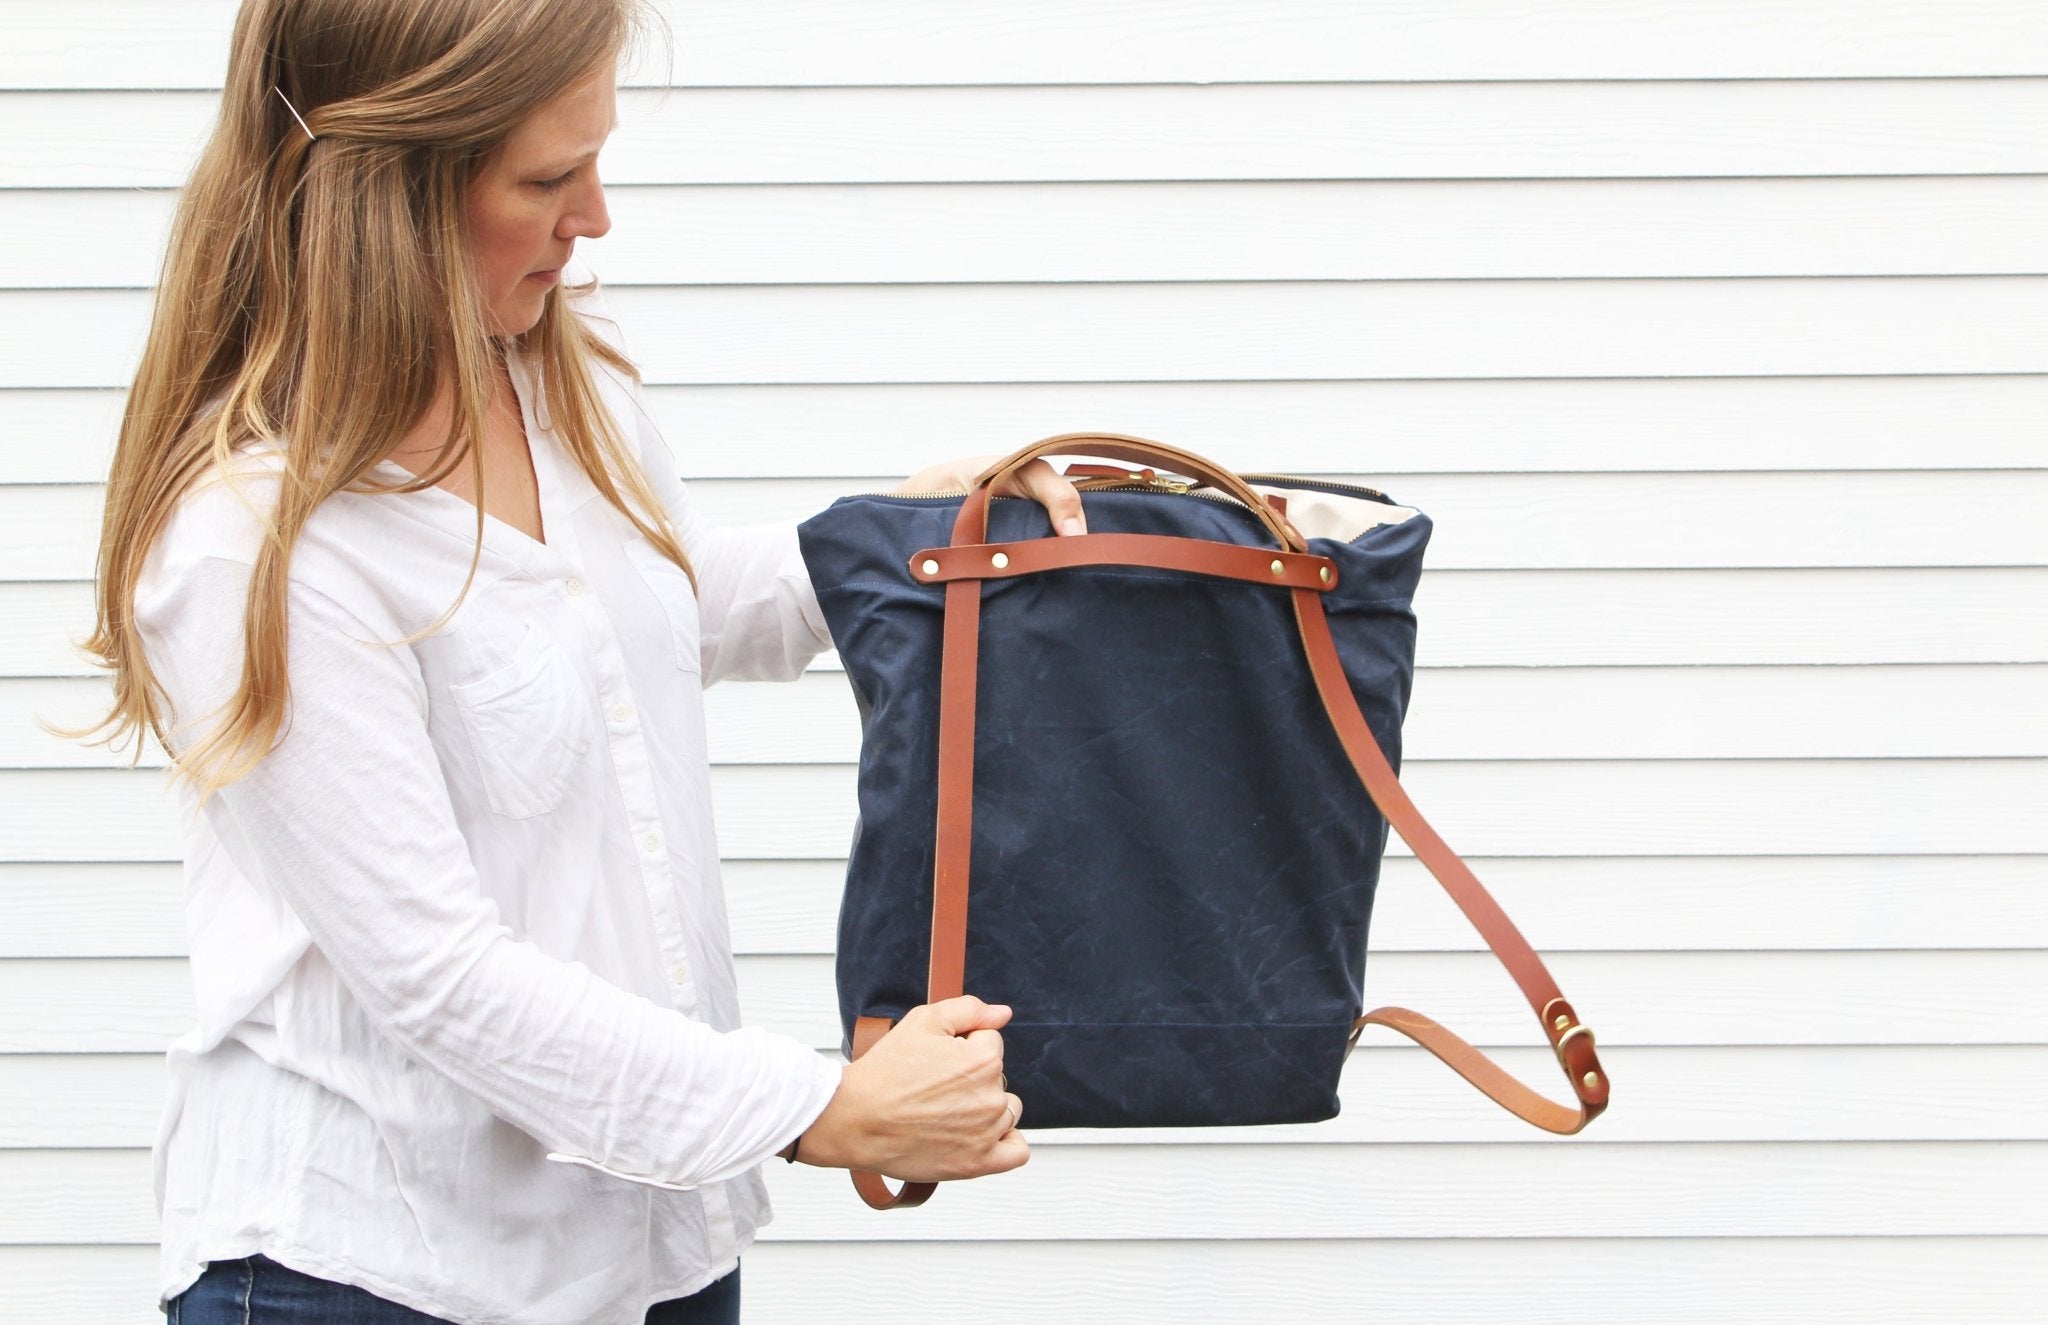
Leather straps attached with rivets add a touch of class and a whole lot of durability to bags you make on a home sewing machine. They're perfect for sturdy handles, adjustable shoulder straps, or durable backpack straps.
Plus, there's something incredibly satisfying about working with leather. The smell, the texture, the way it develops a unique patina over time.
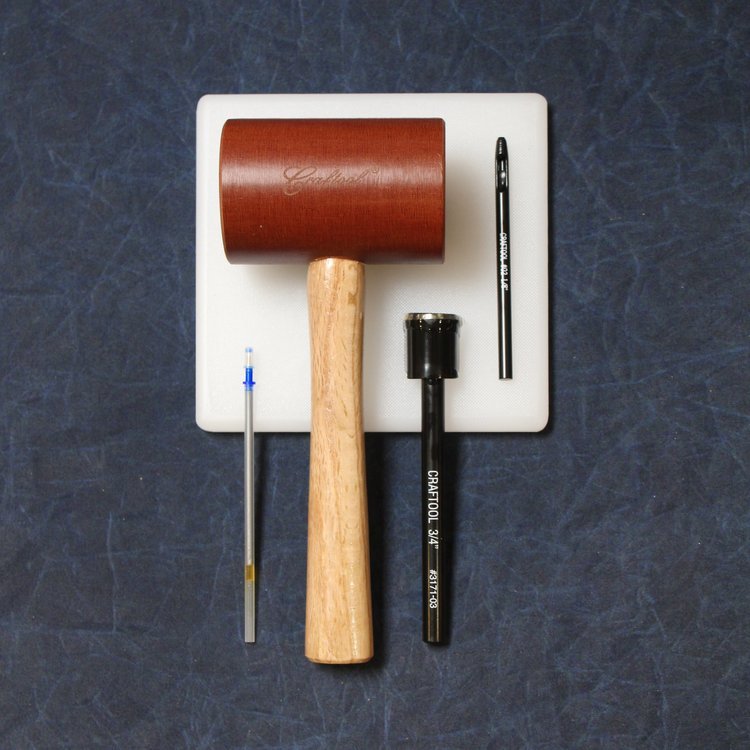
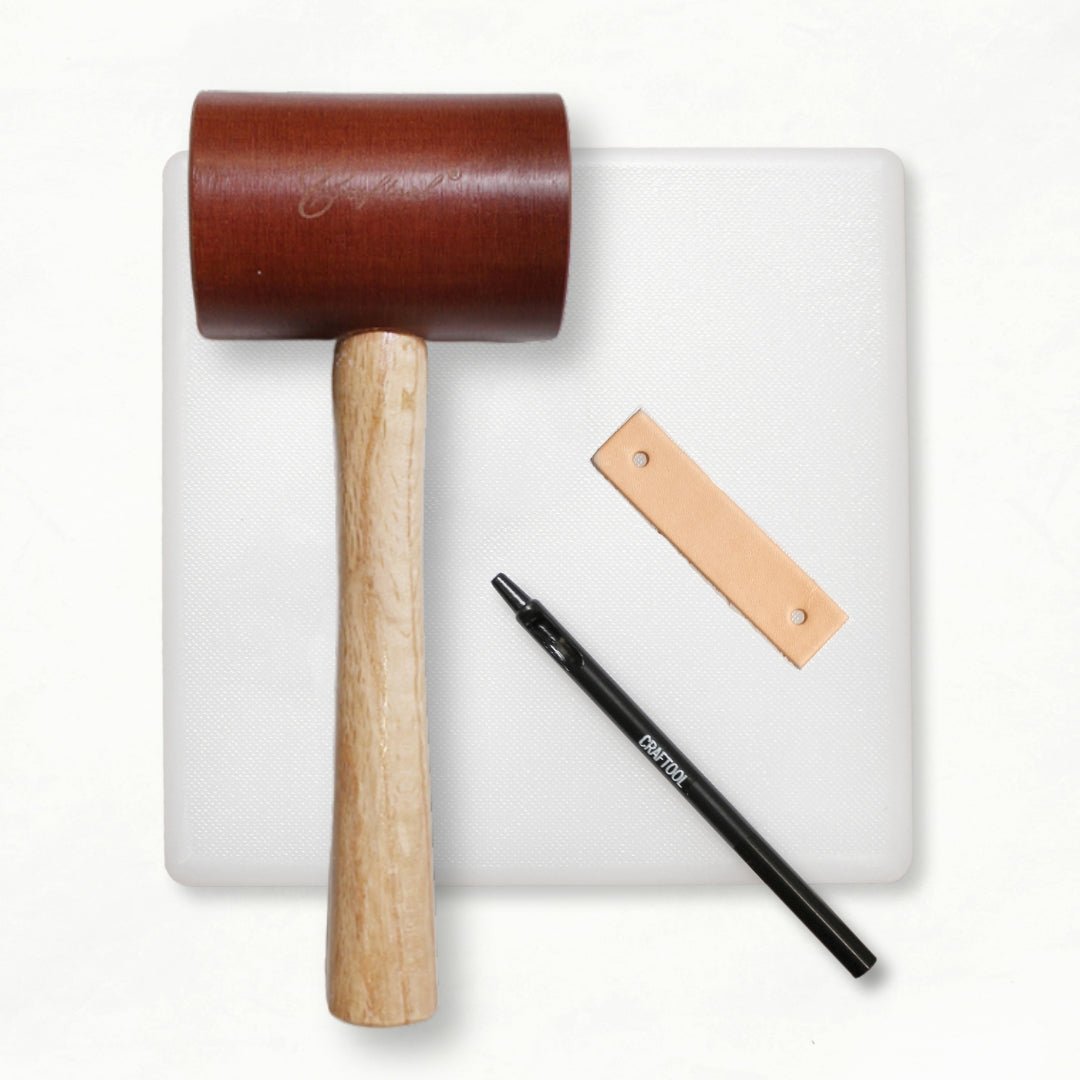
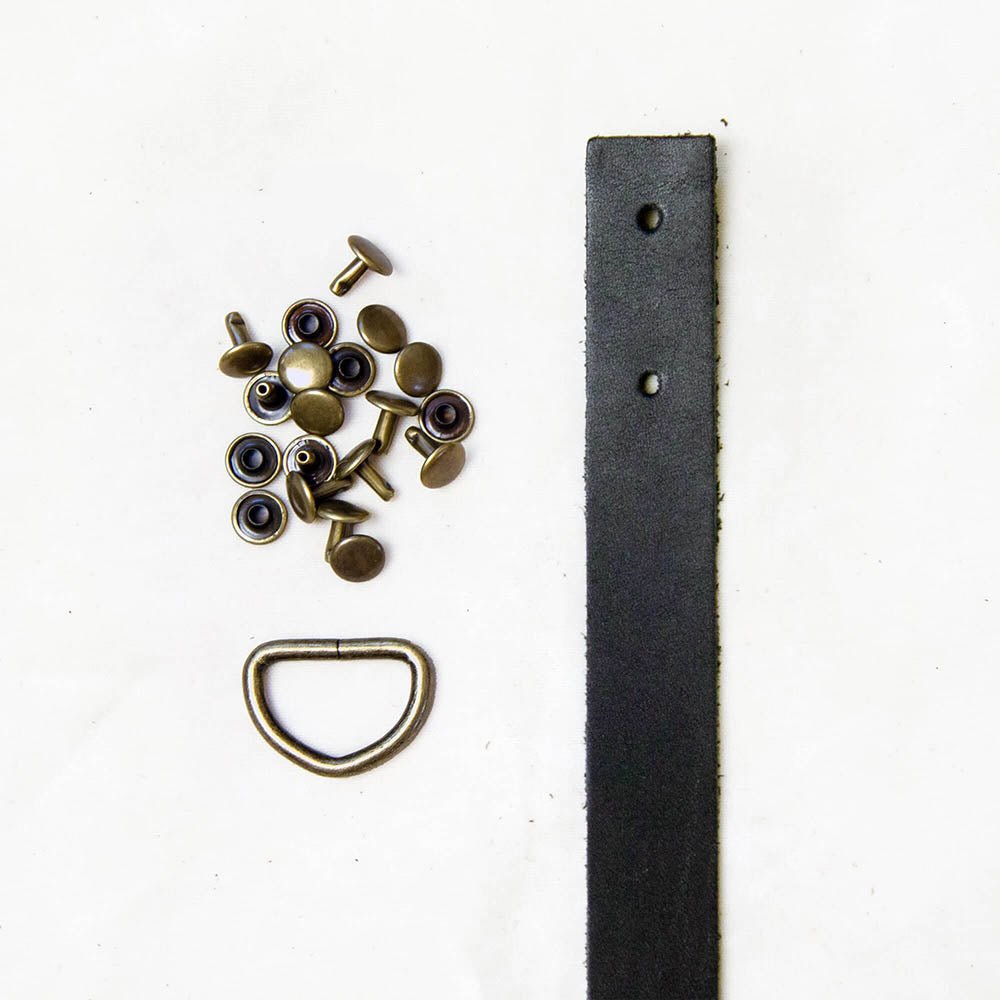
Sure, you'll need a few special tools, like a round end punch for shaping the ends. But once you get comfortable with leather, you'll be looking for excuses to add it to all your projects. Our tote strap kit skips the cutting entirely, with all of the leather and hardware you need to add straps to any tote bag. All you need is a hammer.
Every strap tutorial, in one place
Leather shows up on nearly every bag we make, so we've filmed most of it. Here's the whole library. ▶️ means there's a video.
- Guide to Vegetable-Tanned Leather. What veg-tan is, why it darkens and softens, and how to care for it.
- ▶️ How to Make Leather Straps for Bags. Cutting strips from a hide, rounding the ends, punching the holes. Two videos.
- ▶️ How to Stamp Leather. Stamping a name, a monogram or a message into a leather tab or strap.
- ▶️ How to Rivet Leather Straps to a Bag. Attaching handles to a finished bag, with leather washers and a D-ring.
- ▶️ How to Install a Buckle on a Leather Strap. Riveting a center bar buckle onto a leather strap.
- ▶️ How to Install Chicago Screws. The attachment you can undo, for straps you want to swap or adjust later.
- ▶️ Two Ways to Topstitch On a Home Machine. The two-thread hack, for when you are sewing leather rather than riveting it.
- ▶️ Bag Making Rivets 101. Which rivet type, what size, and every tutorial for setting them.
- Size Inclusivity in Bag Making. Longer straps across our patterns, and how to find the right fit for your body.
Level up your bag making skills with our ✨FREE✨ Bag Maker's Guide to Leather + Rivets.
Download Free Leather Guide
Leather


About the Author