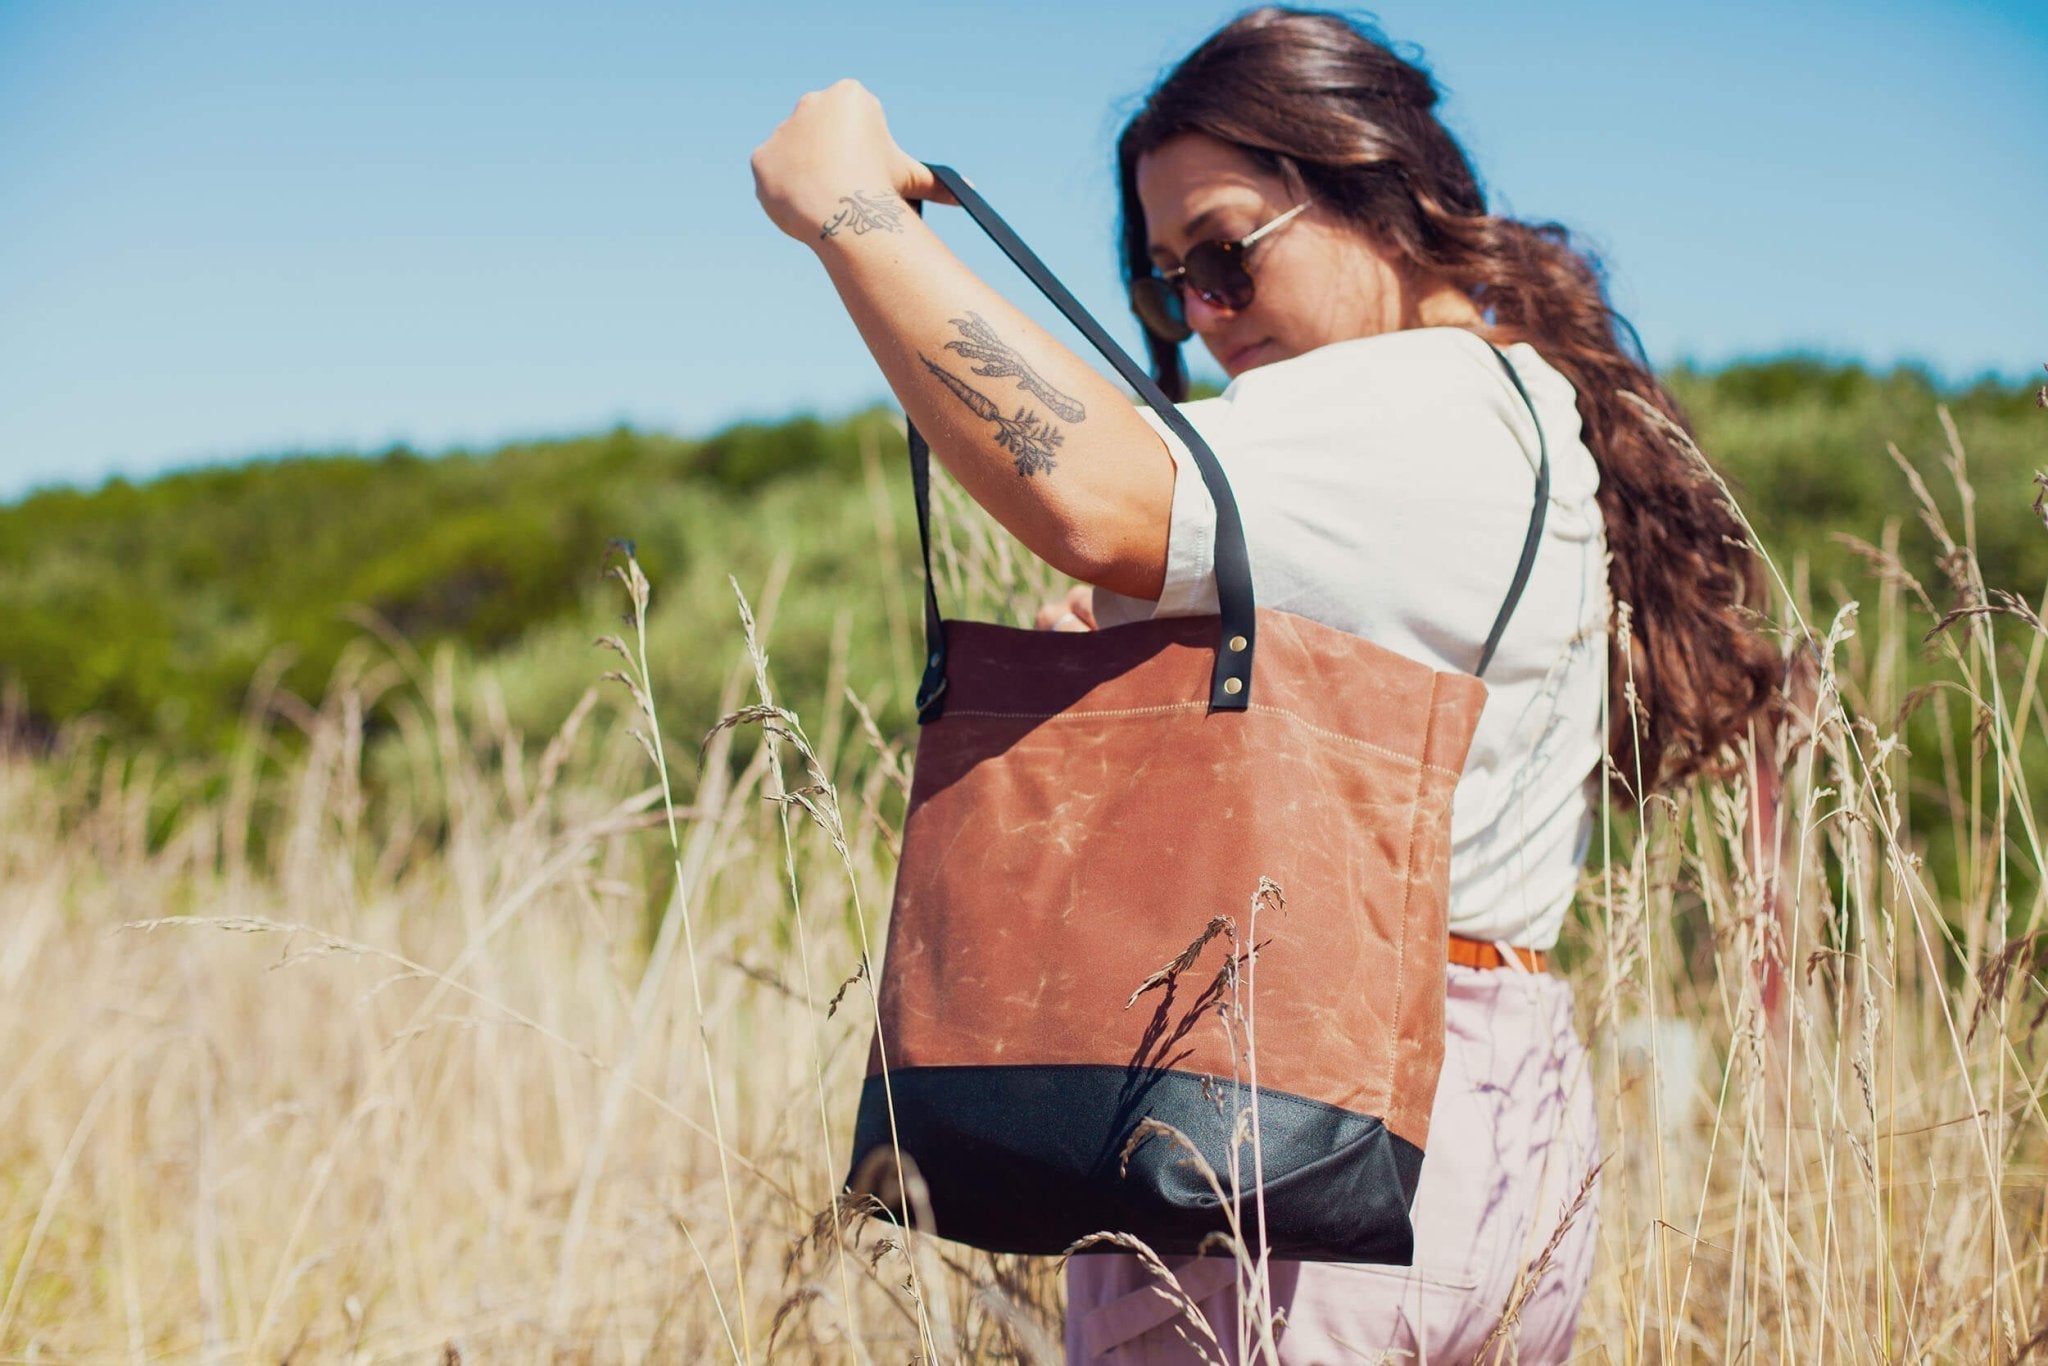
At Klum House we love adding leather to our bags using metal rivets, whether it's tote bag straps, zipper pulls, or reinforcement tabs. Setting leather with rivets is a great bag making skill to have, especially if you're working on a home sewing machine that isn't strong enough to sew through leather straps.
This tutorial can be used for any of your bag projects & covers:
- How to use leather washer reinforcement on your attachment points to ensure longevity of your tote bag straps
- How to use a drive punch
- How to insert a D-Ring onto the strap
- Best techniques for hammering strong & secure rivets by hand
Tools + Supplies
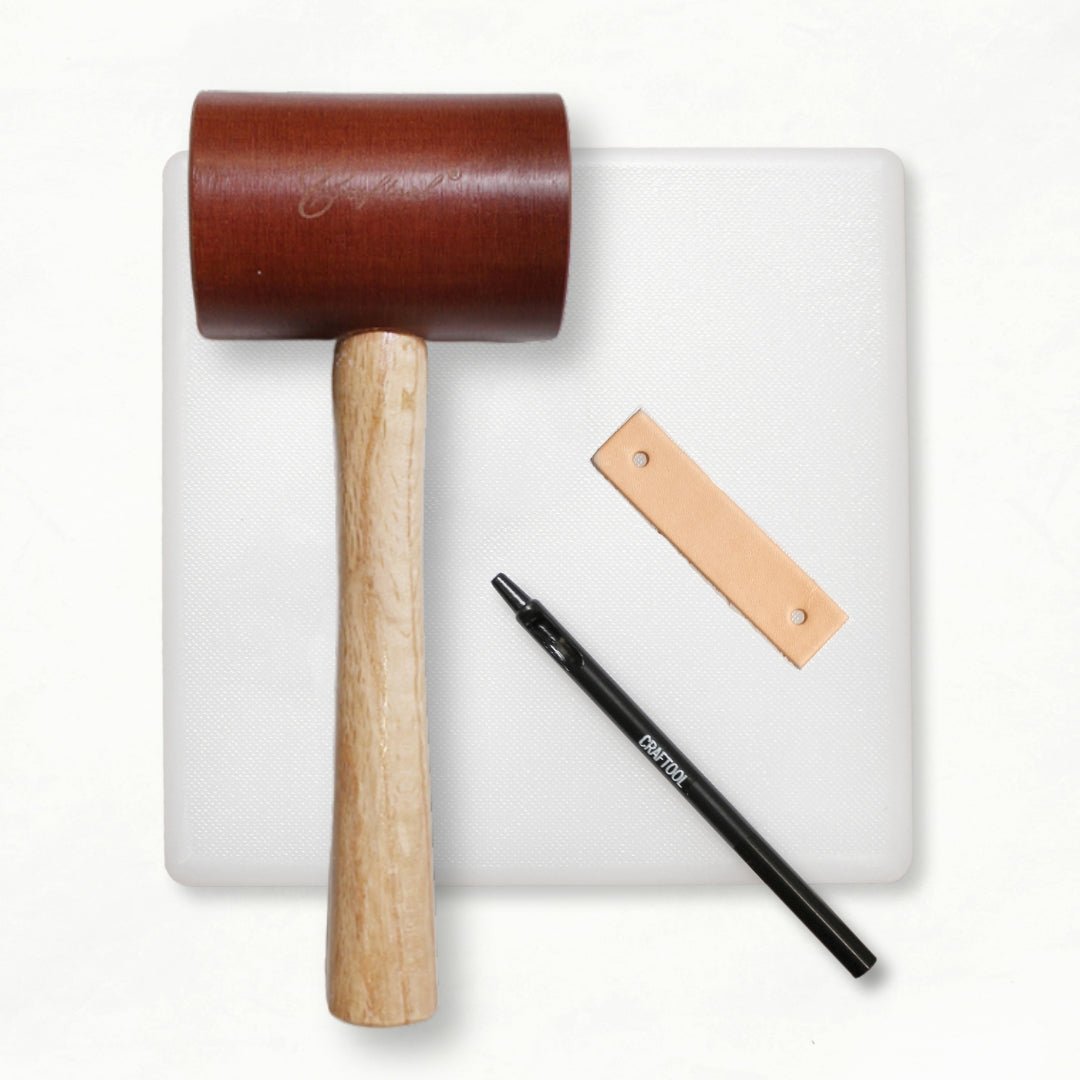
- A Drive Punch in 3/32", sized to your rivet post
- A Poly Punching Board, to punch into
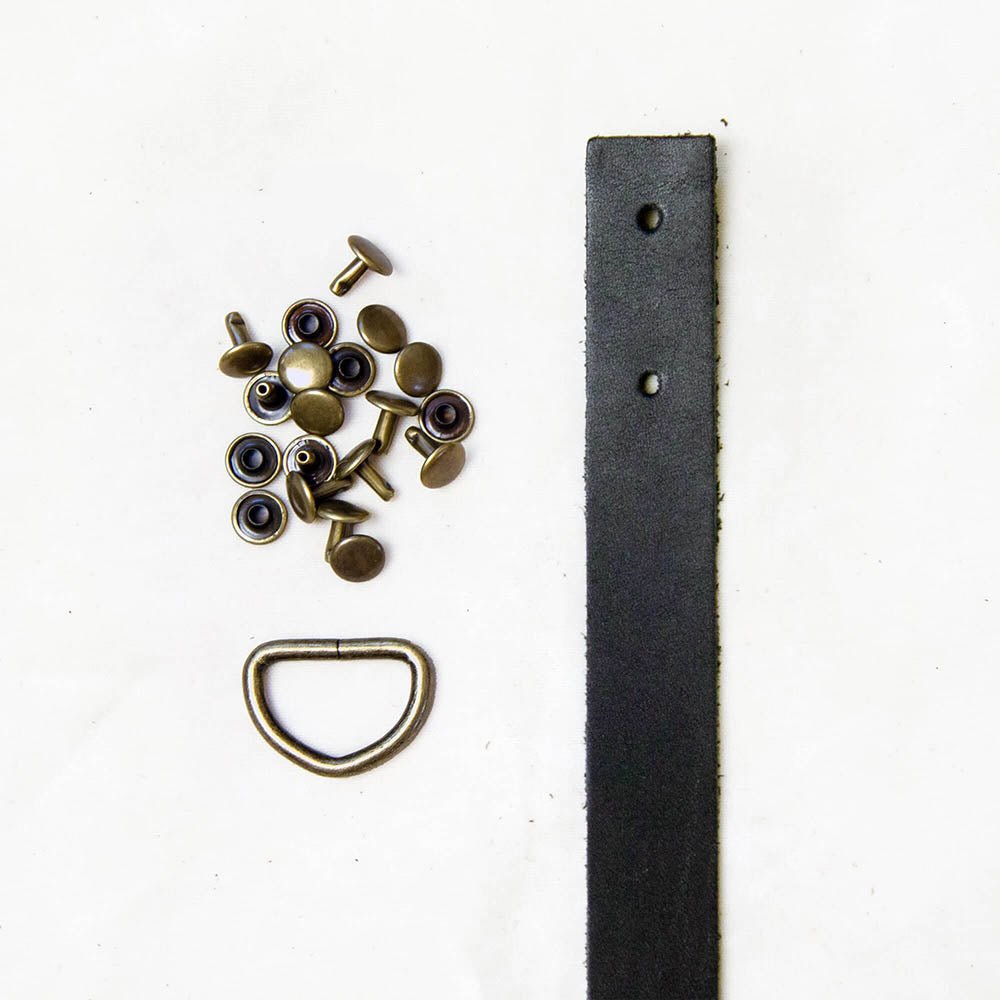
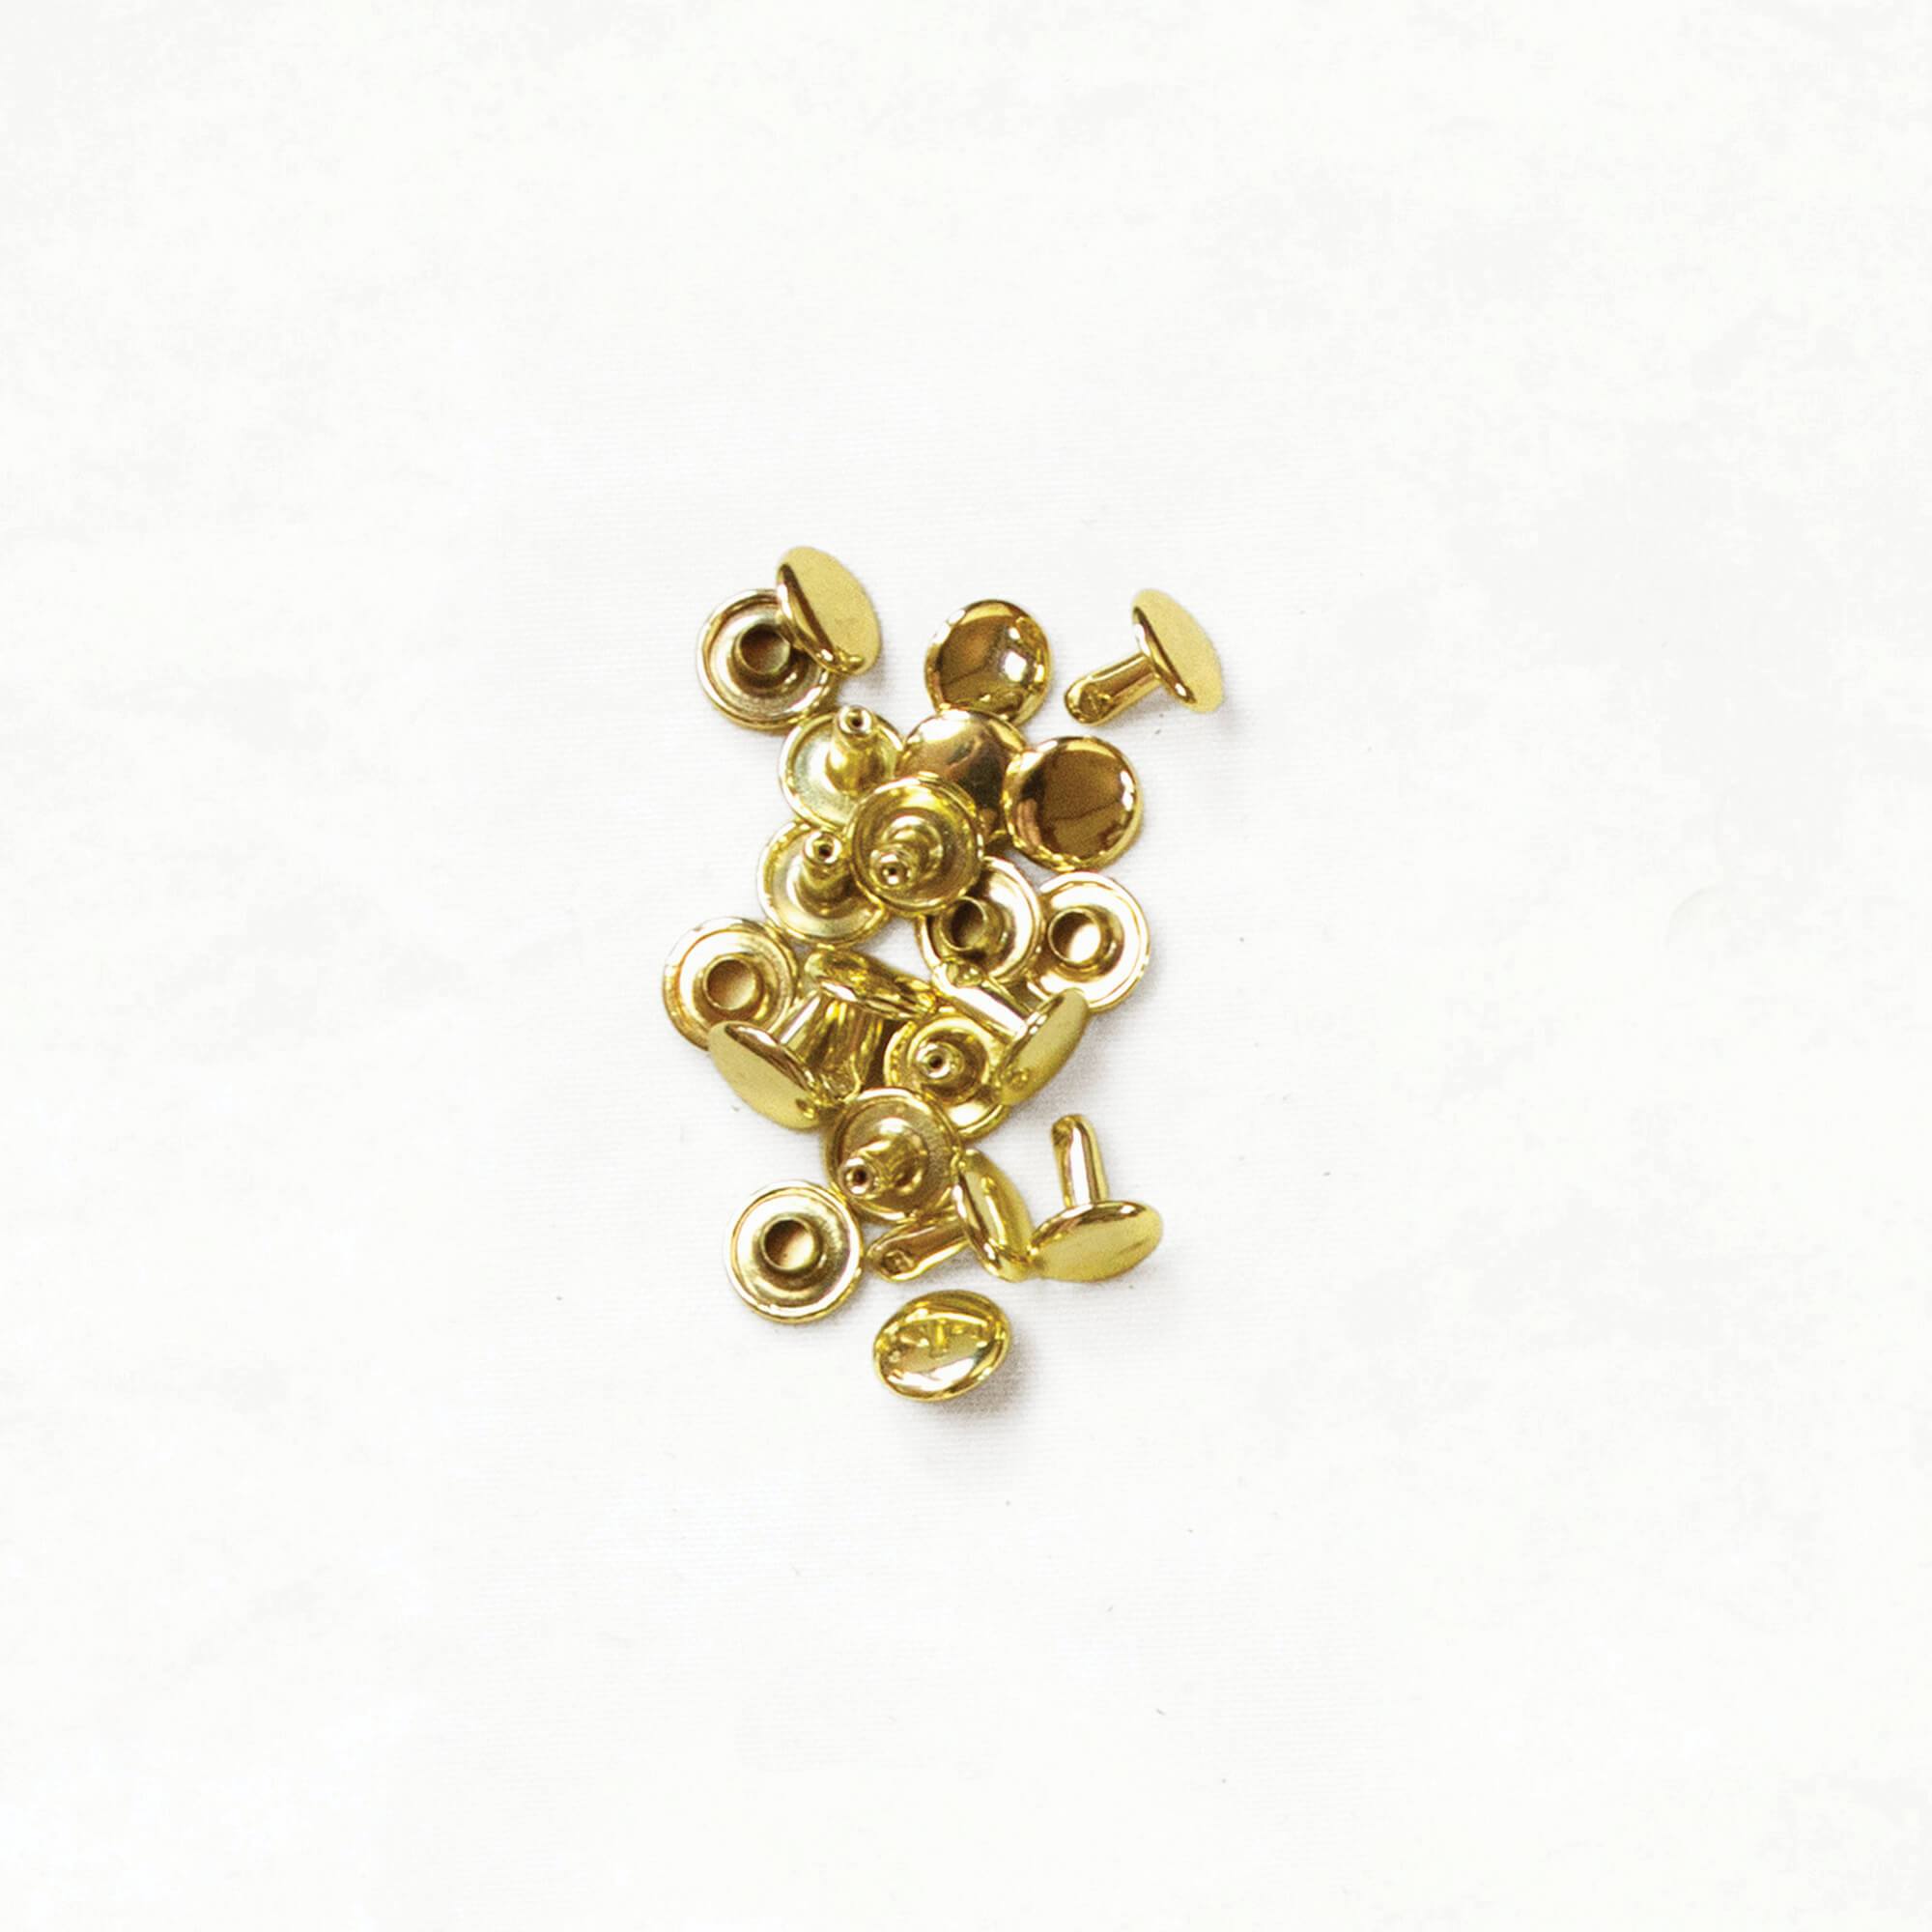
- Eight Double-Cap Rivets, four per handle
- Eight Leather Washers, one per rivet
- A 3/4" Metal D-Ring, if you want somewhere to hang your keys
- A hammer, and something hard and flat. We use a Granite Slab.
Punching the holes
Lay the bag down and put your punching board inside it. Then punch all the way through all your layers of fabric, at your rivet placement points.
Do all of them in one go so the holes line up.
Not sure which barrel to use? Hold the rivet post up against them and match the hole to the post. Our Leather and Rivet Pairing Guide has the sizes. A hole that's too big lets the rivet wander and set crooked.
Adding a leather washer
Whenever we're adding rivets and hardware onto our bag, we really want to make sure that we encase our fabric in leather. When the rivet is pulling, when you're holding the handle and holding the weight of the bag there, it's pulling against another piece of leather. Because over time this part of the rivet will cut into the fabric as it rubs.
The leather washers are so essential for you to have a strong attachment point for your leather onto your bag. They aren't a fix for something that went wrong. They're how the strap gets built in the first place.
Thread the stem end of the rivet into a leather washer first, then up through the bag.
Attaching the handle
What's really cool about double cap rivets is you can actually set it up and check your work. It'll hold enough for you to move around the studio, or whatever you need to do to check it, but it's not set until we actually hammer it.
- Push the rivets up from the inside of the bag, so the stems come out the front.
- Lay your strap down on top, over the stems.
- Click the caps on.
- Go take a look before you commit to anything.
Checking your work
"Same strap, same side of the bag" is one of our mottos at our studio, and it's there because we've definitely put a strap on the wrong way before!
You really want to ask yourself, does what I'm about to do really make sense? We get really focused in, and we need to make sure that we focus out too. So we're not setting a strap across our zipper, for instance.
The other one we see all the time is folks putting the cap on before the strap is actually on there (So, forgetting the actual leather strap!). These are just little things where you're going to remind yourself to slow down and think about what you're doing here.
Adding the D-ring
The D-ring rides on the strap, in between the two rivets. It's really nice to have it there to hang your keys off of into your pocket.
- Pull the leather back off the stem.
- Thread the D-ring onto the strap.
- Put the strap back down on the stem.
- Cap it.
Setting the rivet
One of the reasons bag making is so much fun is that you get to use the power and strength of your body. I mean, who doesn't love whackin' the sh*%! out of some rivets! 💪
What we like to do is hammer from the inside of the bag, because in case we miss and dent a rivet, we're denting a rivet on the inside of the bag. On a strap attachment, that also means the damage lands on the washer instead of the strap.
Make sure there's nothing in between the rivet and the stone. Having it on a nice flat stone surface really helps the rivet set flat. Check that your strap isn't twisted while you're down there.
A lot of people think they need to come in with a lot of force and just get those rivets in. But if you do that, you run the risk of taking the rivet stem and setting it crooked, and then it's not a strong rivet. So we coax it down with light taps, and then add a little bit more heavy blows as it starts to set down.
Two rivets side by side can be set at the same time. That's fine to do.
How to tell when a rivet is set
You're going to know that your rivets are set because you can start to see them dent into the leather. That little indent is a nice strong set rivet.
If the cap still stands proud, or spins, keep going.
Setting the rivets around a D-ring
The D-ring is actually going to obstruct your ability to hammer a rivet flat. So you need to hammer one rivet at a time.
Do the top one first, then move the D-ring up out of the way to set the bottom one. Still from the inside, still starting light.
Then go ahead and do your next strap on the other side.
Hammering stuff is just so fun.
How to remove a messed up rivet
It happens. A rivet goes in crooked, or a strap ends up somewhere it shouldn't. Rivets come back out.
Here's to seam rips and crooked stitches and getting out that trusty rivet removal tool every once in a while. We walk through both rivet types, with and without the tool, in How to Remove Rivets from Leather.
If rivets are new to you, start with ▶️ Bag Making Rivets 101. It covers both types, how to pick a size, and where every other tutorial lives.
For the strap itself, ▶️ Leather for Bag Straps 101 covers which weight and type of leather to use, and every strap tutorial in one place.
Want the sizes, pairings and hardware basics in one place? Grab the free Leather + Rivets Guide.
Rivets


About the Author