At Klum House, we’re strong believers that you don’t need a fancy sewing machine or industrial equipment to make amazing, professional-quality bags, but you will need some essential tools and supplies to be successful. Here are our faves!
We are very passionate about tools around these parts. In some ways, bag making is a hybrid between sewing and something closer to woodworking. We work with leather! We use tools! So your toolbox needs two halves: sewing tools for the machine, and specialty tools for punching holes and setting hardware.
Watch Ellie walk through all of her favorite bag making tools below — she’ll explain why you need each of them and show you how they work.
What Sewing Tools Do You Need to Start Making Bags?
These are the tools we use ALL the time in our bag making projects: a home sewing machine, denim needles, all-purpose thread, craft clips and flat head pins, fabric pencils, a quilting ruler, a rotary cutter and self-healing mat, a seam ripper and thread snips. We highly recommend adding them all to your toolbox!
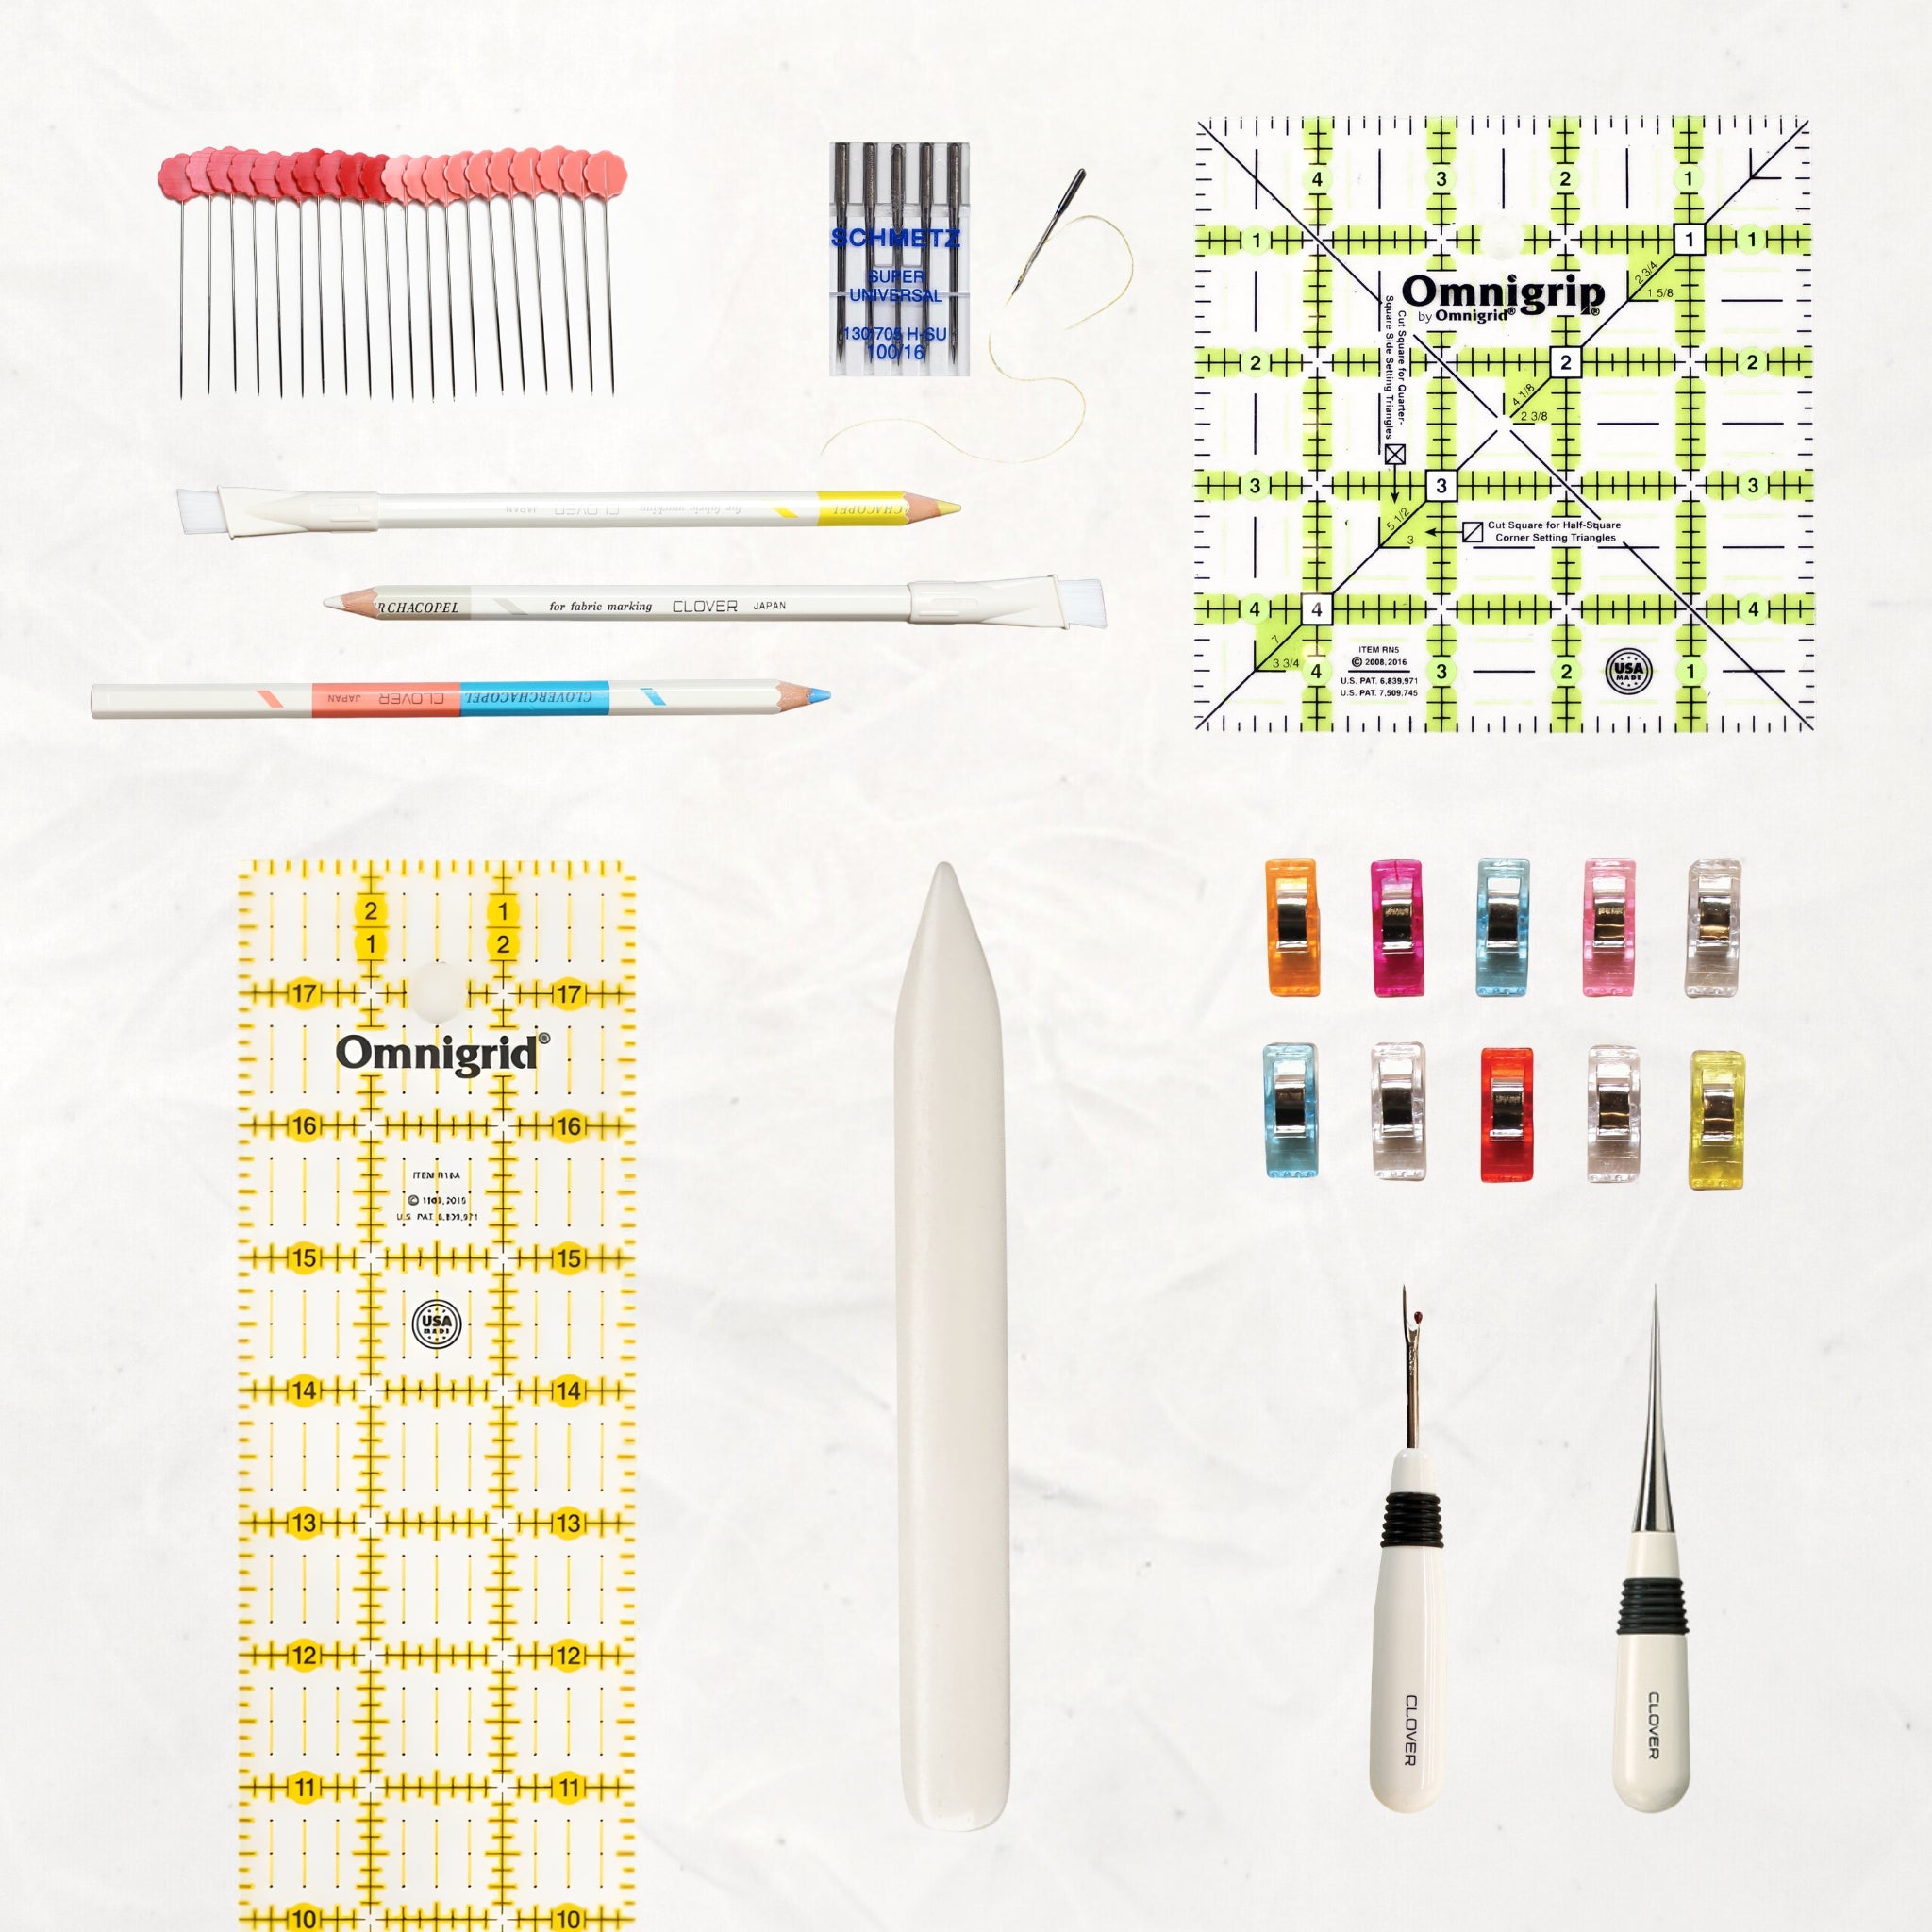
Here’s what each one does — and which ones you can get away with not getting.
Your Sewing Machine

All of our bags are designed for success on a home sewing machine. We test our patterns on a variety of home machines and find that the majority of them, if they have been well maintained and have a sharp needle, are up for the task. Chances are your machine can handle it just fine. Just show it who’s boss!
If you don’t yet have one, a couple of our favorites for beginner bag makers are the Singer Heavy Duty 4423 and the Janome HD 3000. We’ve used these machines for years in all of our bag making workshops! And for the odd bulky seam — like the ones on the Slabtown Backpack — a walking foot or a thick seam jumper can give your machine that extra boost it needs to power through.
How to Choose a Sewing Machine for Bag Making covers which machines we recommend, how to tell if yours can handle bags, and which attachments are worth buying.
All-Purpose Thread

Using the correct thread for your project is important. Inexpensive threads tend to be weak and fuzzy, and eventually will lint up and clog your tension disks. Our favorite thread for bag making is all-purpose polyester thread. It’s super strong and comes in a variety of colors to match our waxed canvas!
Needles
Choosing the right needle for your project is based on the type and weight of fabric you’re working with (i.e. knit vs. woven) and the thickness of your thread.

Denim Needles
For almost all of our waxed canvas bag projects, we use a sharp, size 100 denim needle. They’re great for stitching through multiple layers of heavy-duty fabric without breaking.

Topstitching Needles
The Slabtown Backpack, however, calls for a topstitching needle, which has a bigger eye and a more rounded sharp point, making it easier for thick topstitching thread to pierce through the fabric.

Nonstick Needles
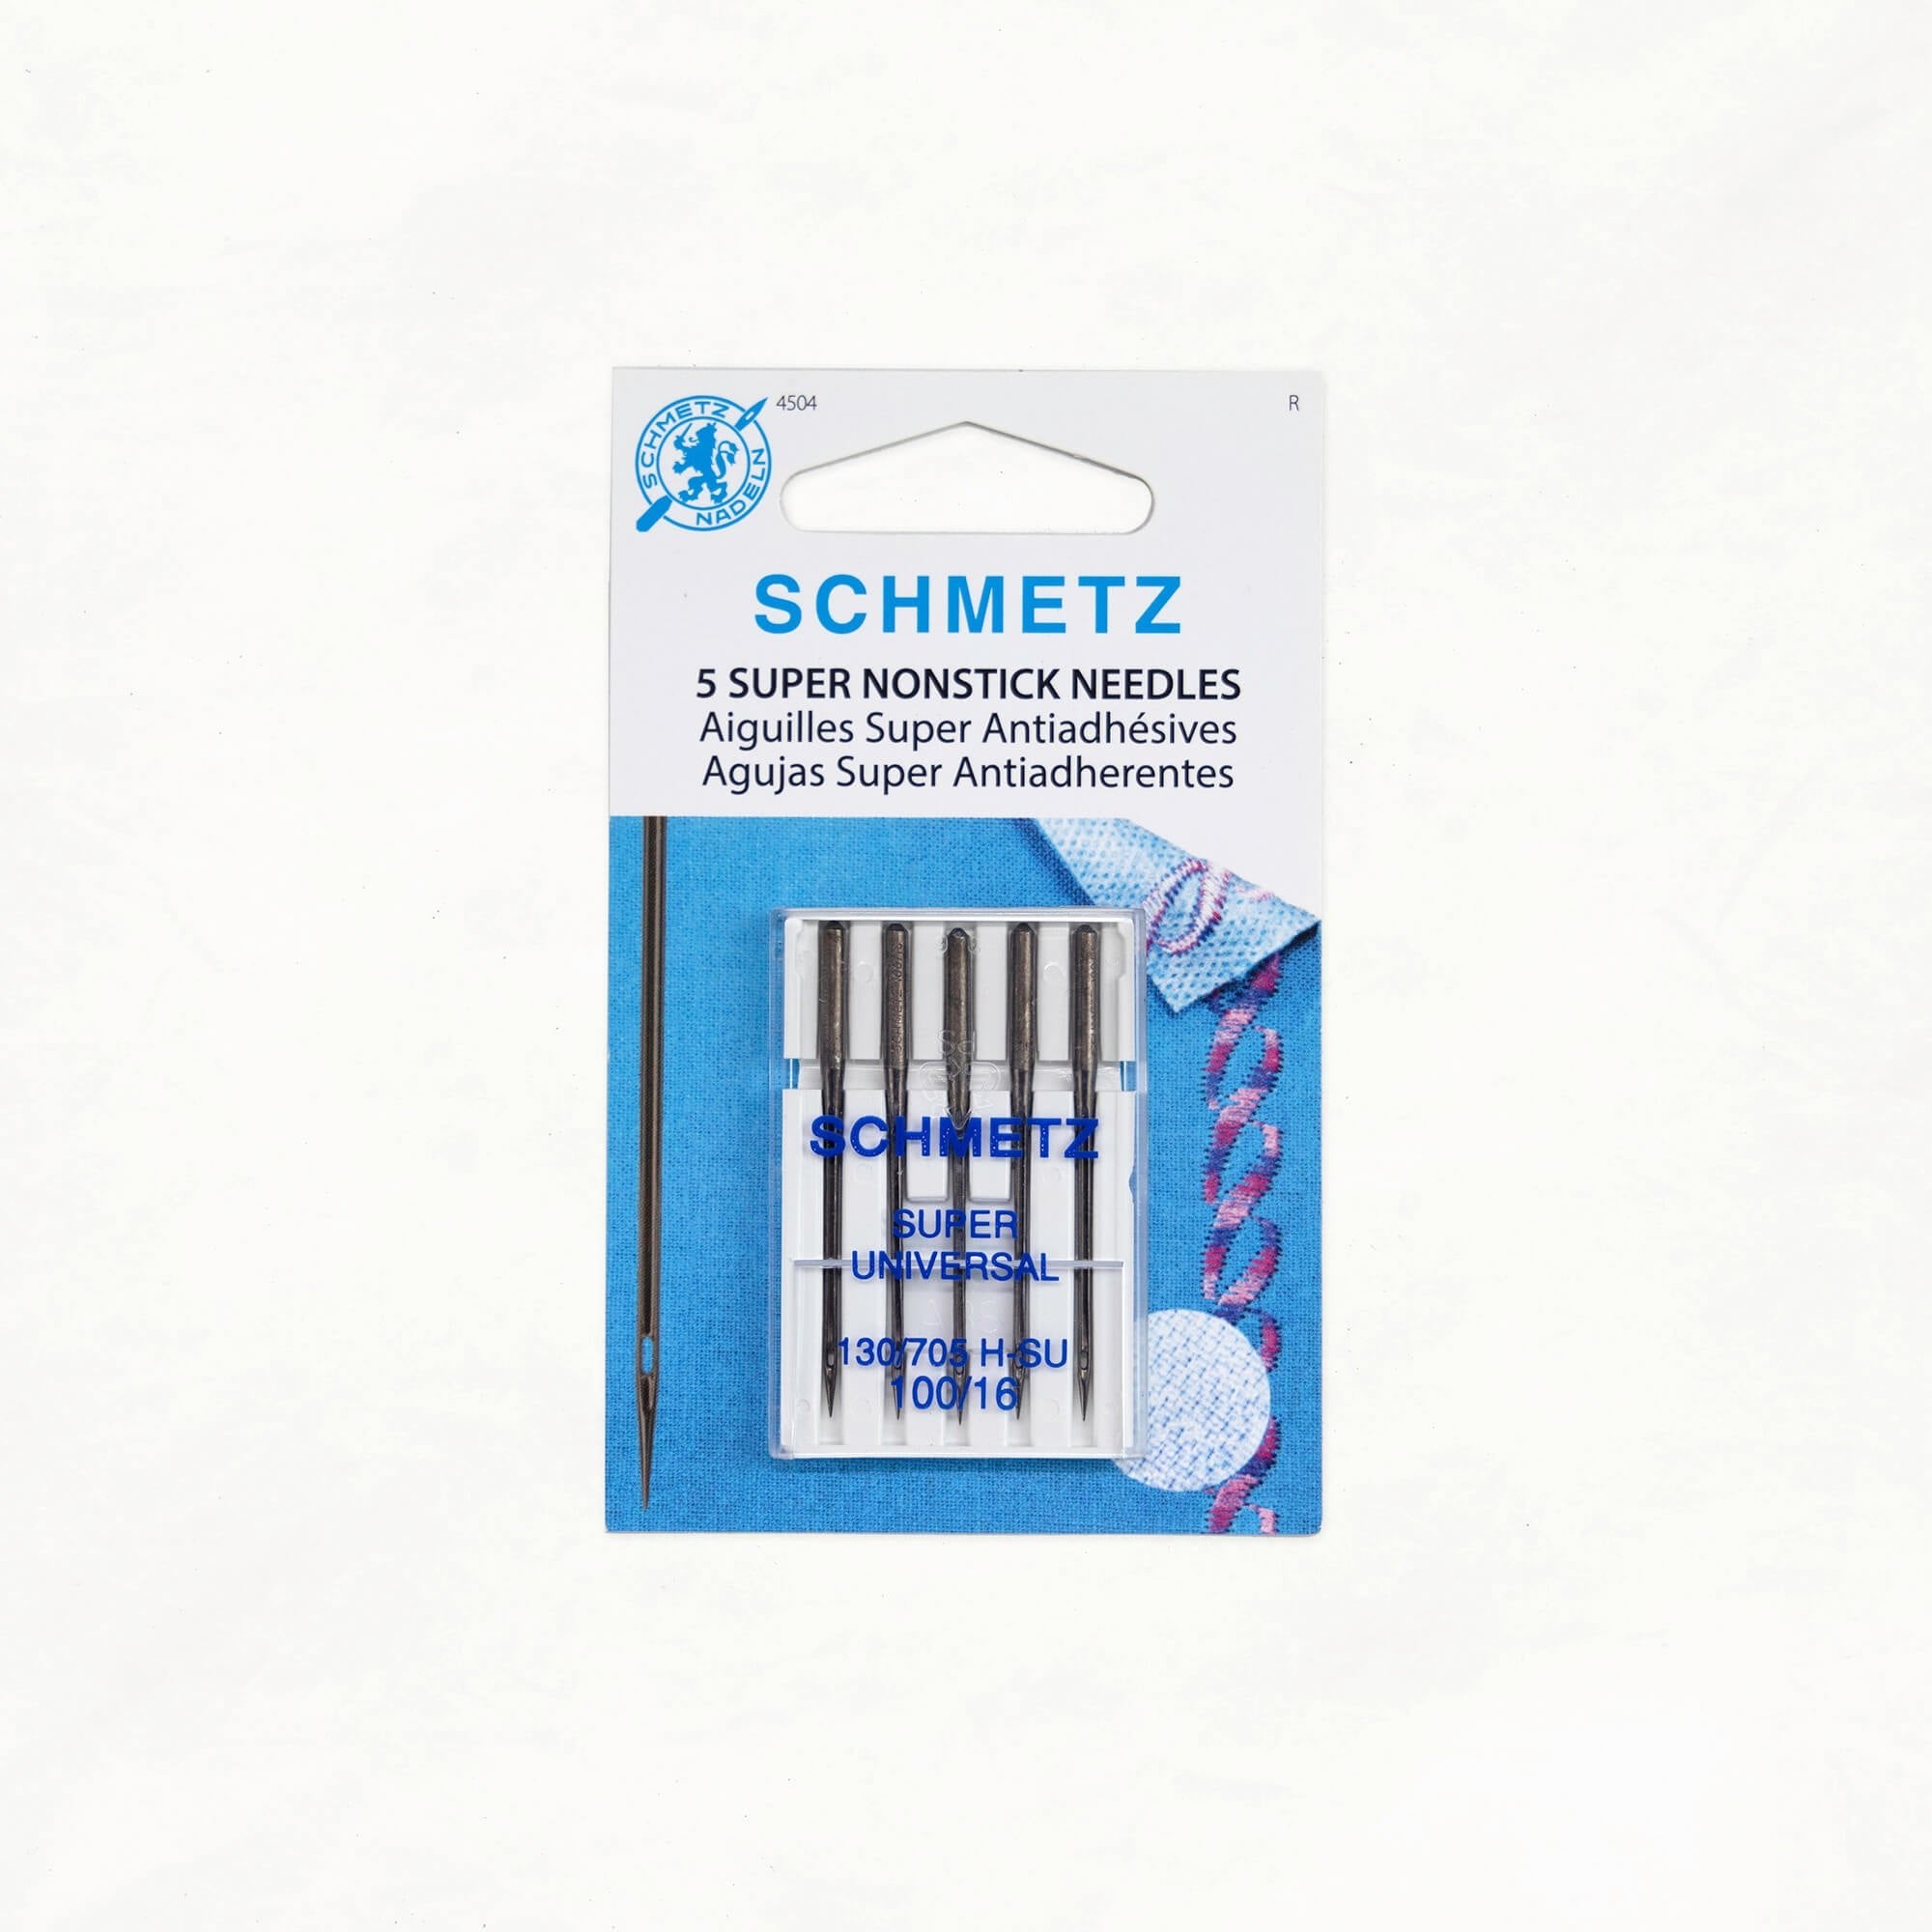
Sew smoothly through waxed canvas without gumming up your needle! A 5-pack in size 100/16.
Fabric Pencils
Whether you’re drafting pattern pieces onto fabric or stenciling small rivet placement marks through a template, using a high-quality fabric marking tool is key.

Fabric Pencils
These fabric pencils from Clover are great for making curved lines and smaller, precise placement marks for things like rivet holes. They create impermanent marks that can be rubbed away — choose a contrasting color for the best visibility.
Bone Folder + Steel Roller

Bone Folder
A bone folder is great for pressing crisp folds in fabric, but did you know that if you’re working with waxed canvas it can also replace your fabric pencil? 🤯 Run this tool along a quilting ruler and it perfectly scores a light, visible line into the wax. So cool.

Steel Fabric Roller
Like the bone folder, we use this one to press crisp, heat-free folds into waxed canvas (or any type of fabric!). It comes in handy for quickly pressing long folds — straps, top hems, top bands — with very minimal effort. Heat can damage coated or waxed fabrics (and they’ll ruin your iron!), but this gives a clean, heatless press with no outlet or wait-time required.
Craft Clips + Flat Head Pins
When working with multiple layers of heavy-duty fabric, we generally prefer using craft clips rather than pins. Craft clips are fuss-free and have a strong hold, so they won’t move around on you. Pins have their place too though, and are great for lighter weight fabrics or for flagging a precise point. Every bag maker’s studio should have both!

Craft Clips
Craft clips are great for holding multiple layers of thick fabric in place when straight pins just won’t cut it. Plus, they come in a bunch of cute colors!

Flat Head Pins
Once you try these flat head pins, you’ll never go back. These cuties are flexible, durable, sharp, and stay sharp. Plus — you can easily lay a quilting ruler over them when making bags.
Seam Ripper + Thread Snips
An inevitable part of becoming a bag maker is making mistakes! We all make them. It’s one of the very best ways to learn.

Seam Ripper
Having a sharp, high-quality seam ripper nearby is essential for removing incorrect stitches quickly so you can start again.

Thread Snips
In the Klum House studio, our super-sharp thread snips are always within arm’s reach, ready to cut work from the sewing machine or clean up stray threads.
Quilting Rulers

With bag making you’ll use a long quilting ruler a lot. The one we sell in our shop is transparent with a non-slip back and easy-to-read markings. Use it to draft your fabric pieces, measure hems, draw long straight lines, and run a rotary cutter along for quick, precise cutting. (We also carry a 5" x 5" square ruler, which is especially useful for marking boxed corners!)
Rotary Cutter + Cutting Mat

Kai Rotary Cutter
Rotary cutters are designed to make straight cuts through leather or multiple layers of heavy-duty fabric with speed and accuracy. They can be used freehand or in combination with a quilting ruler but always with a protective cutting mat underneath. Look for a rotary cutter with a comfortable grip, sharp blade, and maybe even a safety lock for good measure! We love this rotary cutter from Kai.

Olfa Self-Healing Cutting Mat
If you use a rotary blade to cut fabric, you’ll need a self-healing cutting mat. They provide a reliable workspace that’s large enough to cut large widths of material, the gridded surface is excellent for quick measurement checks, plus they protect your work surface! We really like this double-sided 24" x 36" self-healing cutting mat from Olfa.
Edgestitch Presser Foot + Magnetic Seam Guide

Edgestitch Presser Foot
At Klum House, we are devout believers in the edgestitch presser foot! An edgestitch runs ⅛" from an edge or fold in the fabric. It’s possible to achieve this with a regular presser foot and a very steady hand, but this inexpensive foot — sometimes called a “Stitch in the Ditch” presser foot — makes it SO much easier. It has a little metal guardrail that rides along the edge of your fabric, keeping your stitches straight and parallel to it. We’ve found that it’s especially helpful when sewing through multiple layers of fabric and topstitching.

Magnetic Seam Guide
For seam allowances further in from the edge, a magnetic seam guide connects firmly to the metal faceplate on your sewing machine and can be adjusted to any position, so you can keep a straight, even seam allowance as you stitch.
Especially if you’re new to bag making, setting yourself up with all the right tools is SO important. We’ve tried all the tools and found the best ones, so you don’t have to 😊
What Specialty Tools Do You Need for Bag Making?
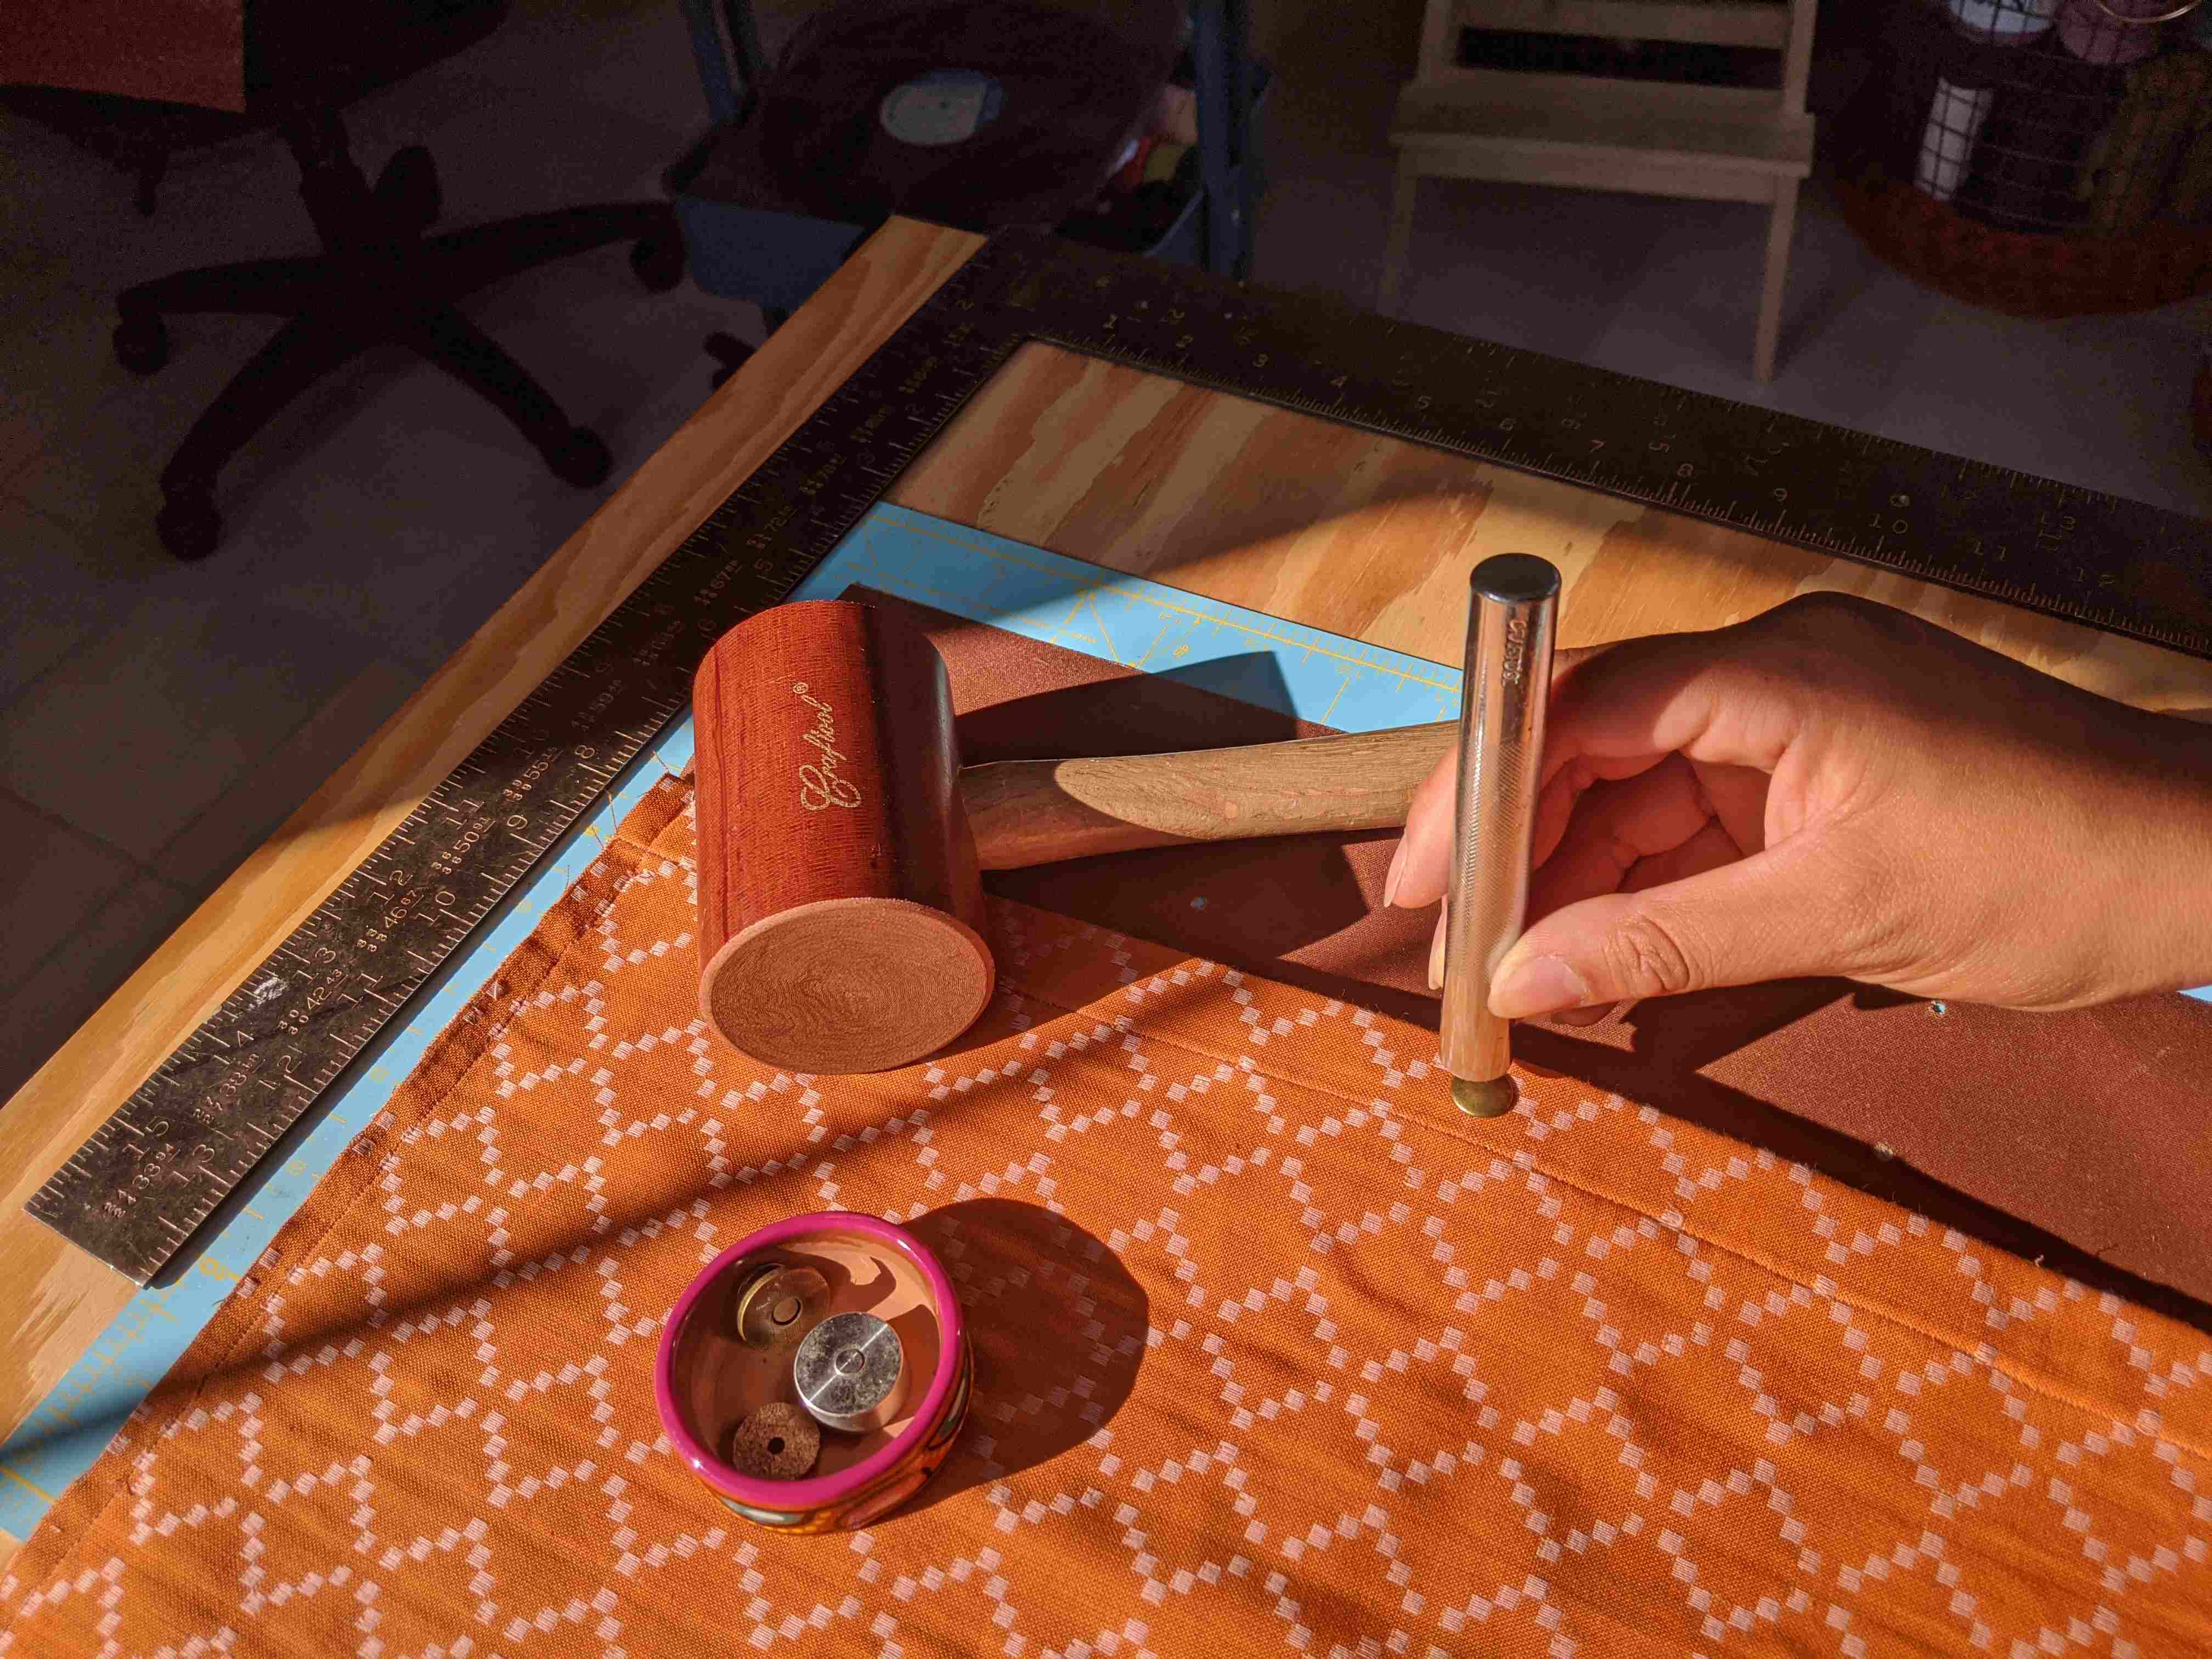
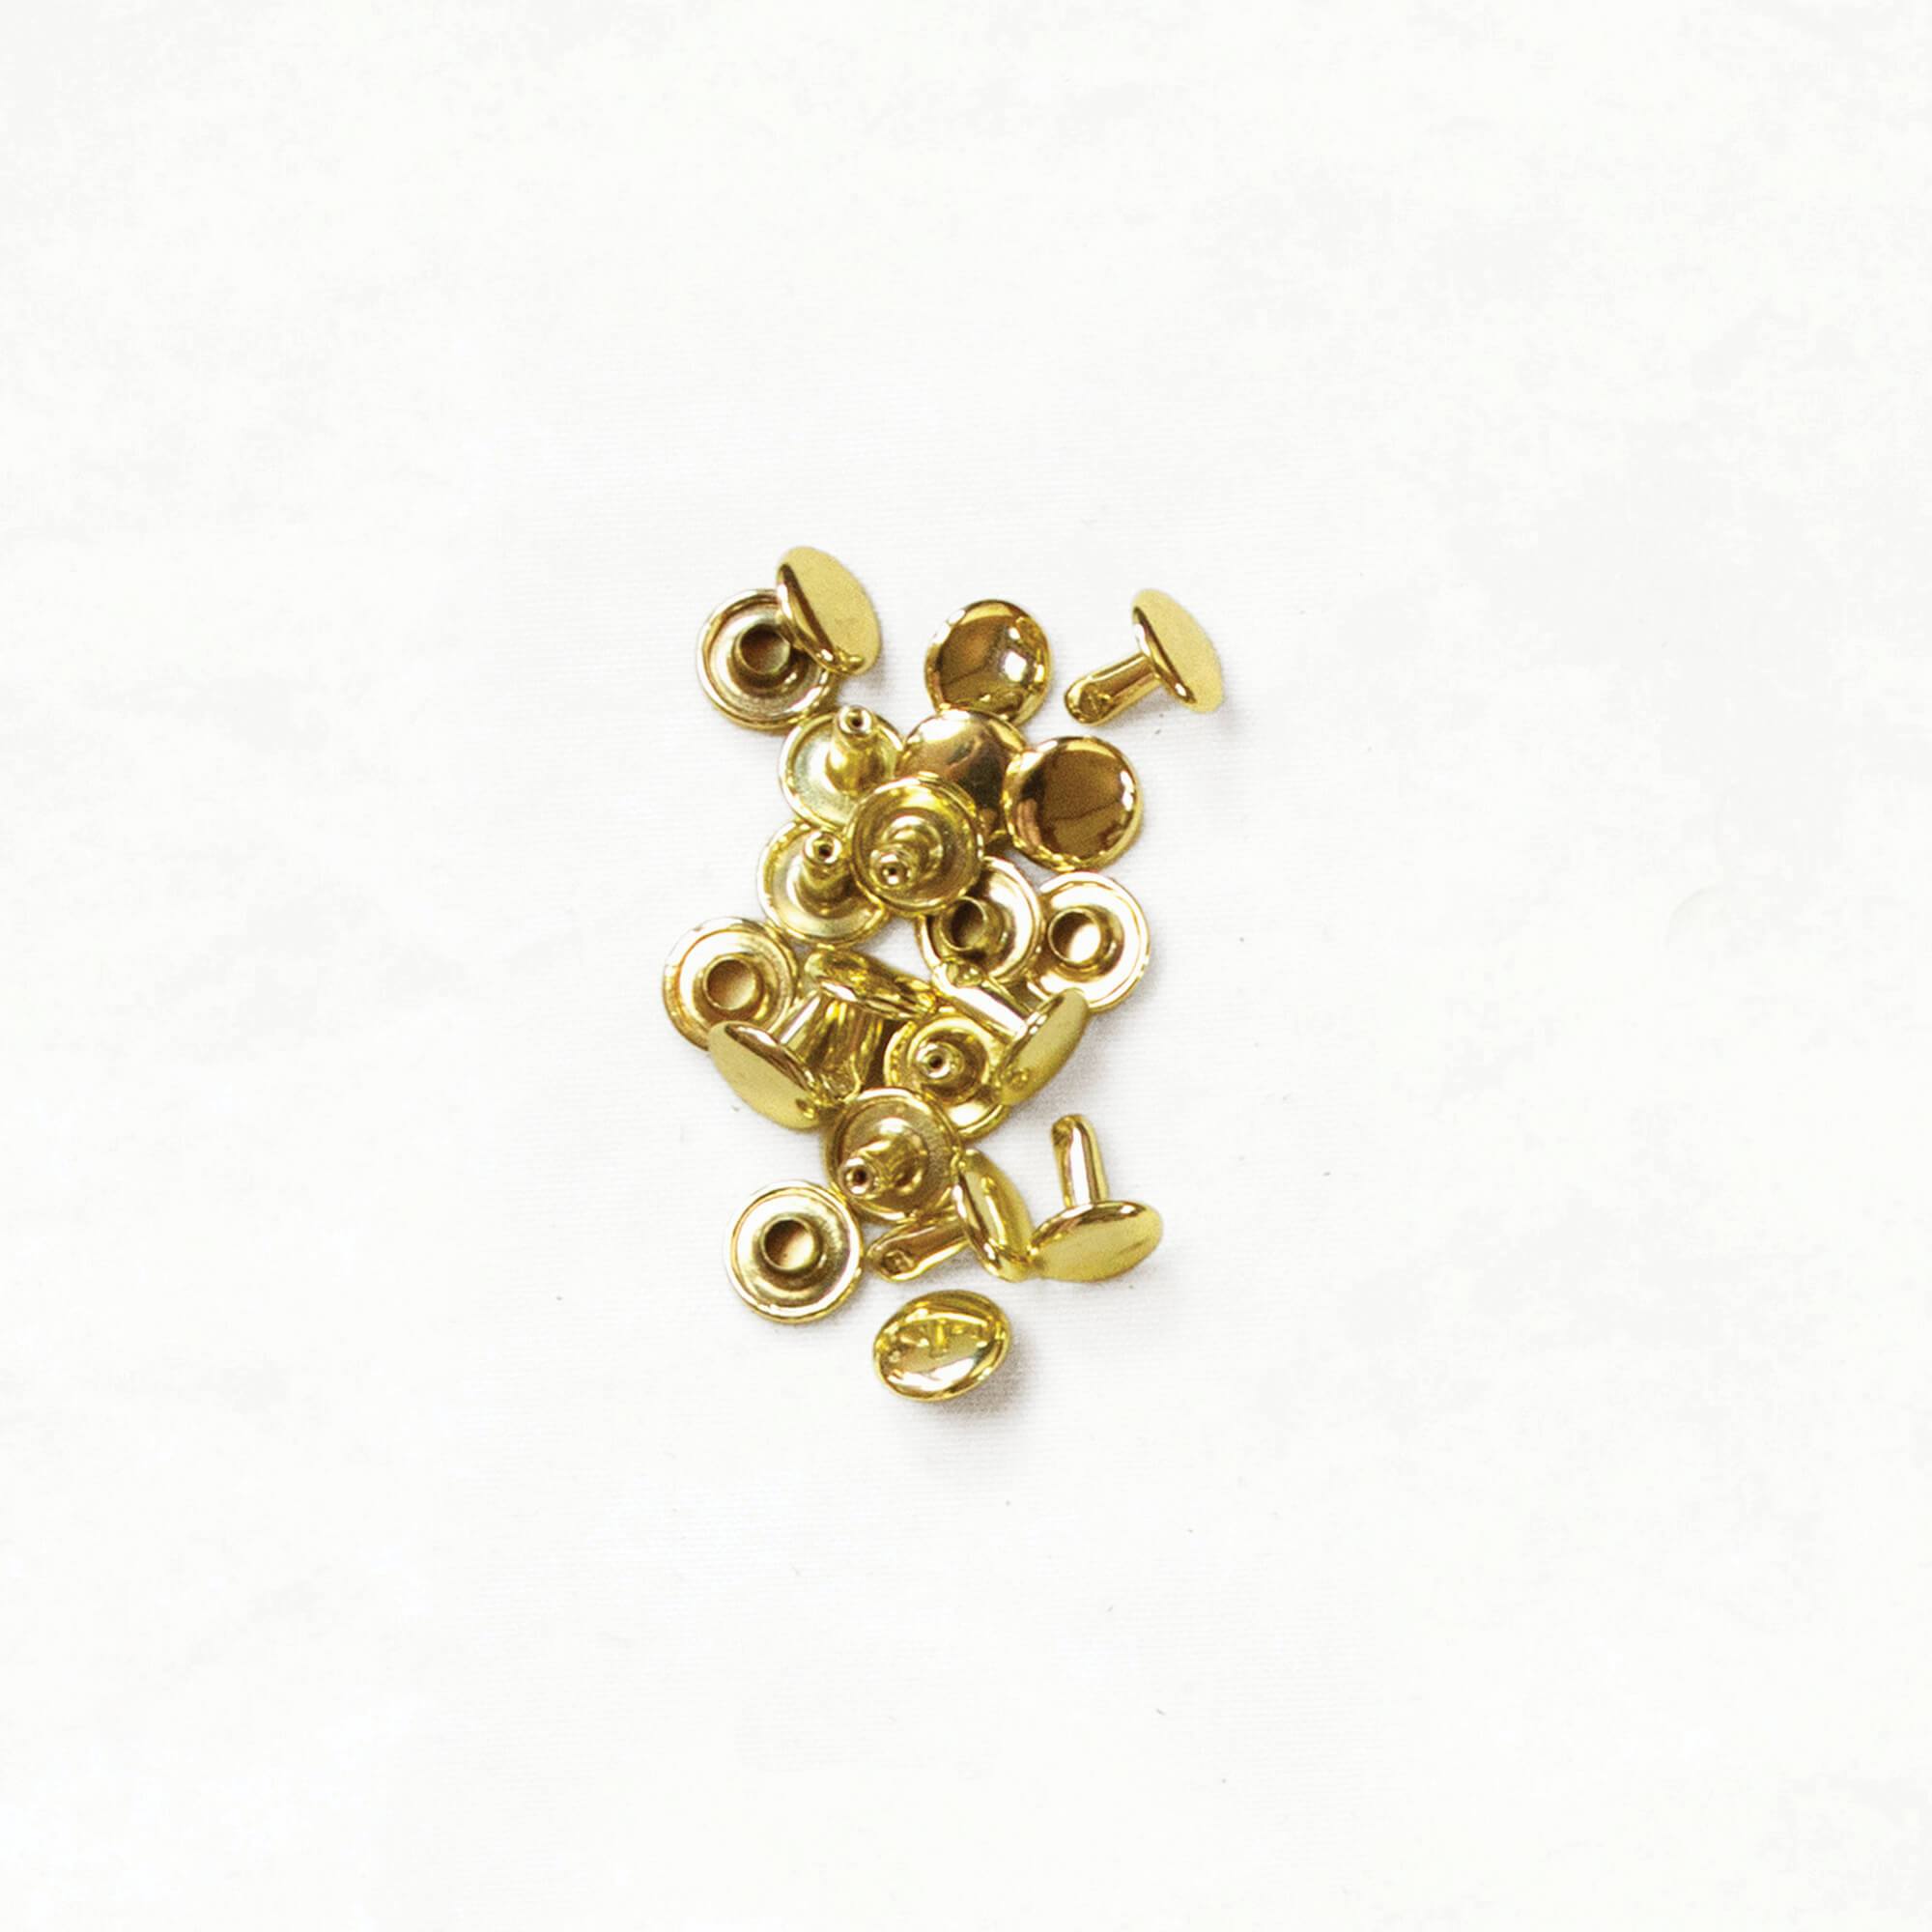
We don’t sew through leather on our home machines — we attach it with hardware! To work with leather and hardware, we use a variety of specialty tools. We LOVE tools. As you become a bag maker, you’ll fall in love with them too. In every bag maker’s toolbox, there’s a high-quality mallet, a hard surface, drive punches for making holes, and a punching board. Maybe even something really fun like a rivet removal tool. The right tool for the right job makes all the difference.
Mallet + Granite Slab

Bakelite Mallet
Every bag maker needs a high-quality mallet. We use a mallet, rather than a metal hammer, when striking metal tools so as not to damage them. And not just any mallet will do! The Bakelite Mallet we sell in our shop has a firm head and is strong enough to set industrial-strength tubular rivets. Ditch your rubber mallet. This one is better!

Granite Slab
If you’re going to be setting hardware, you’ll need a hard surface to work on. Our favorite is a slab of granite. It holds up to lots of abuse from hammers and mallets, minimizes bounce-back, and helps keep a nice, smooth finish on your rivet caps. (Colors vary, so yours probably won’t look exactly like ours.)
Drive Punch + Punching Board
Whenever you’re installing hardware on your bag, you’ll first need to punch a hole through the fabric, leather, or both.

Drive Punch
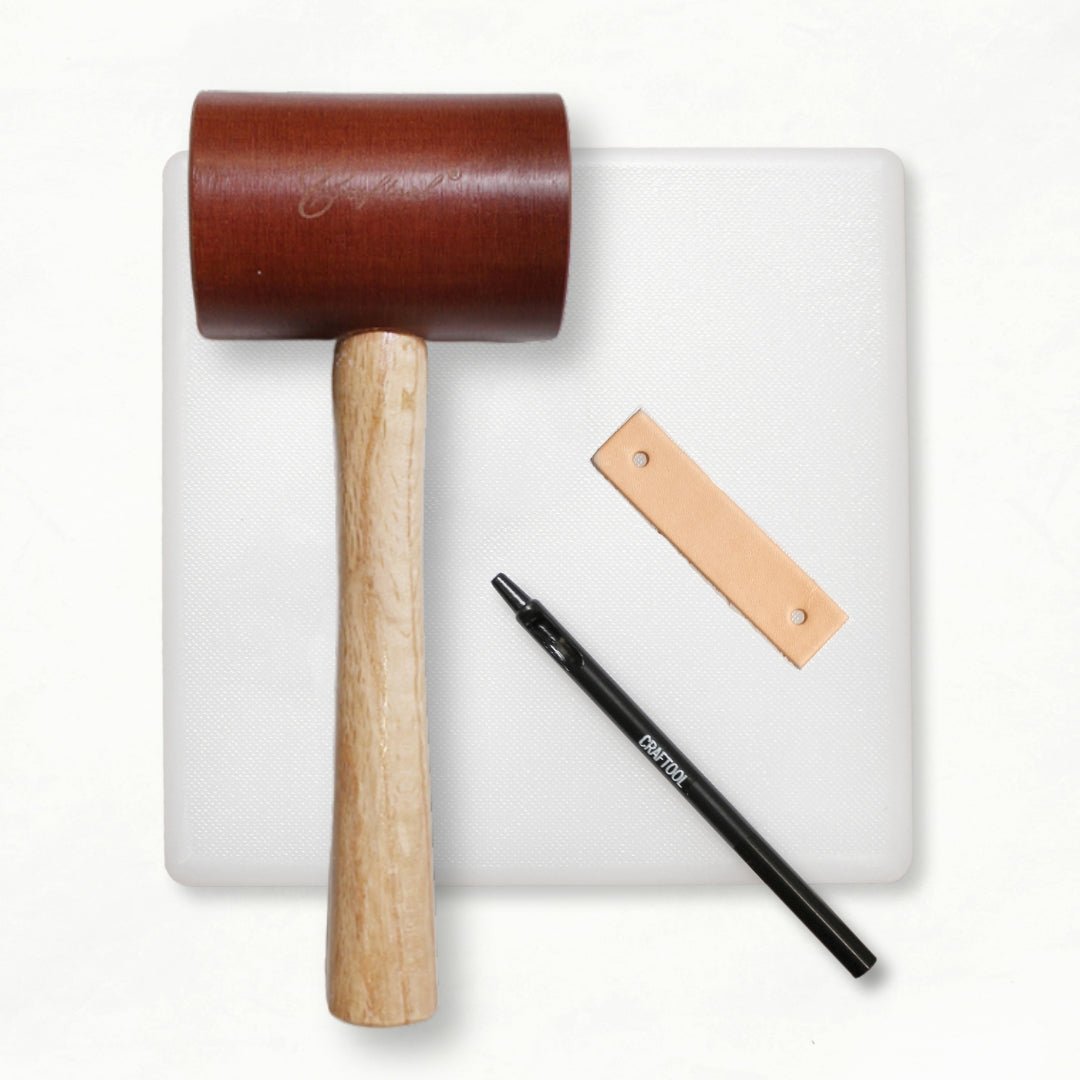
A drive punch is used for punching precisely-sized holes in leather and fabric. They come in different sizes, but the most common sizes we use are 3/32" and ⅛". A drive punch should be struck with a mallet, on top of a punching board.

Poly Punching Board
When using sharp metal tools, like a drive punch, you want to make sure you don’t damage your work surface. No one likes holes in their cutting mat!
“All of the tools I’ve purchased from Klum House have been incredibly well-made & have made the process of bagmaking so enjoyable & smooth. This Drive Punch gets used almost daily in my work & stays sharp & functional.”
—K.C.
Our drive punch, punching board and mallet are designed to work together, making punching holes in fabric or leather a breeze. Here they are as a set.
Rivet Removal Tool

Rivet Removal Tool
Messed one up? Happens to the best of us. 😅 This tool makes removing rivets (both double-cap and tubular) so quick and easy. You’ll need a non-rubber mallet and a punching board to go with it. Ours is manufactured right here in Portland, Oregon out of recycled plastic, in partnership with Local Plastic.
“This tool is a game changer for my handbag production. It was such a struggle to remove rivets without it and I often damaged the fabric or leather. Now I can do it with ease.”
—Cheri P.
Building your dream bag making studio? You can get all of these in one bundle, and save on tools while you’re at it.
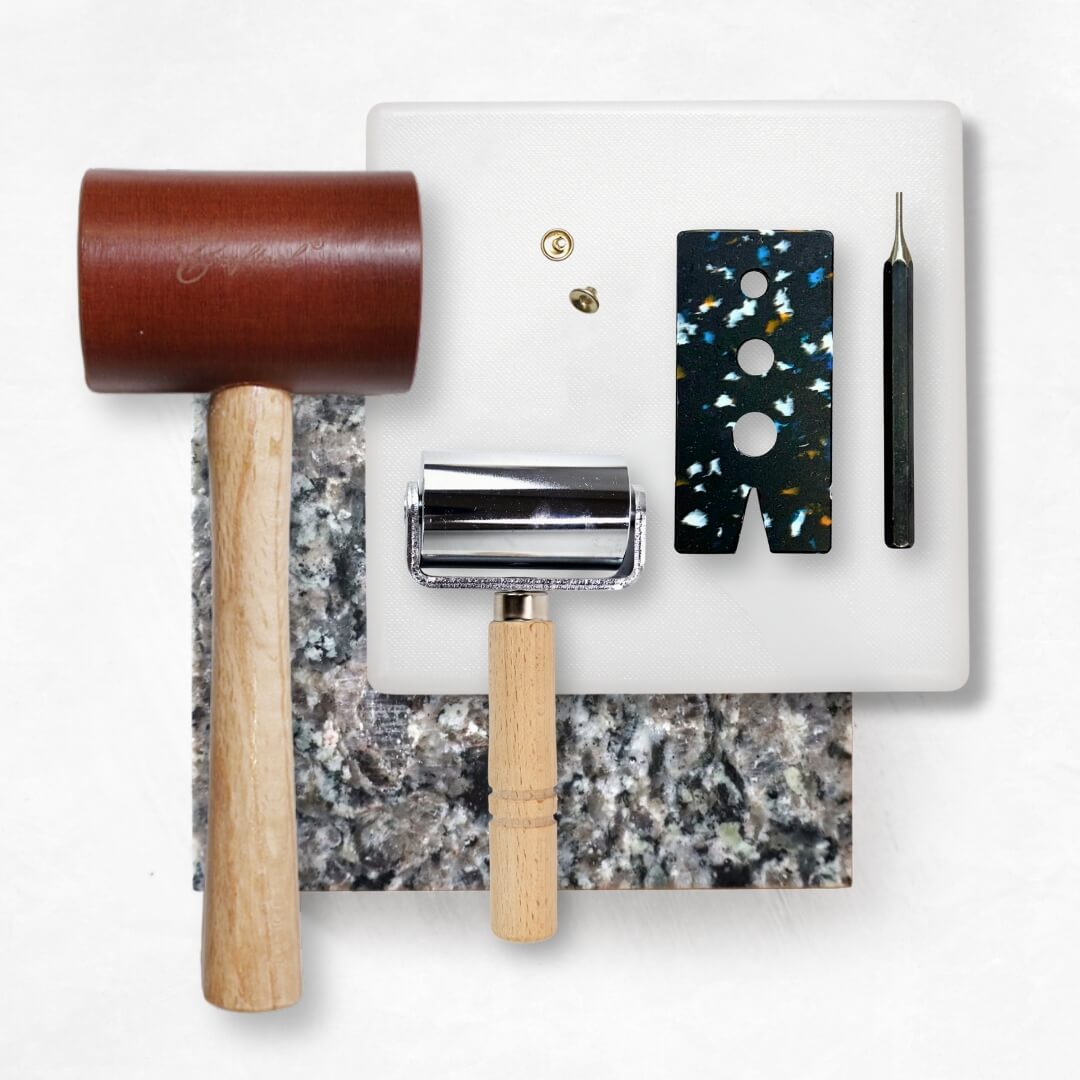
Having the right tool for the job can make all the difference in the world. If you plan on making lots of bags, it’s worth investing in some high-quality tools for your home bag making studio.
Bag Making Tools + Supplies

SHOP TOOLS + SUPPLIES
Have Fun Making!
About the Author