


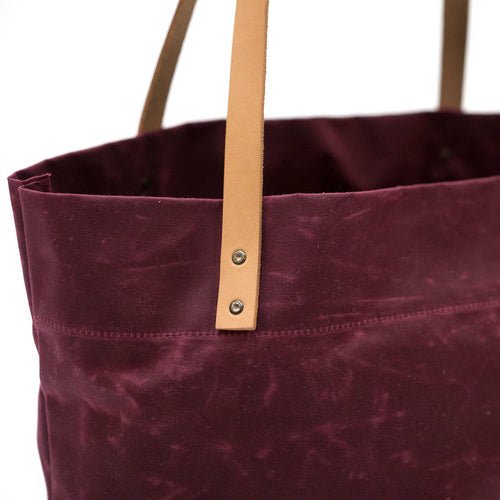
Three different ways to set double cap rivets for attaching leather straps and details to bag projects: classic setting, with a leather reinforcement tab, and with a leather reinforcement washer.
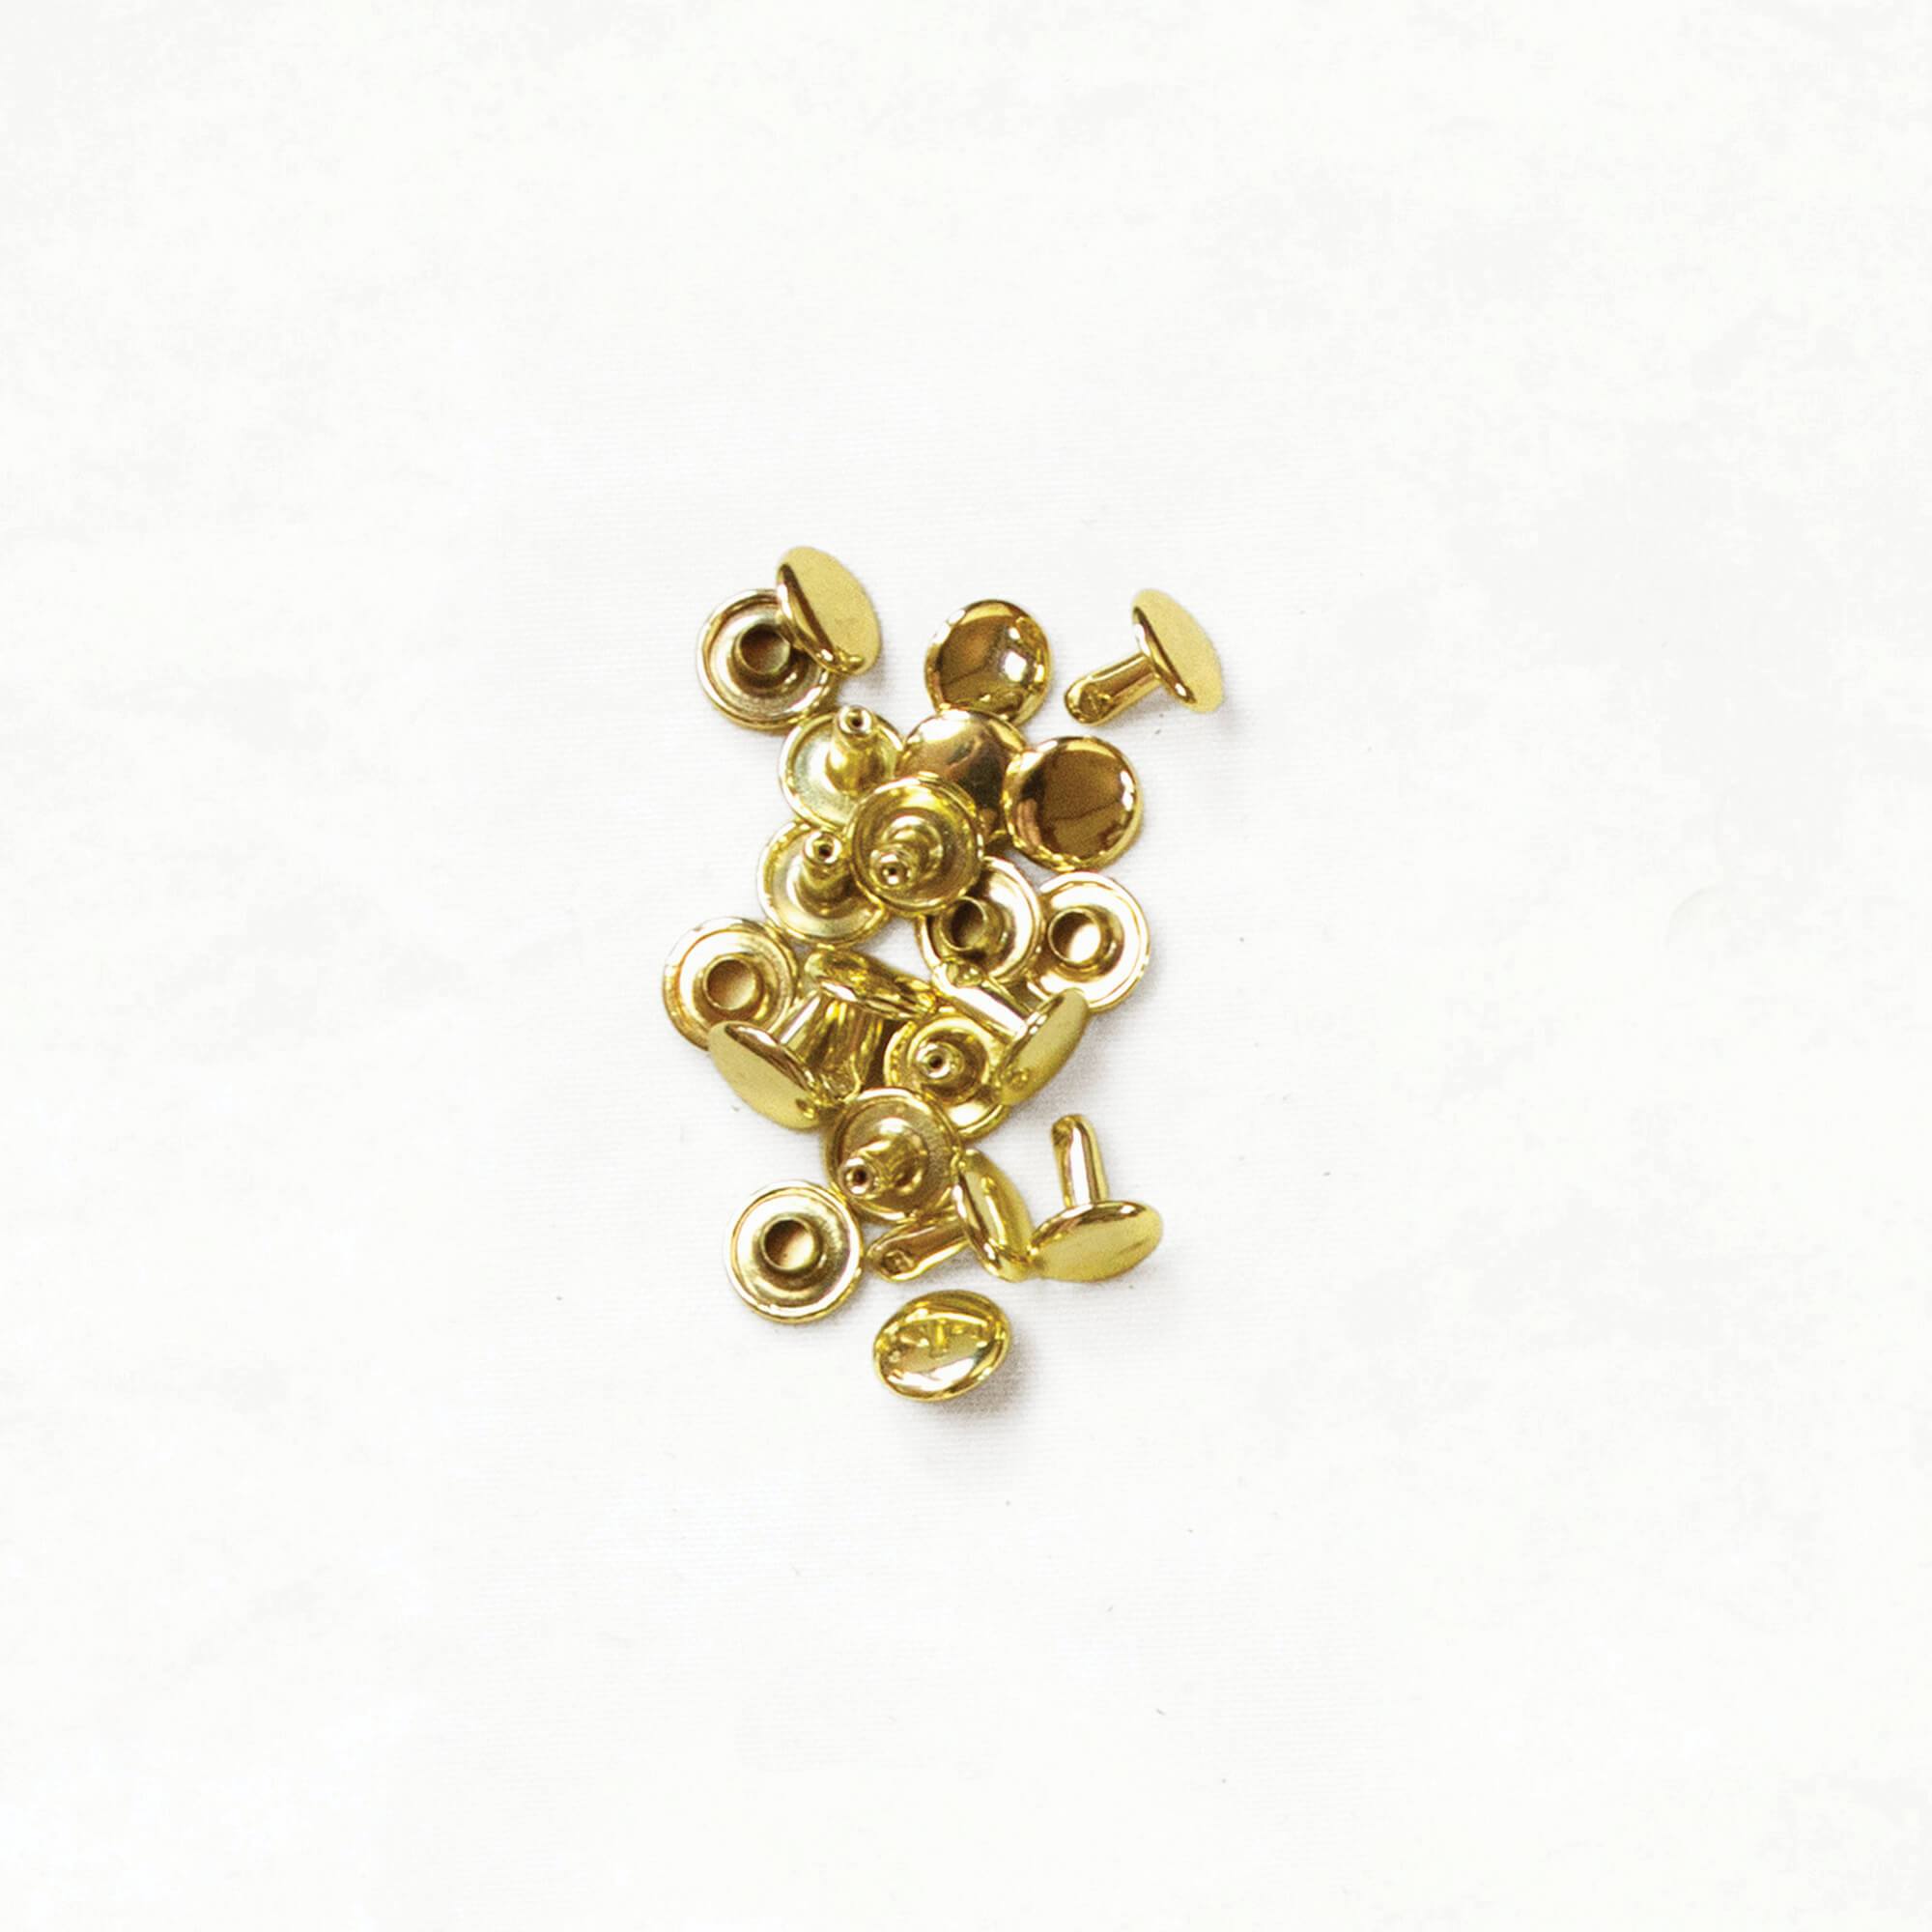
Double-cap rivets have two parts, a post and a cap, and they're the most common rivet in bag making. (Not sure which type you need? We compare them in Double-Cap vs. Tubular Rivets.) Here's how to punch for them, how to set all three ways, and the three tools that will do it.
New to rivets altogether? ▶️ Bag Making Rivets 101 covers both types, how to size them, and every tutorial we've got.
Tools + Supplies
- Double-Cap Rivets, in a length that matches your material thickness (see the Leather and Rivet Pairing Guide)
- A Drive Punch or a rotary leather punch, sized to your rivet post
- A Poly Punching Board, if you're using a drive punch
- Leather Washers, if your pattern calls for reinforcement
- A non-rubber mallet or hammer. We use a bakelite mallet.
- A Granite Slab, an anvil, or anything hard, smooth and flat
- A Double-Cap Rivet Setter, optional but worth it
Two ways to punch your holes
To find the right barrel size on the rotary punch, hold the rivet stem up to the different barrels. You want to punch a hole the size of the stem. Then squeeze the barrel onto your piece of fabric or leather. Sometimes it's useful to use two hands when you squeeze the punch, and if it doesn't quite punch through all the way you can cut the little extra leather out with some scissors.
The other way is with a drive punch. Grab your punching board, put it under your work, and drive the hole in there.
The three ways to set a double-cap rivet
Depending on how the strap is going to be used on the project you're working on, there are three different ways you might attach the rivet to your fabric and your leather.
Classic is the plain one. Start with the rivet that has the stem attached and push it through from the inside and up, so from the lining side and up. Grab your leather strap and lay it down right on top, pushing the stems of the rivets through the strap. Then grab your caps and click them on top.
The strap will stay in place long enough to get you to your hammering area. It's not really set strongly until we hammer it, or use the industrial press.
With a washer or a reinforcement tab, the technique is really similar. Thread the rivet through the washer first, then thread it into your project from the inside and face up. Lay your strap down through the rivet stems from the exterior, put the caps on, and go set it.
Some patterns call for using a leather reinforcement washer with your rivet to strengthen the strap attachment and make sure that the metal doesn't tear away from the fabric over time. For attaching handles to a finished bag with washers and a D-ring, we walk the whole thing through in How to Rivet Leather Straps to a Bag.
Setting with just a hammer
Use a stone or an anvil, and a household hammer. No matter what surface you use to set the rivet, it should be something pretty sturdy that gives a nice hard smooth base, so the rivet head turns out looking great.
Hammer with the inside rivet face up, in case you miss and dent the rivet cap.
The best thing to do is go in really softly at first with the hits of the hammer, because you don't want to kick the rivet sideways while you're hammering it. It'll set crooked and it won't be a strong rivet, and you'll be reaching for the rivet removal tool. Once you start to see it crunch down and set down, go in with a few heavier hits to really get it to set.
Optional: Setting with a rivet setter
A rivet setter is a strike post that sits over the cap and spreads the blow evenly. You'll need a non-rubber mallet and a hard surface. We use a bakelite mallet and a stone slab.
Cover the rivet with the setter and hit it with the mallet until it sets. You might be a little bit nervous setting rivets if it's new to you, but don't worry, you're just going to start with a lighter tap and then increase the pressure as it starts to set.
One thing to watch on small hardware like a zipper pull. Always make sure the rivet is vertically aligned on the setting surface. You'll get better alignment if you lay the zipper slider off the edge of the stone a little.
Setting with an industrial hand press
This tool is really handy for setting all types of hardware. You purchase the tool, and then you purchase the die sets separately. It can be a little bit of an investment, but if you plan on making a lot of bags this might be a tool you want to keep in your studio. We got our press at Tandy Leather and bought the dies from them so we knew it was compatible.
Place the rivet into the hole in the bottom die, then press the hand press down until it makes contact. Keep adding pressure as you stand up, and use your body weight to lean on it.
One thing to watch out for: once you have pressure on the rivet and everything is in place, be careful not to lift back up on the handle or let your weight off, because then your rivet might slip out of place and set crooked.
We actually call her Rosie the Riveter in our workshop space. It's just a really fun tool to use.
How to tell when a rivet is set
You can feel the rivet kind of crunch down. And you can see it indent a little bit into the leather.
If the cap still stands proud, or spins, keep going.
The most common mistake
Believe it or not, it's forgetting to put your leather in.
It's one of those macro micro moments where you're so focused on the rivets and this new technique that you can just forget one of the most obvious things, which is get your leather tab on there.
Often people who are new to bag making and heavy duty sewing can be a little apprehensive about setting hardware. But hardware gives you that really classic handcrafted look, and it makes your projects look really finished and professional.
Want the sizes, pairings and hardware basics in one place? Grab the free Leather + Rivets Guide.
Rivets


About the Author
