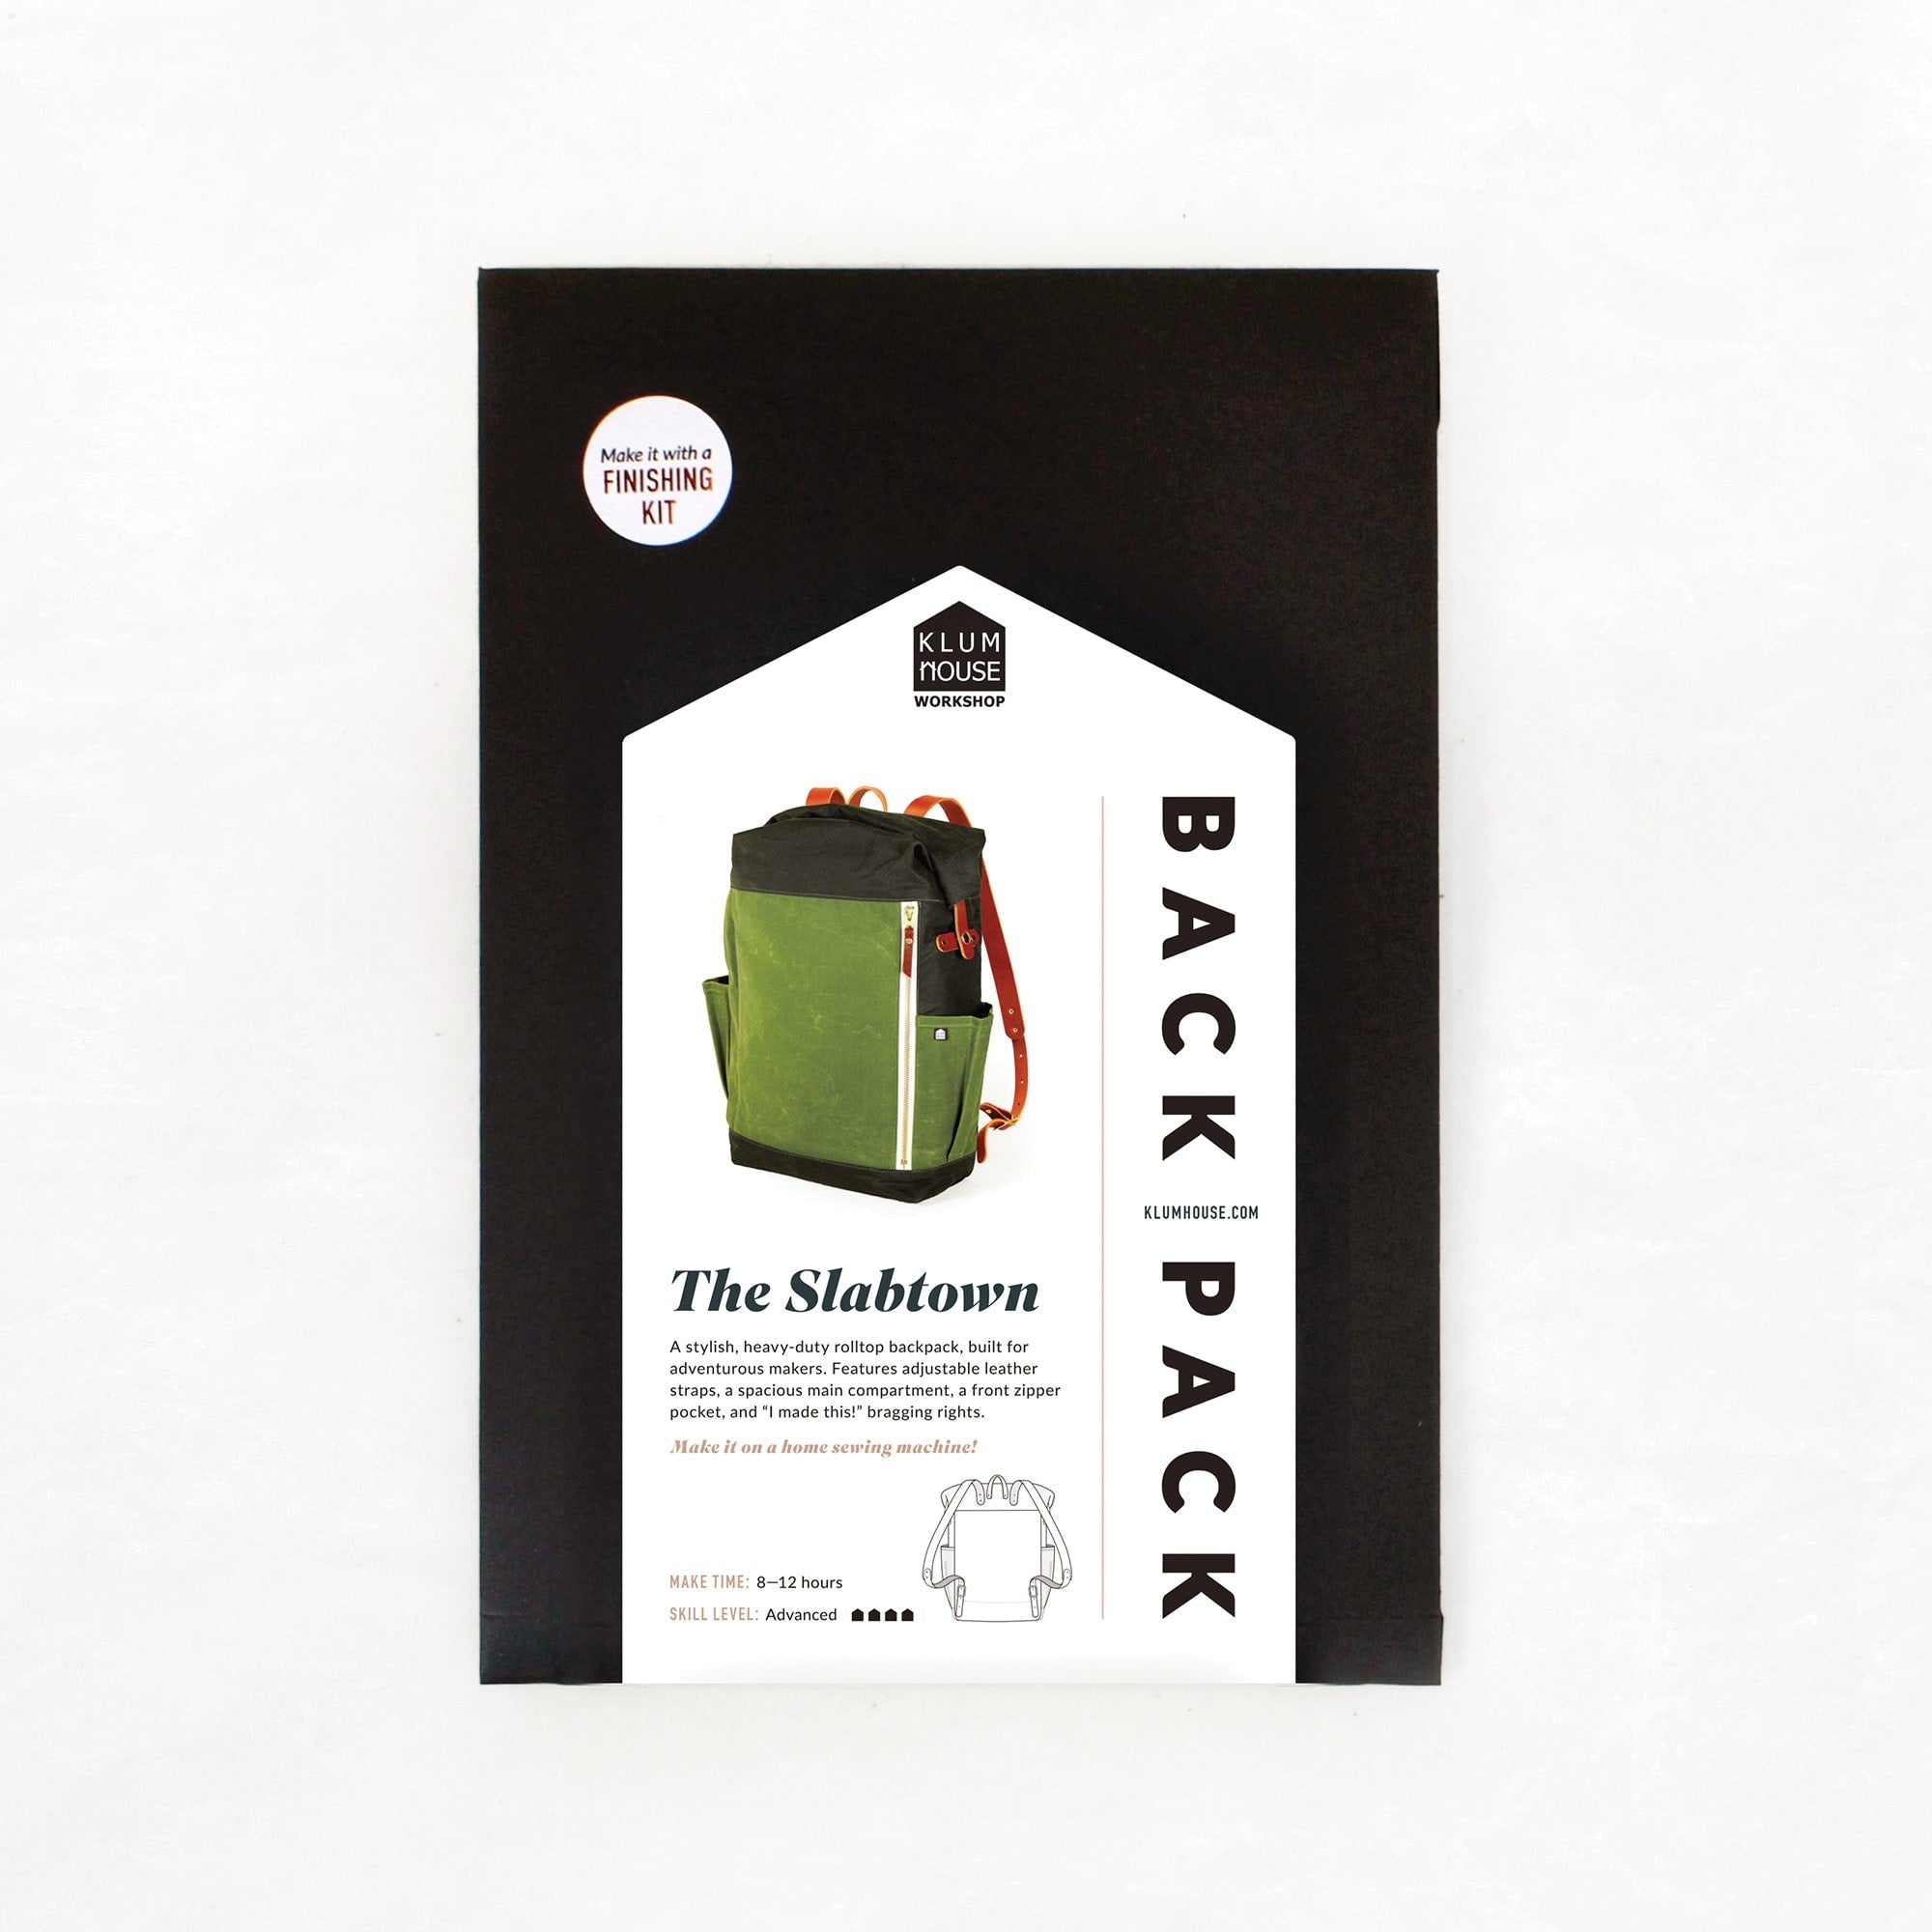
This Slabtown by stitcher extraordinaire Katie Whittle is one of our all-time favorites—not just because it looks incredible, but because it highlights some super helpful tips for making your own.
We know the Slabtown is one of those projects that can feel a little intimidating at the outset. This bag looks (and is!) heavy-duty and hella professional. But truly the hardest part is just mustering the creative courage to give it a try! Katie's making story is a quick run down of the process, a chance to see some of the main components of this project.

Meet Katie
Katie is a sewing educator and technical fashion design student in Los Angeles. After working as a content producer for companies like Craftsy and Seamwork Magazine, Katie decided to develop her interests in patternmaking, fit, and construction by pursuing a degree in Technical Fashion Design. She's also been a close friend and collaborator to Klum House for years, helping us develop our first collection of patterns, technical editing, and producing our Slabtown online class!
"Even if it's just 30 minutes here and there, I'm able to checkout, recharge, and get lost in making."
—Katie Whittle, @makerandshaker

Katie's Slabtown
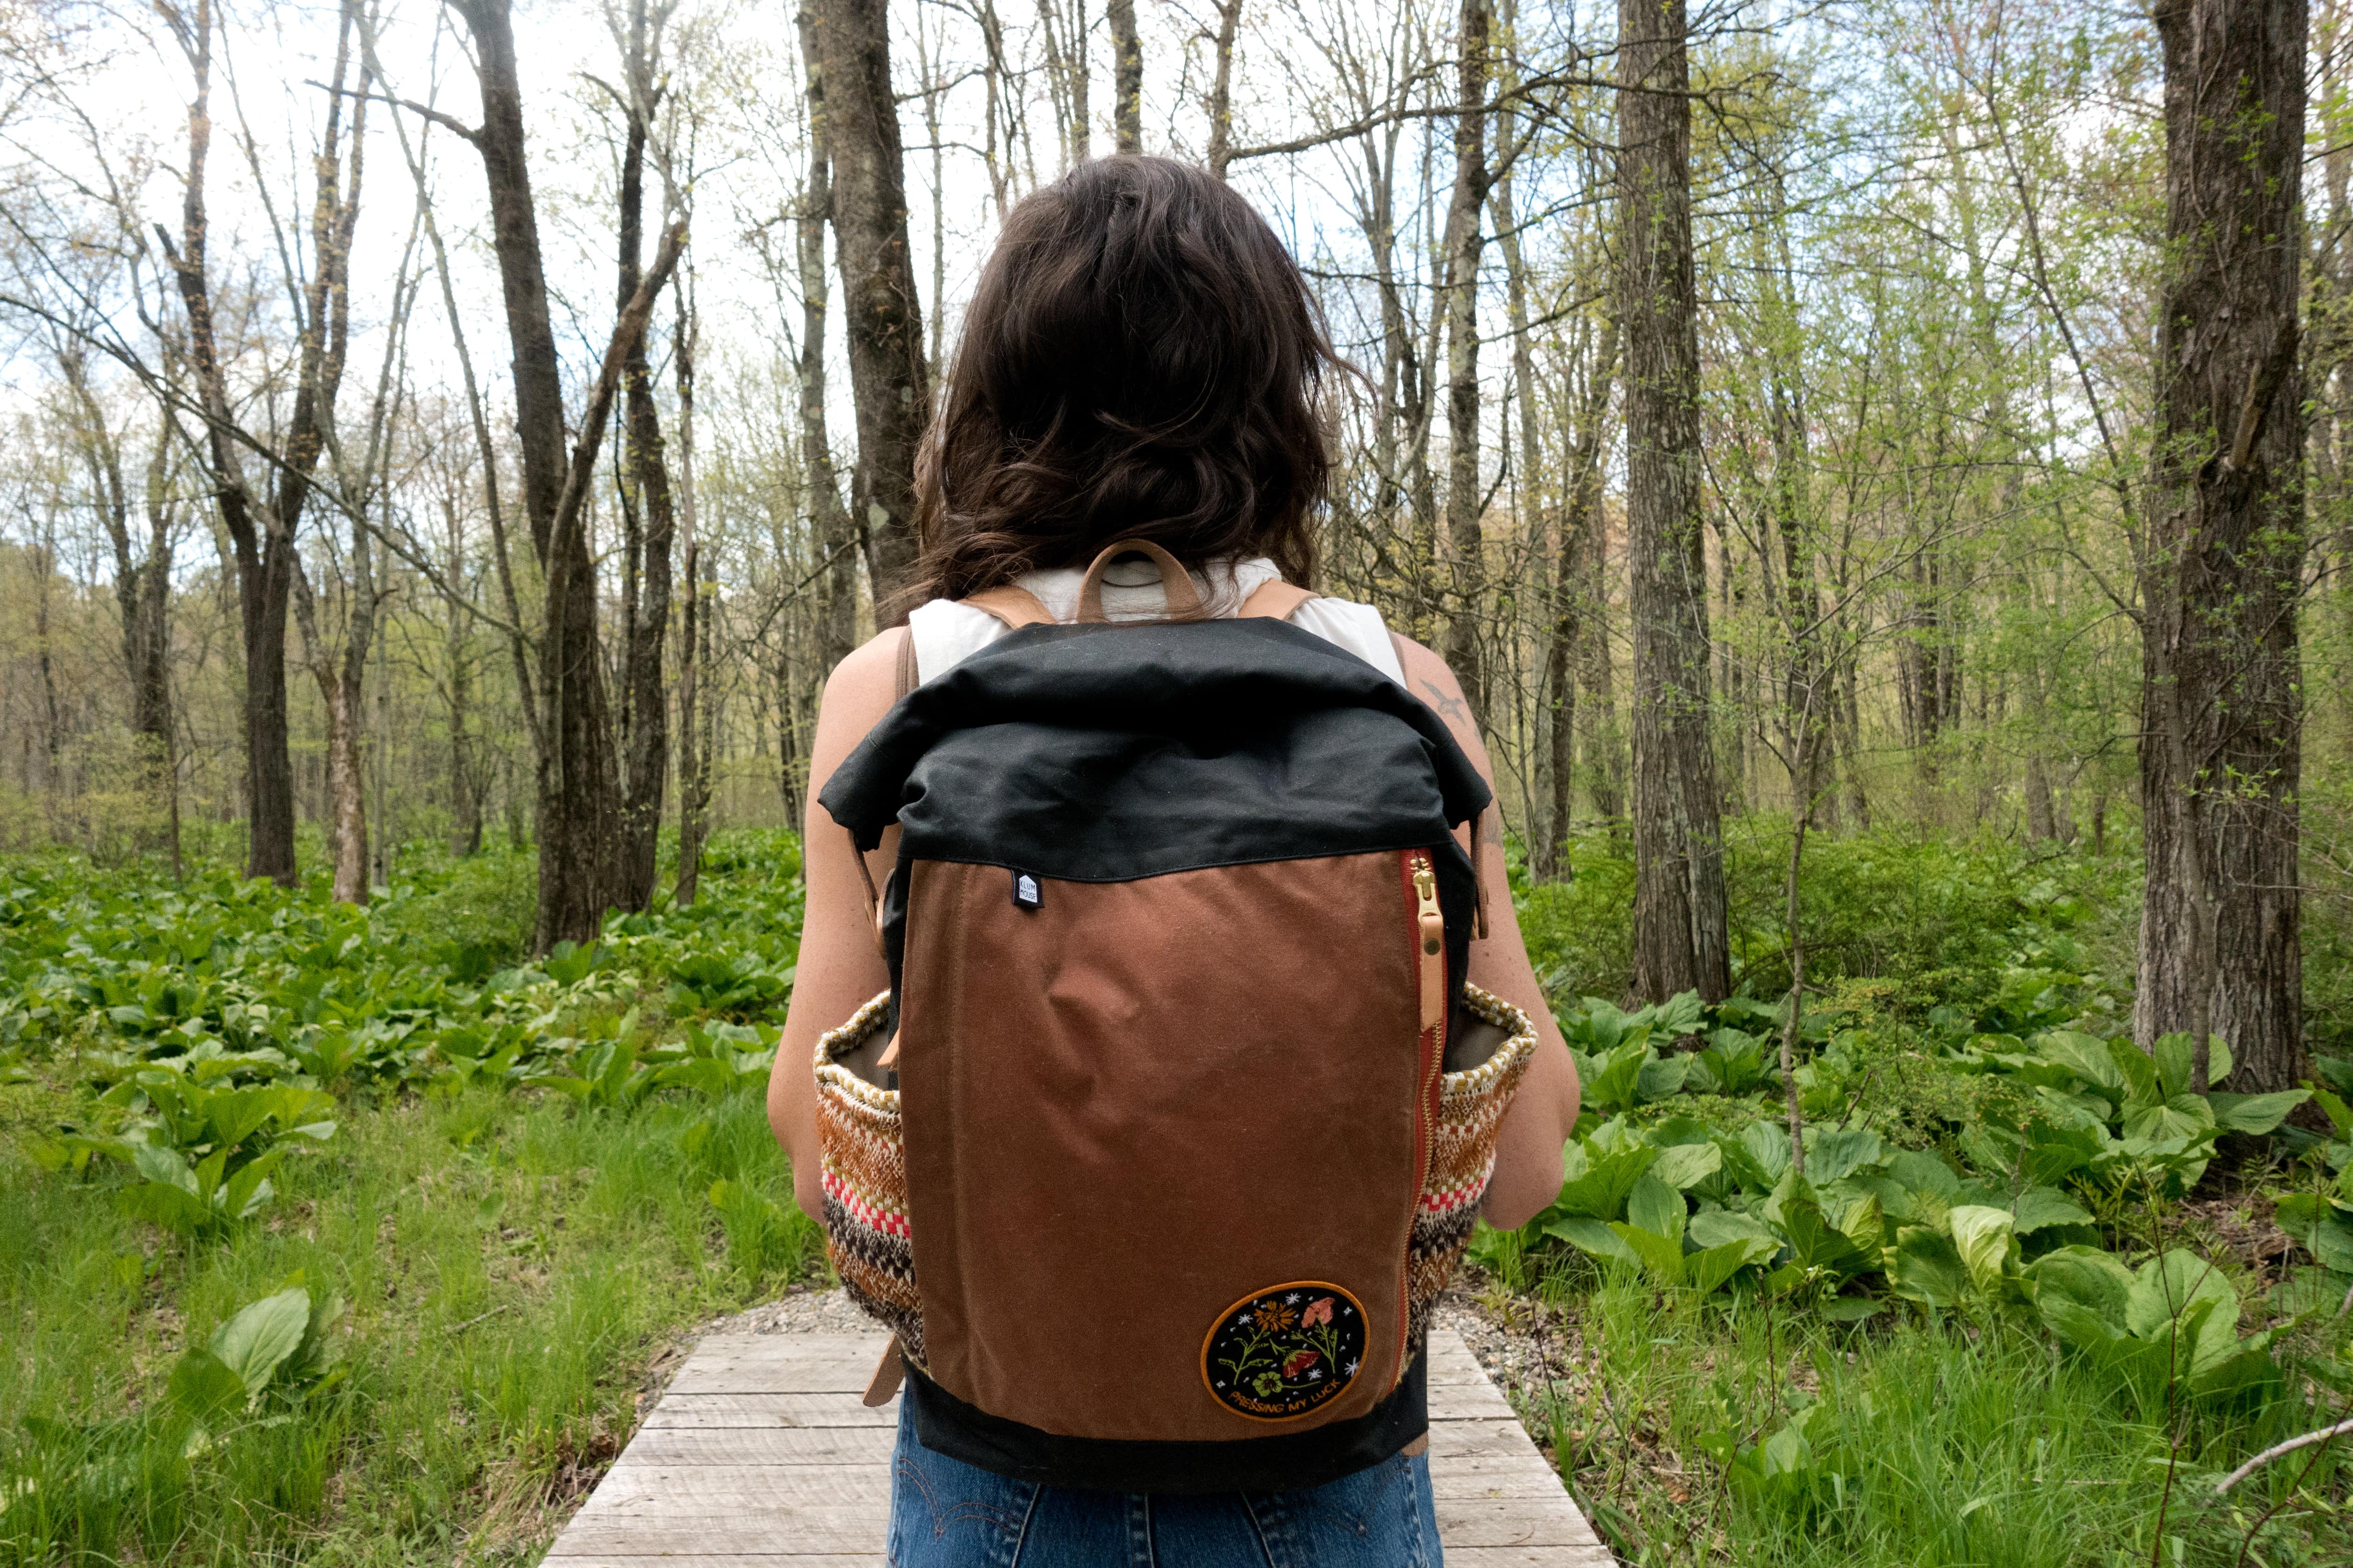
Katie used a Klum House kit to make her Slabtown. She's used her own fabric—a coating from Stone Mountain and Daughters—for the side pockets and added a cute embroidered patch.
One of the best parts about becoming a bag maker is that you also get to be a designer. There are lots of ways to personalize your Slabtown to create a one-of-a-kind bag that reflects your personal style. In addition to choosing your fabric, leather, and hardware colors, you can also add sew-on patches and labels, stamp messages into your leather straps, and add pops of color with fun zipper choices!

We love seeing how all you guys swap out waxed canvas pockets with patterned fabrics, customizing and designing a KH pattern to your style! Katie's Slabtown is such a good example of this.
If using lightweight cotton or woven for any bag pocket, reinforce with interfacing to add structure to your bag.
Katie's Slabtown Highlights
Topstitching
Katie's using our favorite topstitching method here, the one we call two spools on top.
How to Set Snaps
The Slabtown went through many hardware iterations to find a strong closure mechanism for the bag. We settled on a snap for its super strong set grip! Katie demonstrates how easy they are to set.
New Tools
If you're new to tubular rivets, Katie gives you a run through with the peening tool.
Thank you Katie for giving a little taster of the Slabtown project. If watching someone else tackle the steps and techniques helps, we suggest investing in the Slabtown online class, where Ellie will walk you through every specific detail.
In addition to a sewing machine and basic sewing supplies, there are a few specialty bag making tools you'll need for setting hardware and attaching leather. You'll need a tubular rivet peening tool, a Line 24 snap setter, a dot anvil, and an ⅛" drive punch, all of which are included in the Slabtown Essential Tools Bundle. Additionally, you'll need a non-rubber mallet and a hard setting surface, such as a slab of stone, metal anvil, or concrete floor.
"I absolutely loved every part of constructing this bag, from the first few stitches to whacking the shit out of the last rivet." —Larisa, @joyinthemorn
Can My Home Sewing Machine Really Make the Slabtown?
The answer is almost certainly yes. You do not need an industrial or even heavy-duty sewing machine to make the Slabtown. Most home sewing machines that have been well taken care of will power through. Make sure to use a sharp needle and take your time.
If you're a beginner, a great skill-building path to Slabtown would be (1) Woodland Dopp Kit, where you'll learn to sew heavy-duty fabric, make boxed corners, and sew a zipper (2) Maywood Totepack, where you'll become a tubular rivet boss and THEN (3) Slabtown!


About the Author