


Tubular rivets are extra-strength rivets. They work really well on projects where the straps really need that extra hold in order to stand up to the wear and tear and use of the bag.
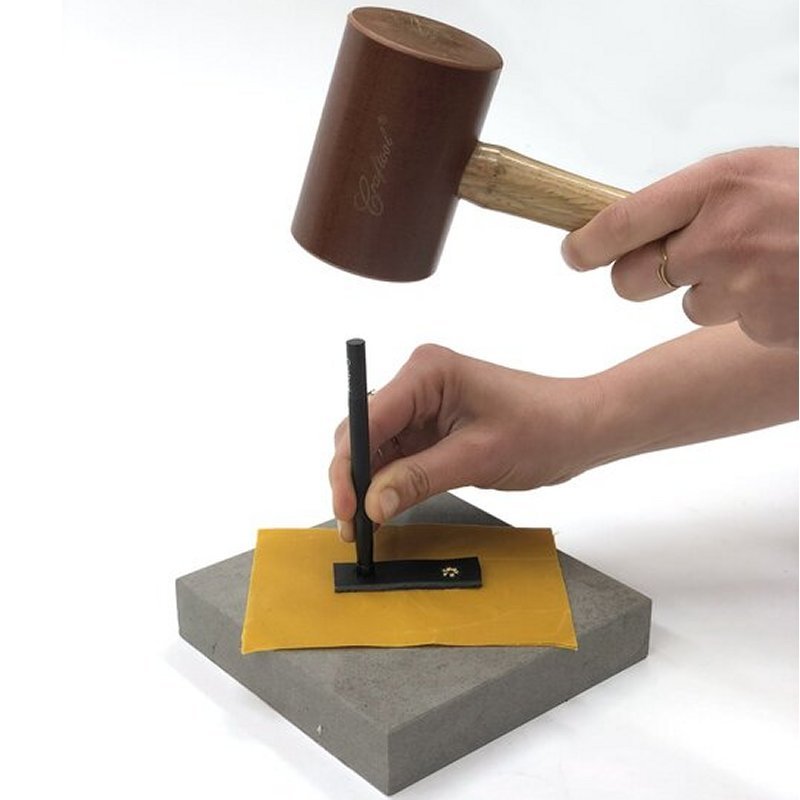
A tubular rivet is one piece: a cap with a hollow post. Set with a tubular rivet peening tool and a mallet, the metal post flattens, forming spokes that dig into the leather and will not come out. These are the heavyweights. Use them where you need serious strength, like attaching backpack straps.
Whether it works comes down to one measurement, and it isn't how hard you swing.
What you'll need
Short list. The peening tool is the only piece you probably don't already have, and it's the one that does the actual work.
Hardware
- Tubular rivets, in a length matched to your material
- Leather, and whatever you're riveting it to
Tools
- A tubular rivet peening tool
- A non-rubber mallet
- A hard setting surface: a slab of stone, a metal anvil, or a concrete floor
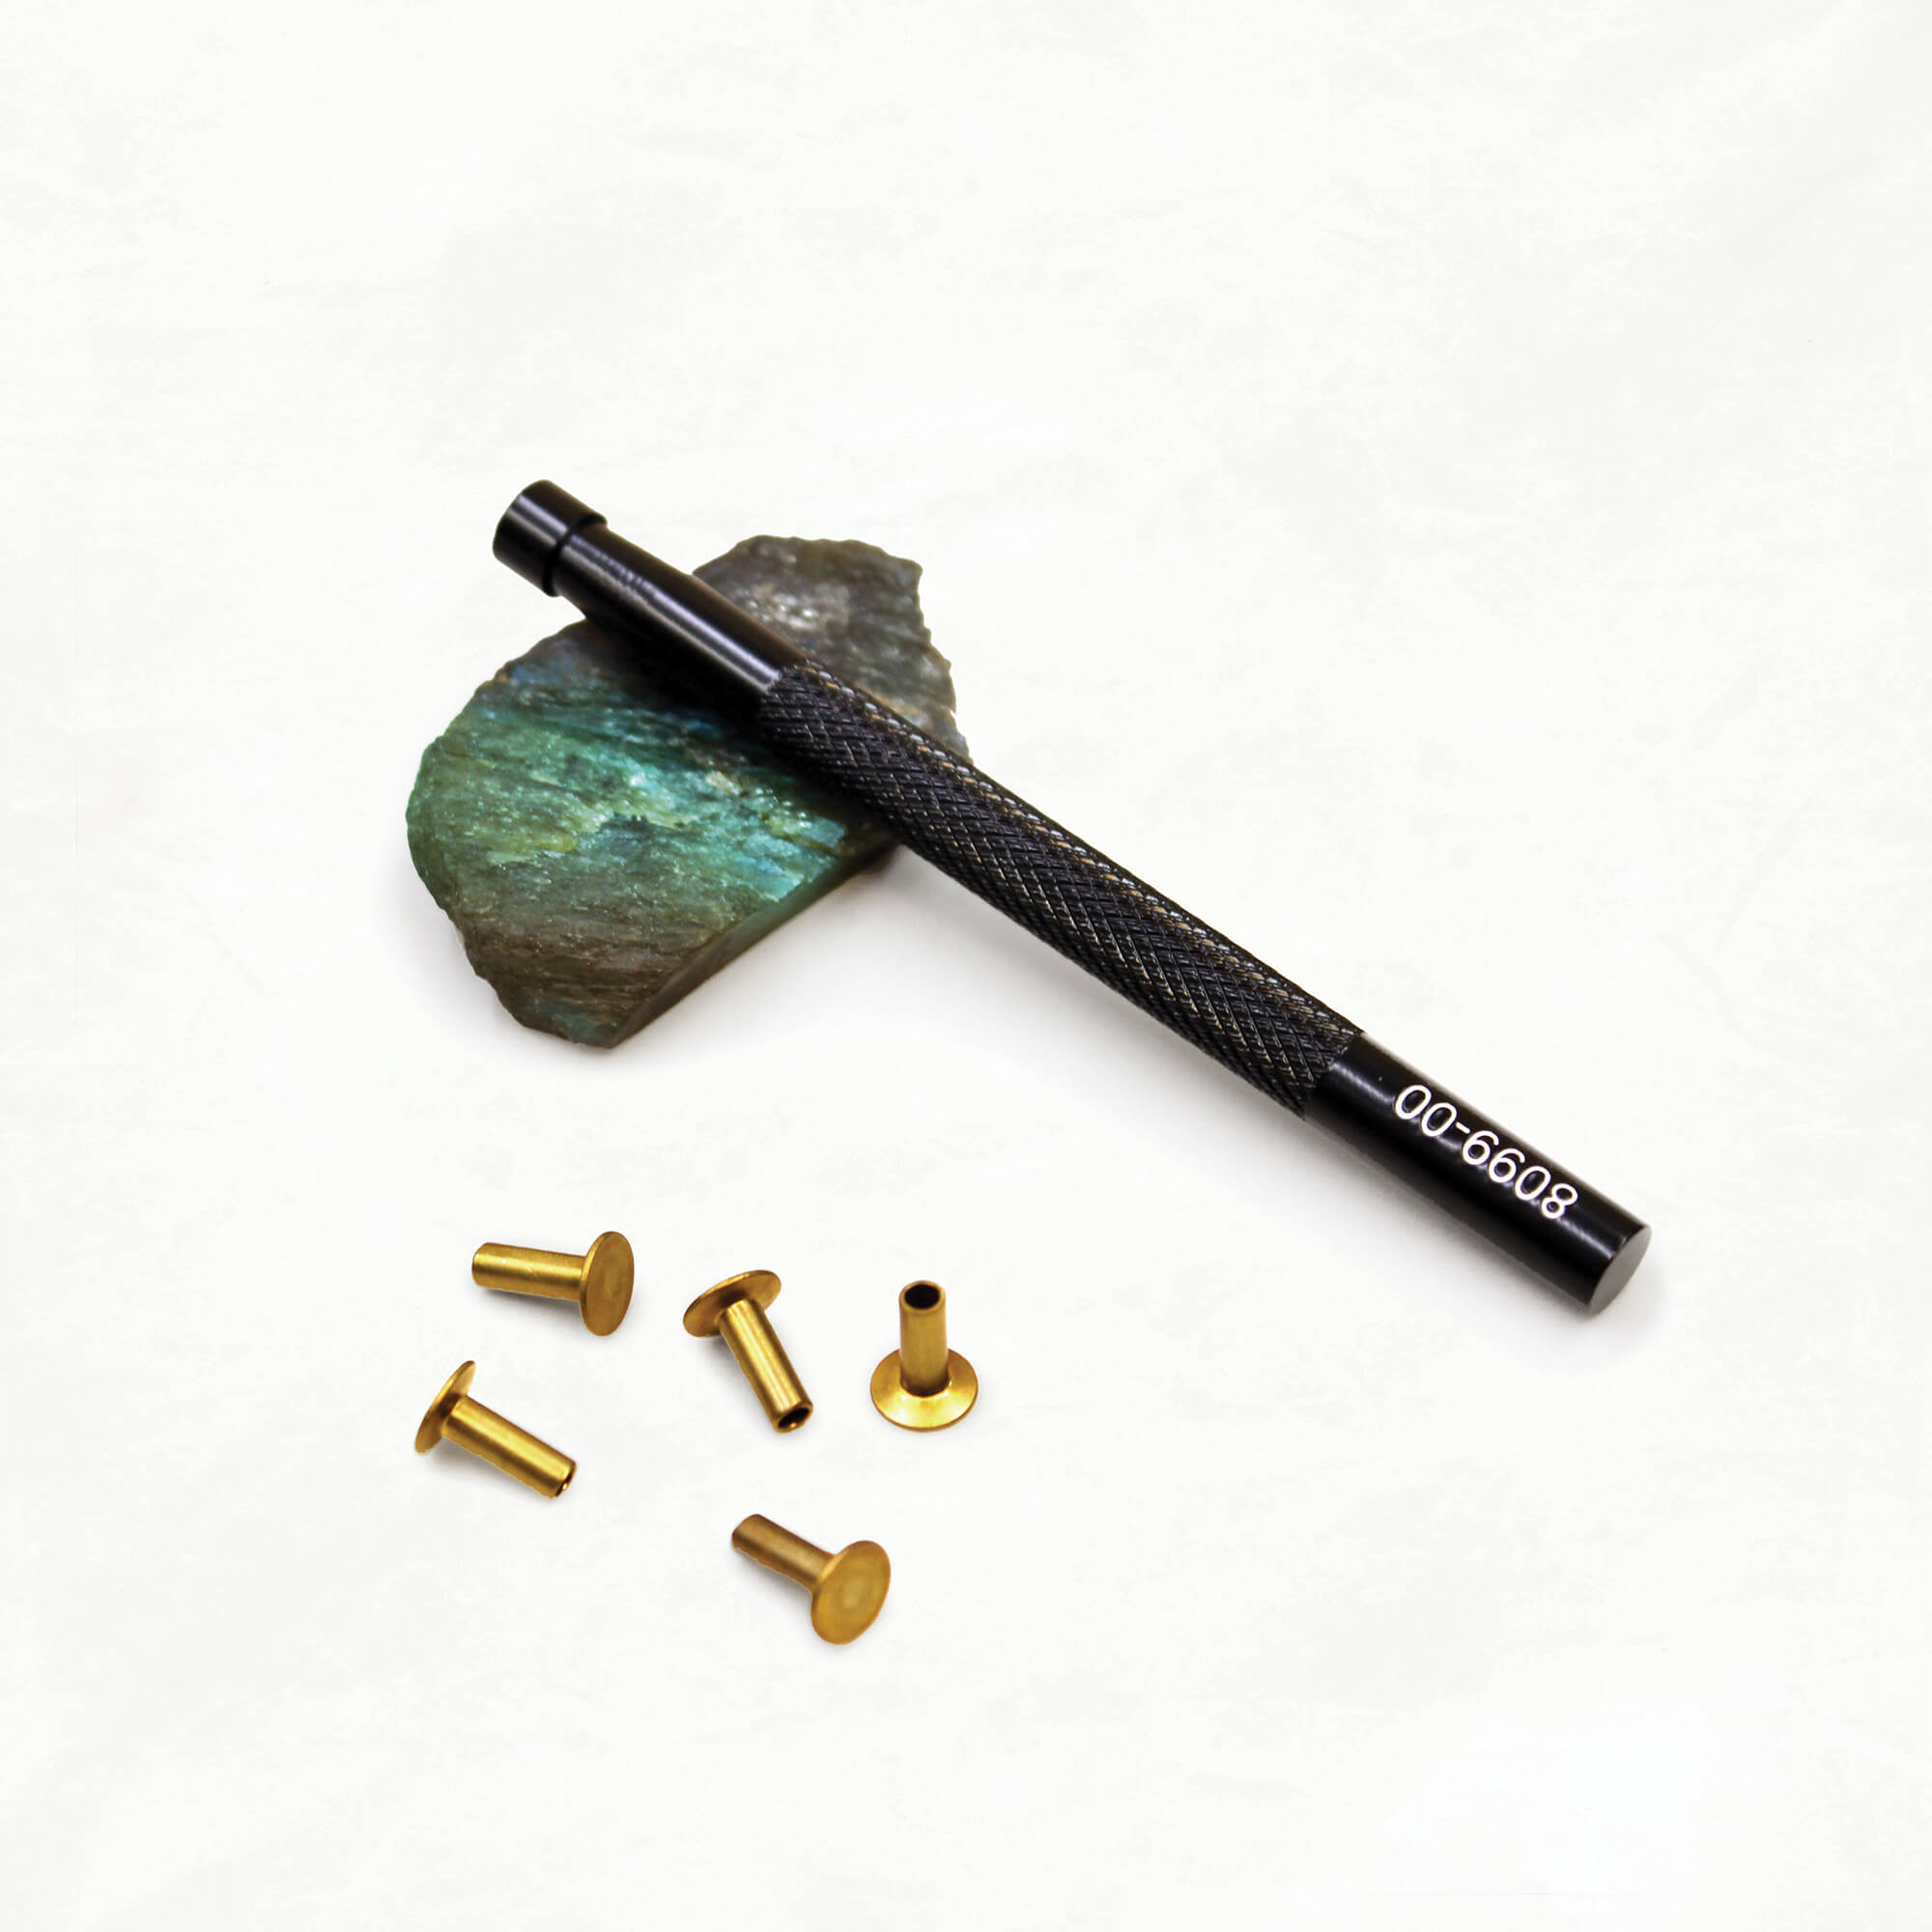
The hard surface isn't optional. A springy tabletop absorbs the force that's supposed to be splaying the tube.
Which side the rivet comes in from
Tubular rivets should always come in from the right side of your leather, on the piece of leather that's going to show on the outside of the bag.
The reason is that a tubular rivet has a smooth cap on one side and splayed spokes on the other. The spokes are the peened side, and that's always the inside. So the cap has to start on the face you want people to see.
Stacked up, that's:
- Your show leather. Push the tube all the way through from the right side.
- Your fabric. Come to the right side of the fabric and push the tubes through there too.
- Your reinforcement leather last, on top.
If you're riveting straps onto a finished bag rather than a flat stack, ▶️ How to Rivet Leather Straps to a Bag covers that version, with leather washers and a D-ring.
How far the tube should stick up
This is the measurement everything else depends on.
What you want to see is the tubes sticking up a sixteenth to an eighth of an inch above the bulk of your work. That gap is what lets the tube splay out into the metal spokes when it's struck, and the splay is what makes the hold strong. Too little sticking up and there's nothing to splay.
In the video, Ellie is using a nine-ounce leather double layer with ⅜" tubular rivets, and that's a good match for a strong set. Your stack will be different. Our Pairing Leather + Rivets guide has the sizes laid out.
How to set it
- Lay it down on your hard surface, working from the back side of your work.
- Align the peening tool vertically on top of a tube. You can actually feel it seat in there.
- Strike it straight up and down with the mallet. Start with medium-light strikes, then increase the force to heavy.
- Keep going until you feel it drop. The peening tool sets down in as the tube splays out, and you'll feel that happen.
How to tell a good set from one that didn't take
A fully set tubular rivet has its metal spokes really digging into the leather, splayed out into almost a flower shape. Pull on it. It should feel strong and solid, with no movement at all.
One that didn't take looks flatter and rounder, with the spokes barely opened. Set the two side by side and the difference is obvious.
There are only two reasons it happens:
- It hasn't been hit enough. The easy one. Put the peening tool back on and keep striking, harder.
- The tube was too short for the bulk of your leather. There wasn't enough of it sticking above the work to splay in the first place, so no amount of hammering will fix it. Back to the section above, and to the Pairing Leather + Rivets guide for the next length up.
If you've already set one wrong, it comes out. ▶️ How to Remove Rivets from Leather covers tubular rivets with and without the removal tool.
More rivet tutorials
Rivets show up on nearly every bag we make, so we've filmed most of it. ▶️ means there's a video.
- ▶️ Bag Making Rivets 101. Which rivet type, what length, and every tutorial for setting them.
- Double-Cap vs. Tubular Rivets. Which type does what, and when to reach for each.
- ▶️ How to Rivet Leather Straps to a Bag. Attaching handles to a finished bag, with leather washers and a D-ring.
- ▶️ How to Install a Buckle on a Leather Strap. Riveting a center bar buckle on with a tubular rivet.
- ▶️ How to Remove Rivets from Leather. Both types, with and without the removal tool. Two videos.
- Pairing Leather + Rivets. Matching rivet length to your material thickness.
- ▶️ Leather for Bag Straps 101. The leather side of the pairing: which weight and type to rivet.
Level up your bag making skills with our ✨FREE✨ Bag Maker's Guide to Leather + Rivets.
Download Free Rivets Guide
Rivets


About the Author
