


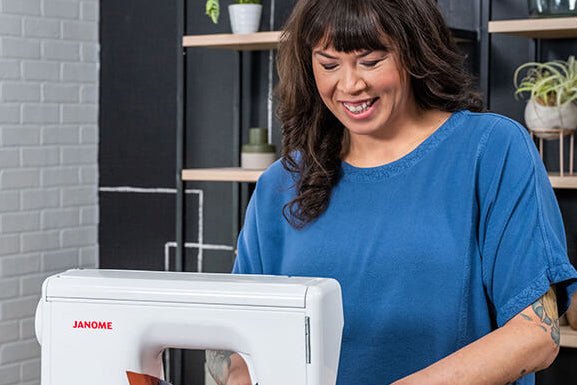
You don’t need fancy equipment or an industrial sewing machine to make professional-quality bags. You just need a deep understanding of how your home machine works and a few extra tools up your sleeve. You’ll be amazed at what you can accomplish.
If your machine skips stitches or clumps thread on thick seams, that isn’t a machine that can’t. It’s a machine losing tension and timing. Once you understand how those two things work and what throws them off, you can set your machine up to get through almost anything.
It usually shows up in the same place: the spot where four layers of waxed canvas meet a hem, and the machine suddenly whines at you and refuses to go.
In this live recorded workshop, Klum House founder Ellie Lum shared invaluable tips and tricks for heavy-duty sewing on a home sewing machine. You can follow along and read the highlights below.
What Makes Sewing “Heavy-Duty”
Heavy-duty sewing gets confused with industrial sewing all the time, and they are not the same thing. Industrial machines are built for factories, where one person sews one part of a bag all day and hands it off. Heavy-duty sewing is something you do on the machine you already own.
Heavy-duty sewing machines are often home sewing machines, or hybrid industrial-home machines, built with slightly stronger motors than your average home sewing machine. Vintage sewing machines are often heavy duty by default.
What makes a fabric heavy duty comes down to two things: how thick it is, and how tight the weave is. A tight weave is hard for the needle to puncture. A stack of layers is hard for the feed dogs to pull through. Quilters, you already know.
How Your Sewing Machine Makes a Stitch
Everything below depends on this one thing, so it’s worth thirty seconds.
The stitch your machine makes is a lock stitch, and it’s called that because the top thread and the bobbin thread lock around each other. The needle carries the top thread down. The bobbin hook swings around behind the eye of the needle, catches that thread, and pulls a loop through. Then again. All the way down your seam.
Your machine is designed to do one thing well: make an optimal stitch. An optimal stitch is a strong stitch, and a strong stitch is one where the loops are hidden between your layers of fabric. You should see the stitch traveling along. You should not see the loops. If you do, your tension is off.
Keeping optimal tension and timing is what makes a strong stitch. It’s what your machine is designed to do, and your job as the operator is to set your machine up for success. We get into how to do that below.
“I’ve been sewing for years, but never had the mystery of the loops finding each other explained! Aha!!” — @knl368
Tension, and Why You See Loops on the Back of Your Fabric
When someone says their tension is off, what they mean is: I can see the loops between the stitches on the top or underside of my fabric.
Here’s the mechanism. There are tension discs inside your machine that clamp down on the top thread. When the presser foot is down, they’re closed and the thread is held under tension. When you lift the presser foot, they open, so you can pull your work out and snip your threads.
Now put something really thick under there. The fabric props the presser foot up at an angle. Your machine reads that as presser foot is up and opens the tension discs. No tension on the top thread means loops on the back of your fabric, or no stitch at all.
A troubleshooting trick worth knowing: put a different color thread in your bobbin than the one on top. Next time something goes sideways, you can see at a glance which thread is the one misbehaving.
Timing, and Why Your Machine Skips Stitches
Timing is the other half. The bobbin hook has to arrive at the needle at exactly the right moment to catch the loop. Its timing is tied to the feed dogs, so when you’re feeding thick fabric through, you get drag, and the needle comes down at a slightly different point than the bobbin hook is expecting.
The hook swings around and misses. That’s a skipped stitch.
Which is why an even feed matters so much. Your machine needs the top layer and the bottom layer moving at the same speed to hold its timing.
And if you’re having issues with stitching, threading or tension and can’t figure out what the heck is going wrong, that’s the whole reason Sewing Machine 101 exists.
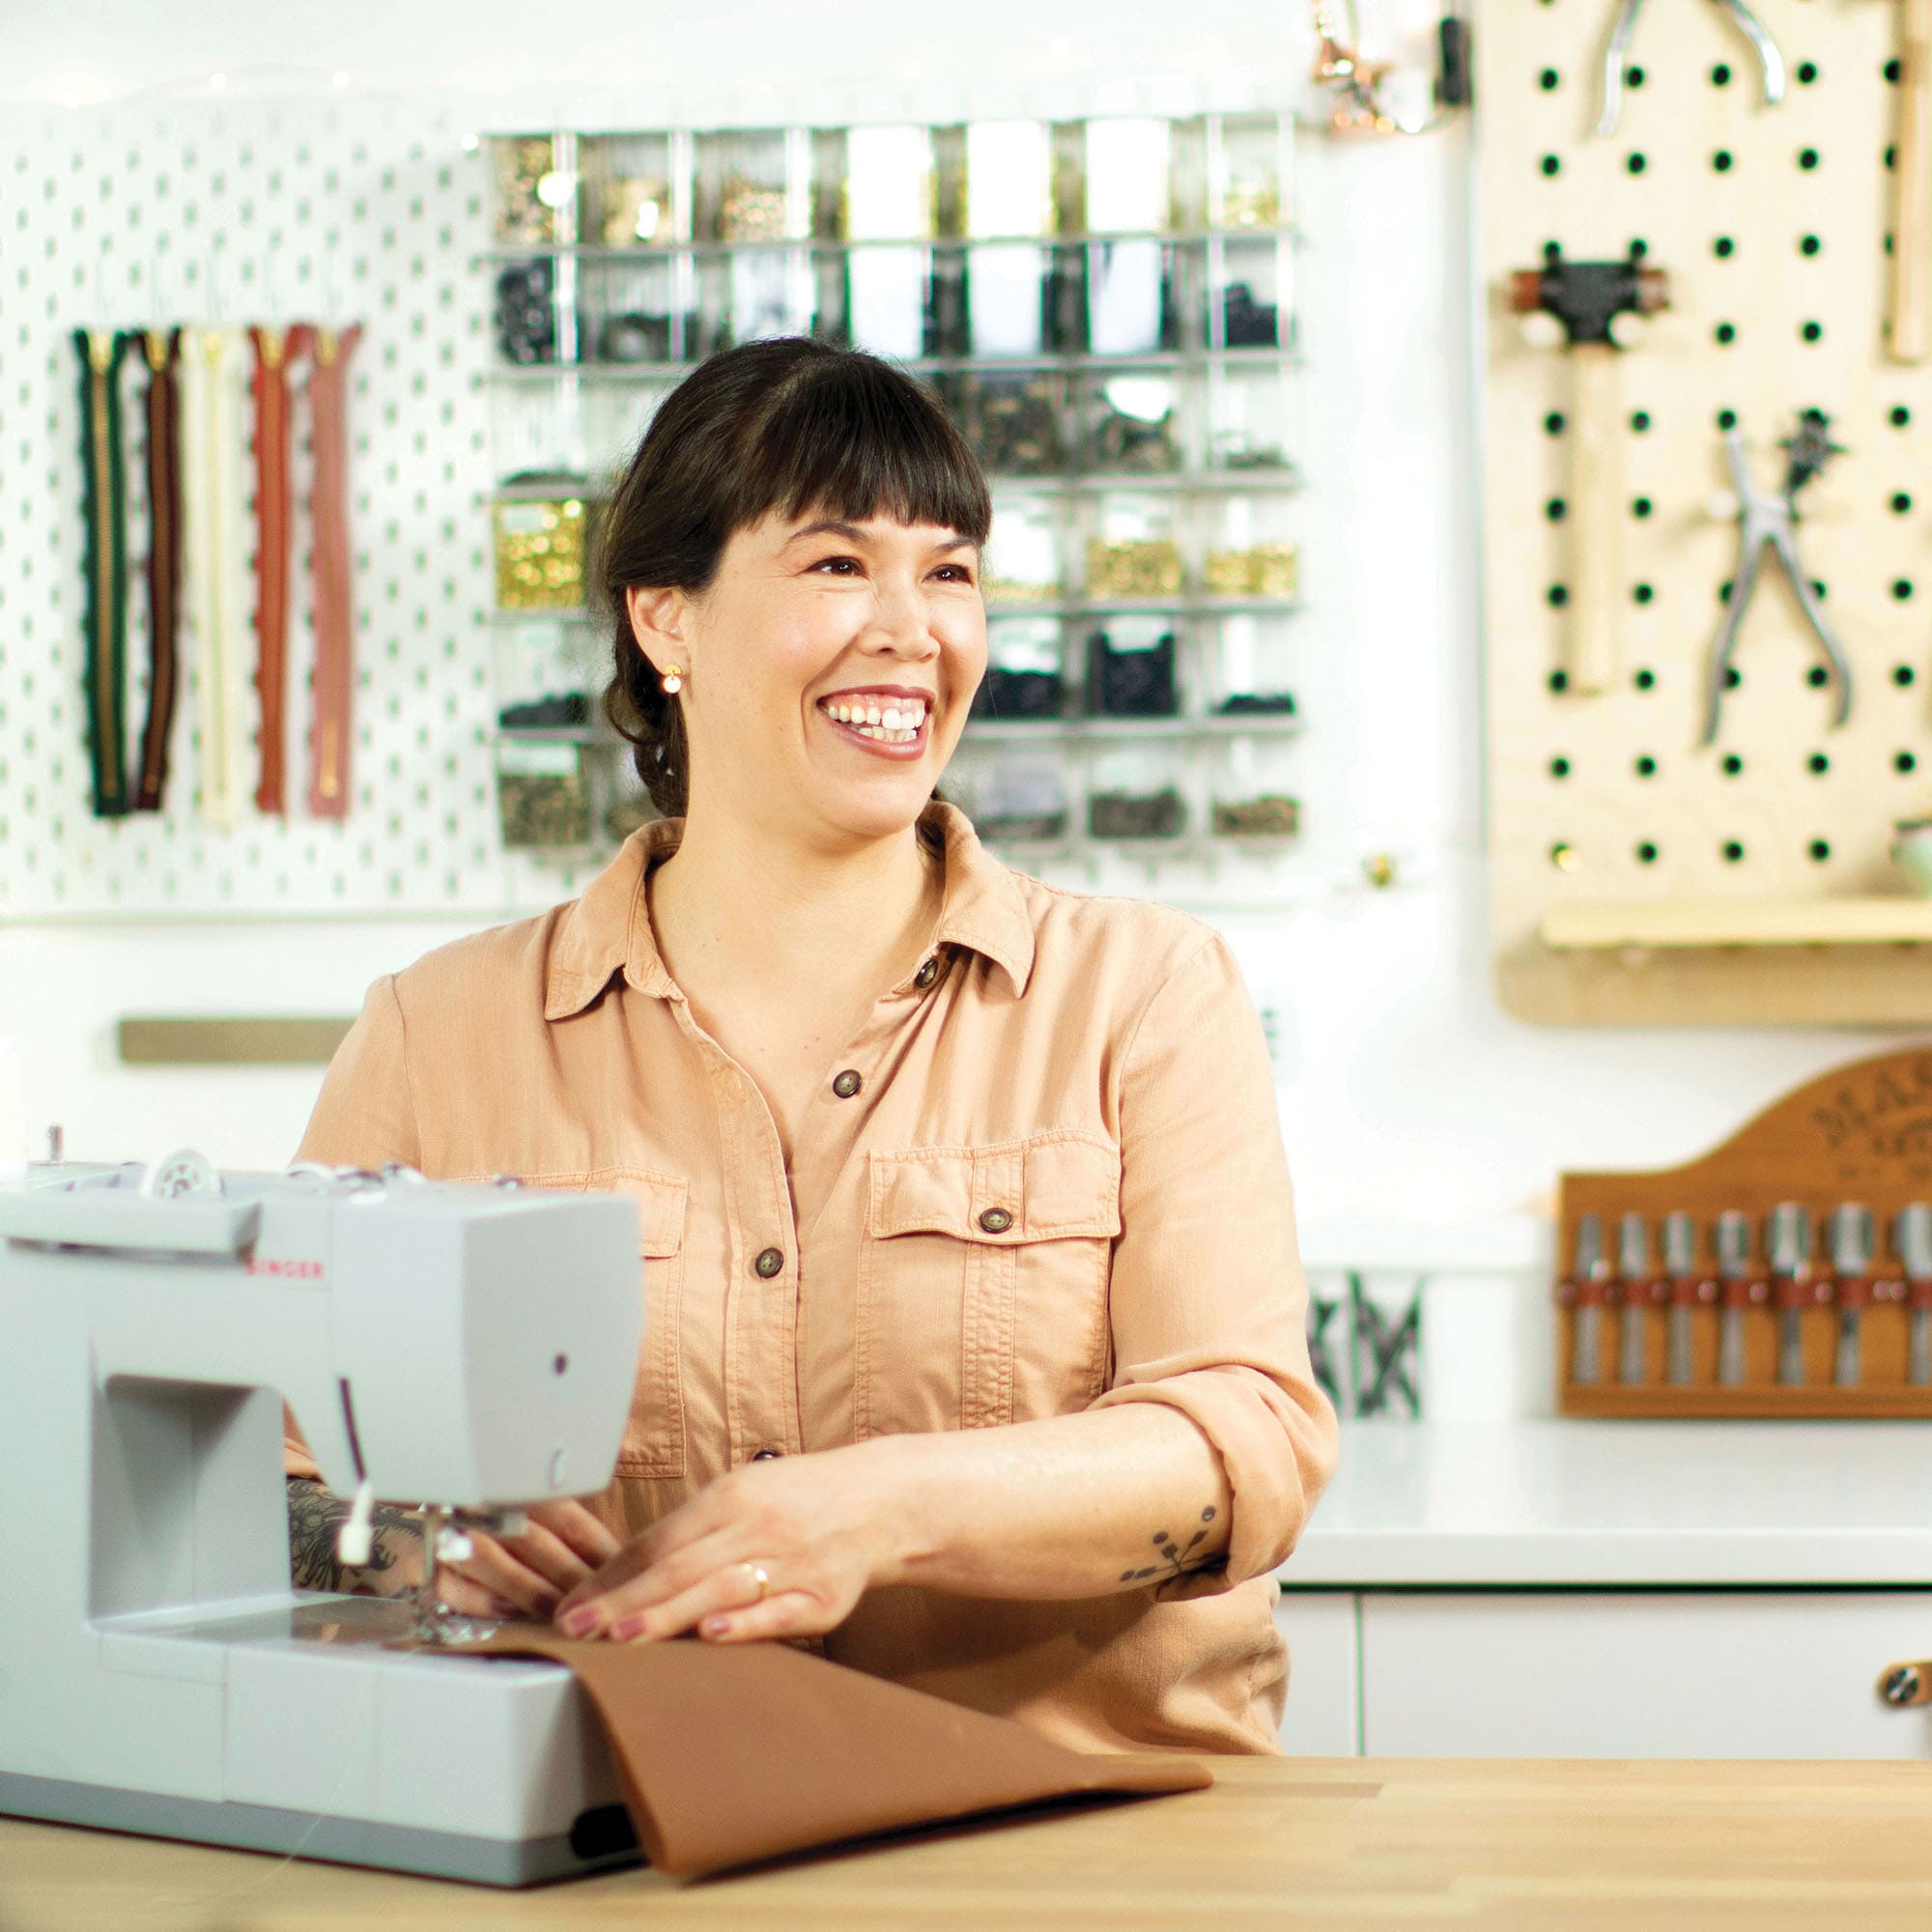
Tension and timing are the first thing Ellie covers in it, because everything else you’ll ever do on that machine rests on them.
Tools That Get Your Machine Through a Thick Seam
Two tools do most of the work here, and they fix two different problems.
A walking foot, also called a “quilting foot” or an even feed foot, can help give your machine the extra oomph it needs to power through bulky projects. Its built-in feed dogs help guide the fabric through the machine, so you don’t skip stitches. It’s a compound foot, meaning it has two feet that move separately from each other, feeding fabric from the top while your feed dogs pull from the bottom.
A thick seam jumper, also called a “hump jumper” or a jean-a-ma-jig, is a tool used to lift up the presser foot of your sewing machine to help it sew through thick seams.

Here’s what it’s actually doing. When your presser foot is tilted up at an angle, trying to climb onto a thick seam, it throws off tension and timing both. Level the foot out and your machine can regulate itself again. No skipped stitch. Keep these two tools in your back pocket.
And if you don’t have one on hand, a folded piece of cardboard does the same job. Not kidding.
What to Do When Your Machine Starts to Struggle
Lengthen your stitch. This one isn’t intuitive until you think about it. A longer stitch length makes the feed dog take a longer stride, as if it were running instead of walking, and a longer stride pulls with more power. So we use a longer stitch length to bump up the power on the motor when we’re sewing heavy-duty fabrics. Ellie sews on a 3 or a 3.5 for anything really thick. Shorter stitches give you more control, because the fabric is moving slower. Pick your trade.
Change your needle. When did you last change yours? (No judgment. We’re all like that.) Your machine wants a sharp needle. A dull one drags on the thread, shreds it, and wrecks the weave of your fabric, and there goes your tension. Technically you should put a fresh needle in every time you start a new project.
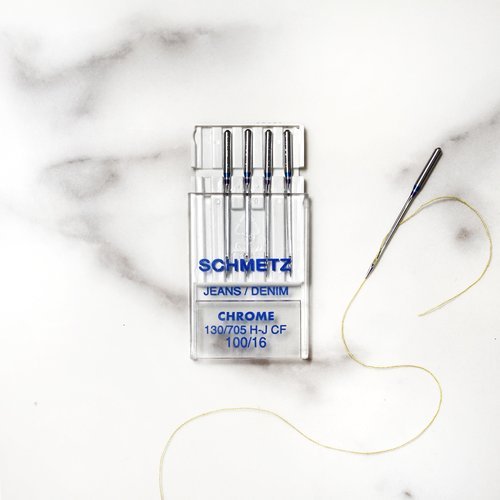
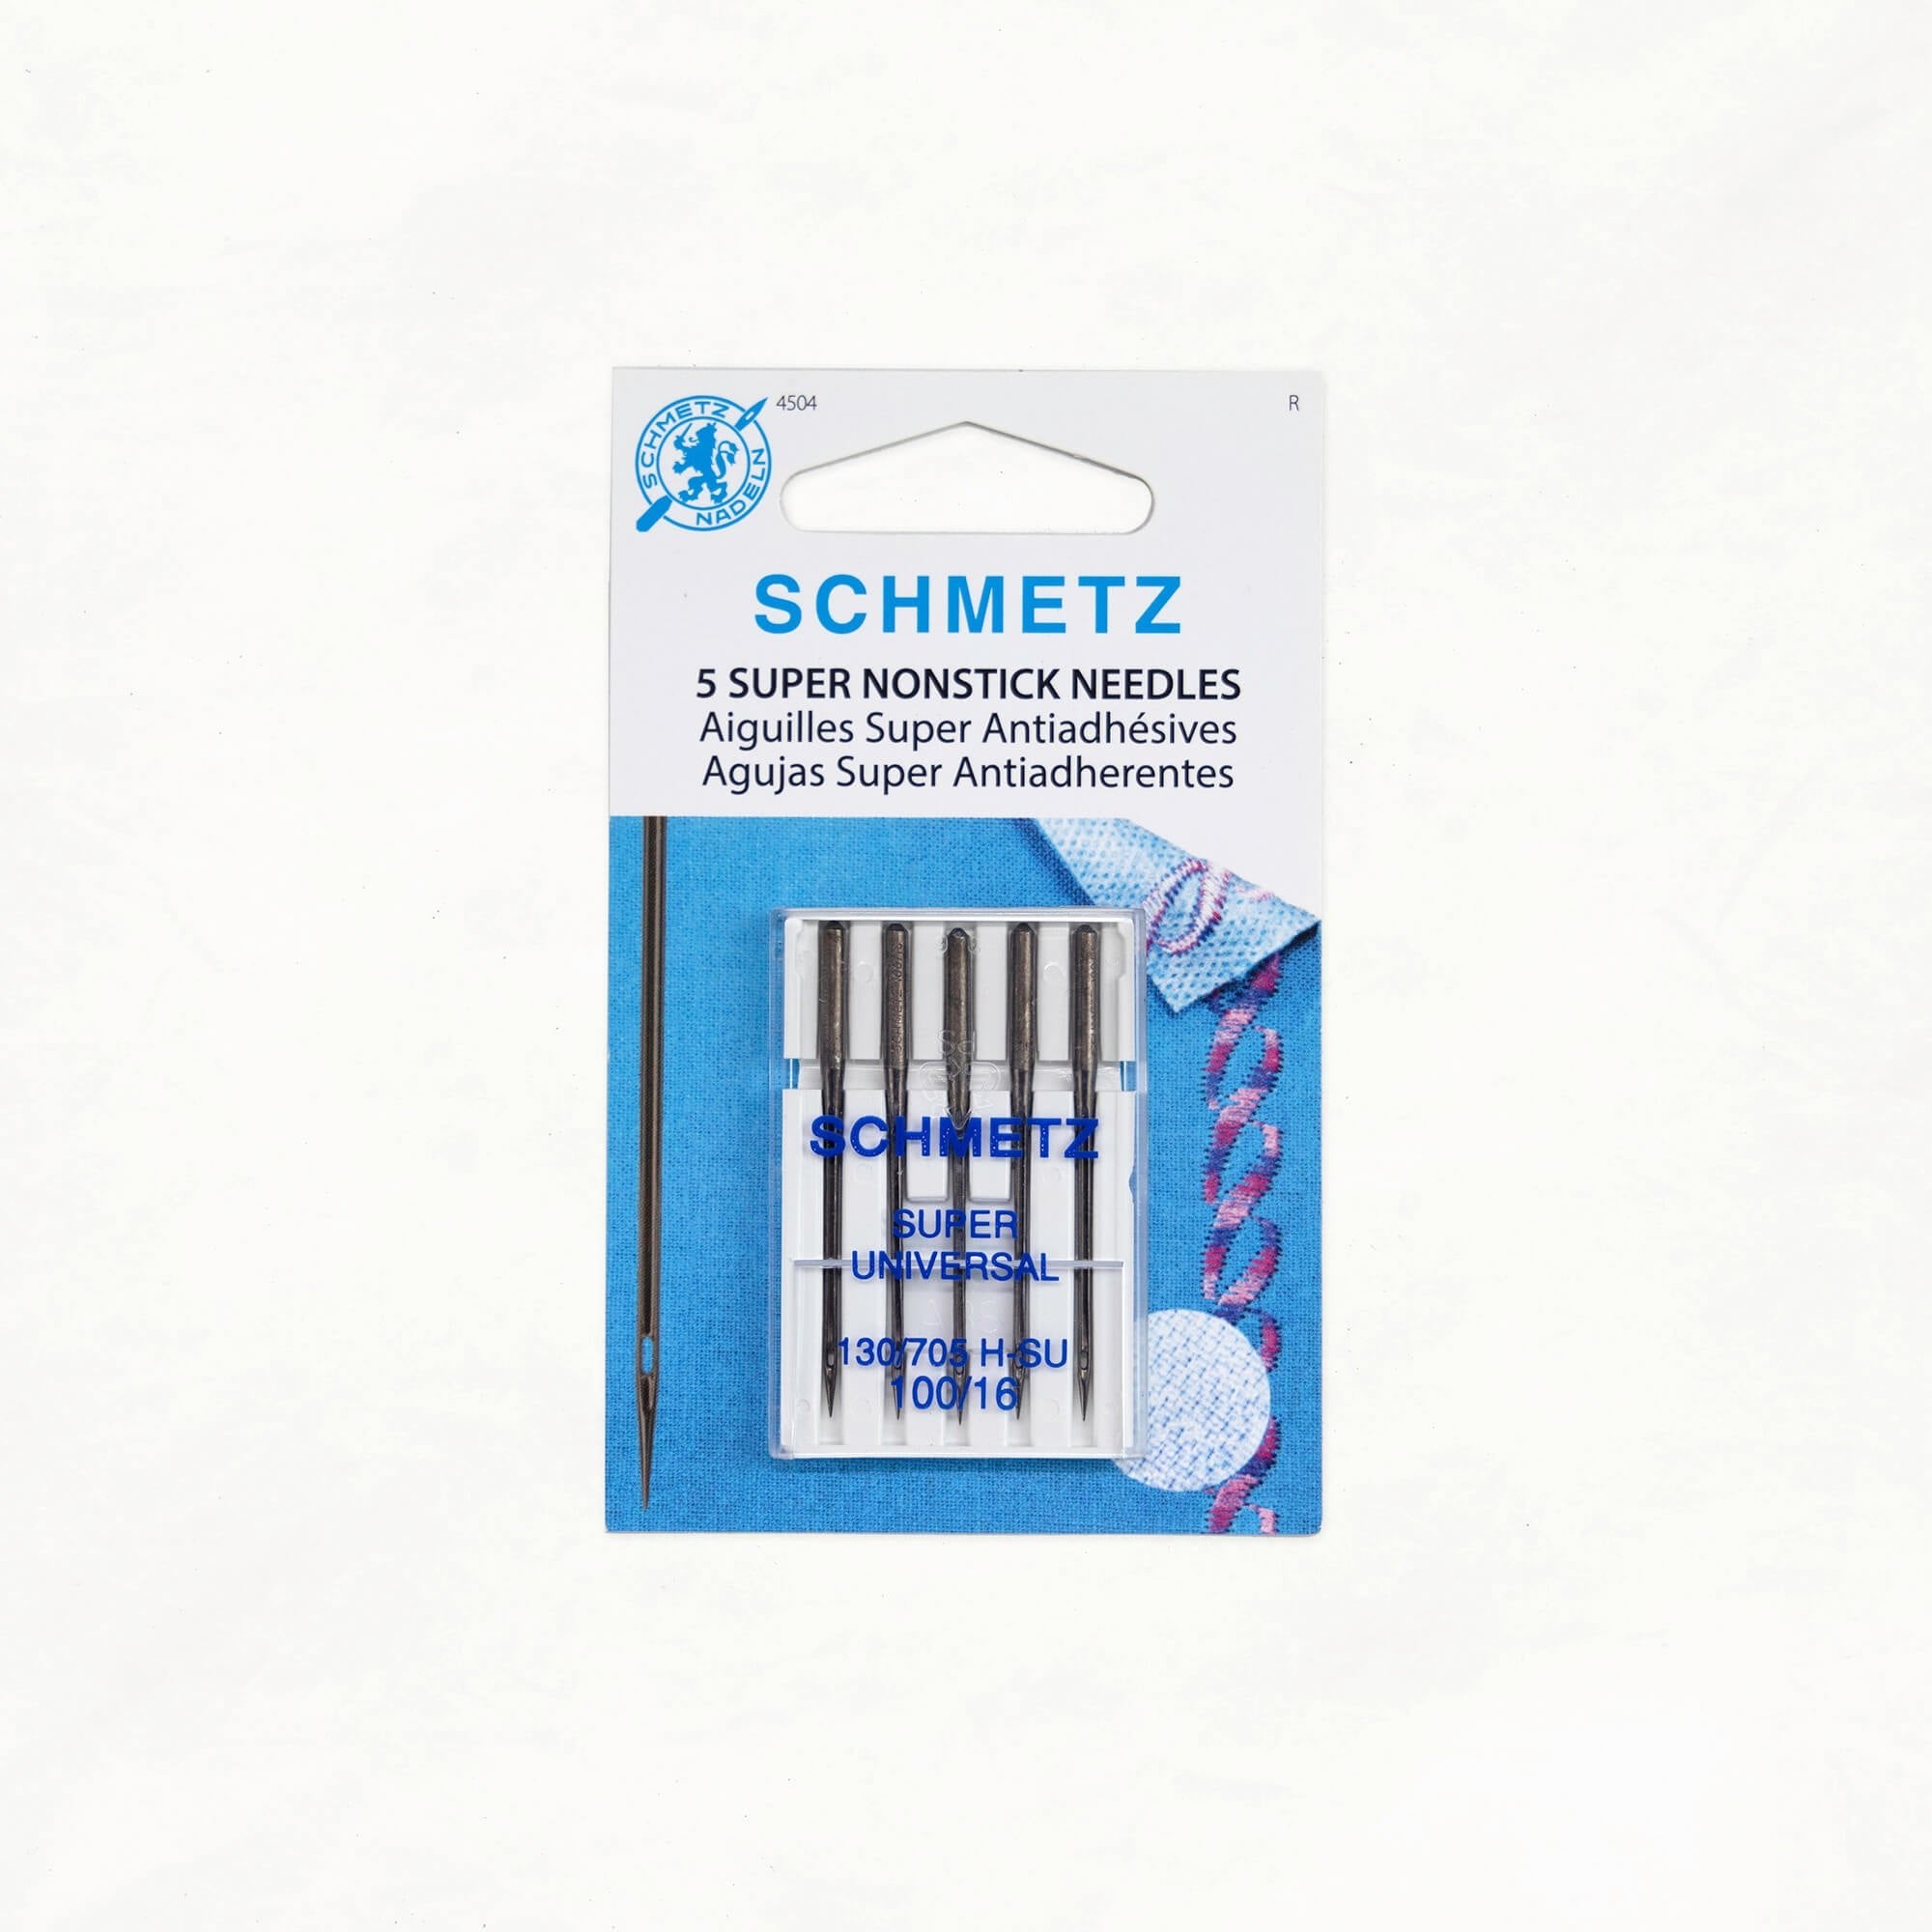
For canvas, Ellie reaches for a chrome size 100 denim needle. Chrome means professional grade, which means it stays sharp longer. For waxed canvas, nonstick needles are the ones she reaches for now, because the coating stops wax from gumming up your machine. And for topstitching, a topstitching needle has a bigger eye, which just helps get the thread through.
Walk the hand wheel. When your machine is whining at a spot and doesn’t want to puncture, take your foot off the pedal and turn the hand wheel by hand instead. You’re doing exactly what the motor does, only slowly enough to help the machine hold its timing. It is the secret weapon, and Ellie uses it all the time.
One rule: always turn the hand wheel toward you, in full rotations, even when you’re back stitching. Turning it away from you is not how the machine is built to be used. Rocking it back and forth to free up a jam is fine.
“I used a walking foot and that made it better. But next time I’ll lengthen the stitch. And I’ll be sure to turn the dial towards me. I learned so much.” — Michelle H.
Taking Care of Your Machine
If you’ve been eyeing making a waxed canvas bag and wondering whether your machine can handle it, here’s the answer.
Ellie’s own go-to is a Singer Heavy Duty 4423, and it’s what she taught on for years when Klum House ran in-person classes. She has also made every Klum House bag pattern on a Project Runway Brother, which is not a heavy-duty machine, and it’s fine. She tests patterns on ordinary home machines on purpose, so that making a Klum House bag never requires an expensive, fancy one. Across years of in-person classes, exactly one machine couldn’t do it.
What she wouldn’t do is force it. When your machine is whining and refusing, that’s the moment to slow down and walk it through by hand, not to stand on the pedal. And treat it like your car: metal moving against metal needs to be lubricated. Your manual will tell you where to oil it.
Can My Machine Sew Leather?
Leather has no weave, so there is no gap for the needle to slip through. A leather needle is shaped a little like a lancet on the end, because it has to cut like a knife to make a hole for the thread.
The part that catches people out is that you’re never sewing leather to nothing. You’re sewing one piece to another, so that’s two layers going under the needle before you’ve started. Depending on which part of your project you’re on, it can be three or four. Count the layers, not the leather, and you’ll have a much better sense of what you’re asking your machine to do. ▶️ Leather for Bag Straps 101 goes further into which leather weights a home machine can handle.
If we want to attach leather straps to our bags instead of sewing them, we’ll use rivets. Especially if you’re working on a home sewing machine that isn’t strong enough to sew through leather, setting rivets is a great skill to have up your sleeve. ▶️ Bag Making Rivets 101 is the place to start.
Ellie also shares her invaluable tip for topstitching. You run two spools of all-purpose thread through one needle on the top, with regular all-purpose thread in the bobbin. It mimics a topstitch, and the machine likes it better than actual topstitching thread. ▶️ Watch how it’s done in Two Ways to Topstitch On a Home Machine.
Buying a Machine for Heavy-Duty Sewing
If you’re wondering which heavy-duty sewing machine to buy, ▶️ Sewing Machines for Bag Making covers what “heavy duty” actually means on a spec sheet, mechanical versus computerized, what a free arm gets you, and how to work out whether the machine already sitting in your closet is up to the job.
Heavy-Duty Sewing Tips + Tricks: Video Demo
In this workshop, Ellie demonstrates her tips and tricks for sewing multiple layers of heavy-duty fabric, powering through bulky seams, and wielding the power of your home machine to make professional-quality bags.
TL;DR
- Heavy-duty sewing is sewing that asks your motor to work harder to hold tension and timing. It is not the same as industrial sewing.
- Loops showing between your stitches mean your tension is off. Thick fabric props the presser foot up, and that opens the tension discs.
- Skipped stitches are a timing problem. Drag on the feed means the bobbin hook arrives late and misses the needle.
- A walking foot feeds from the top so both layers move together. A thick seam jumper levels the presser foot so it stops tilting.
- Lengthen your stitch to a 3 or 3.5 on thick fabric. A longer stride pulls with more power.
- Change your needle, and match it to what you’re sewing: denim for canvas, nonstick for waxed canvas, topstitching for topstitching.
- Walk the hand wheel by hand through the thickest spots, always turning it toward you.
Learn More
You don’t need fancy equipment to make professional-quality bags. You need to know how your machine works, and a few extra tools up your sleeve. ▶️ Essential Guide to Waxed Canvas and ▶️ How to Make Leather Straps for Bags pick up where this one leaves off.
Ellie says it in every class she teaches: the sewing machine is a tool to unlock your creative potential. Once you understand how it’s built and how it’s meant to be used, you stop wondering whether your machine can handle a project and start actually making the things you dream of with the equipment you have.
“Learned so much after sewing for 60 years. Wish I had all this info earlier. You are a fantastic teacher!” — Diann B.
TAKE SEWING MACHINE 101
About the Author
