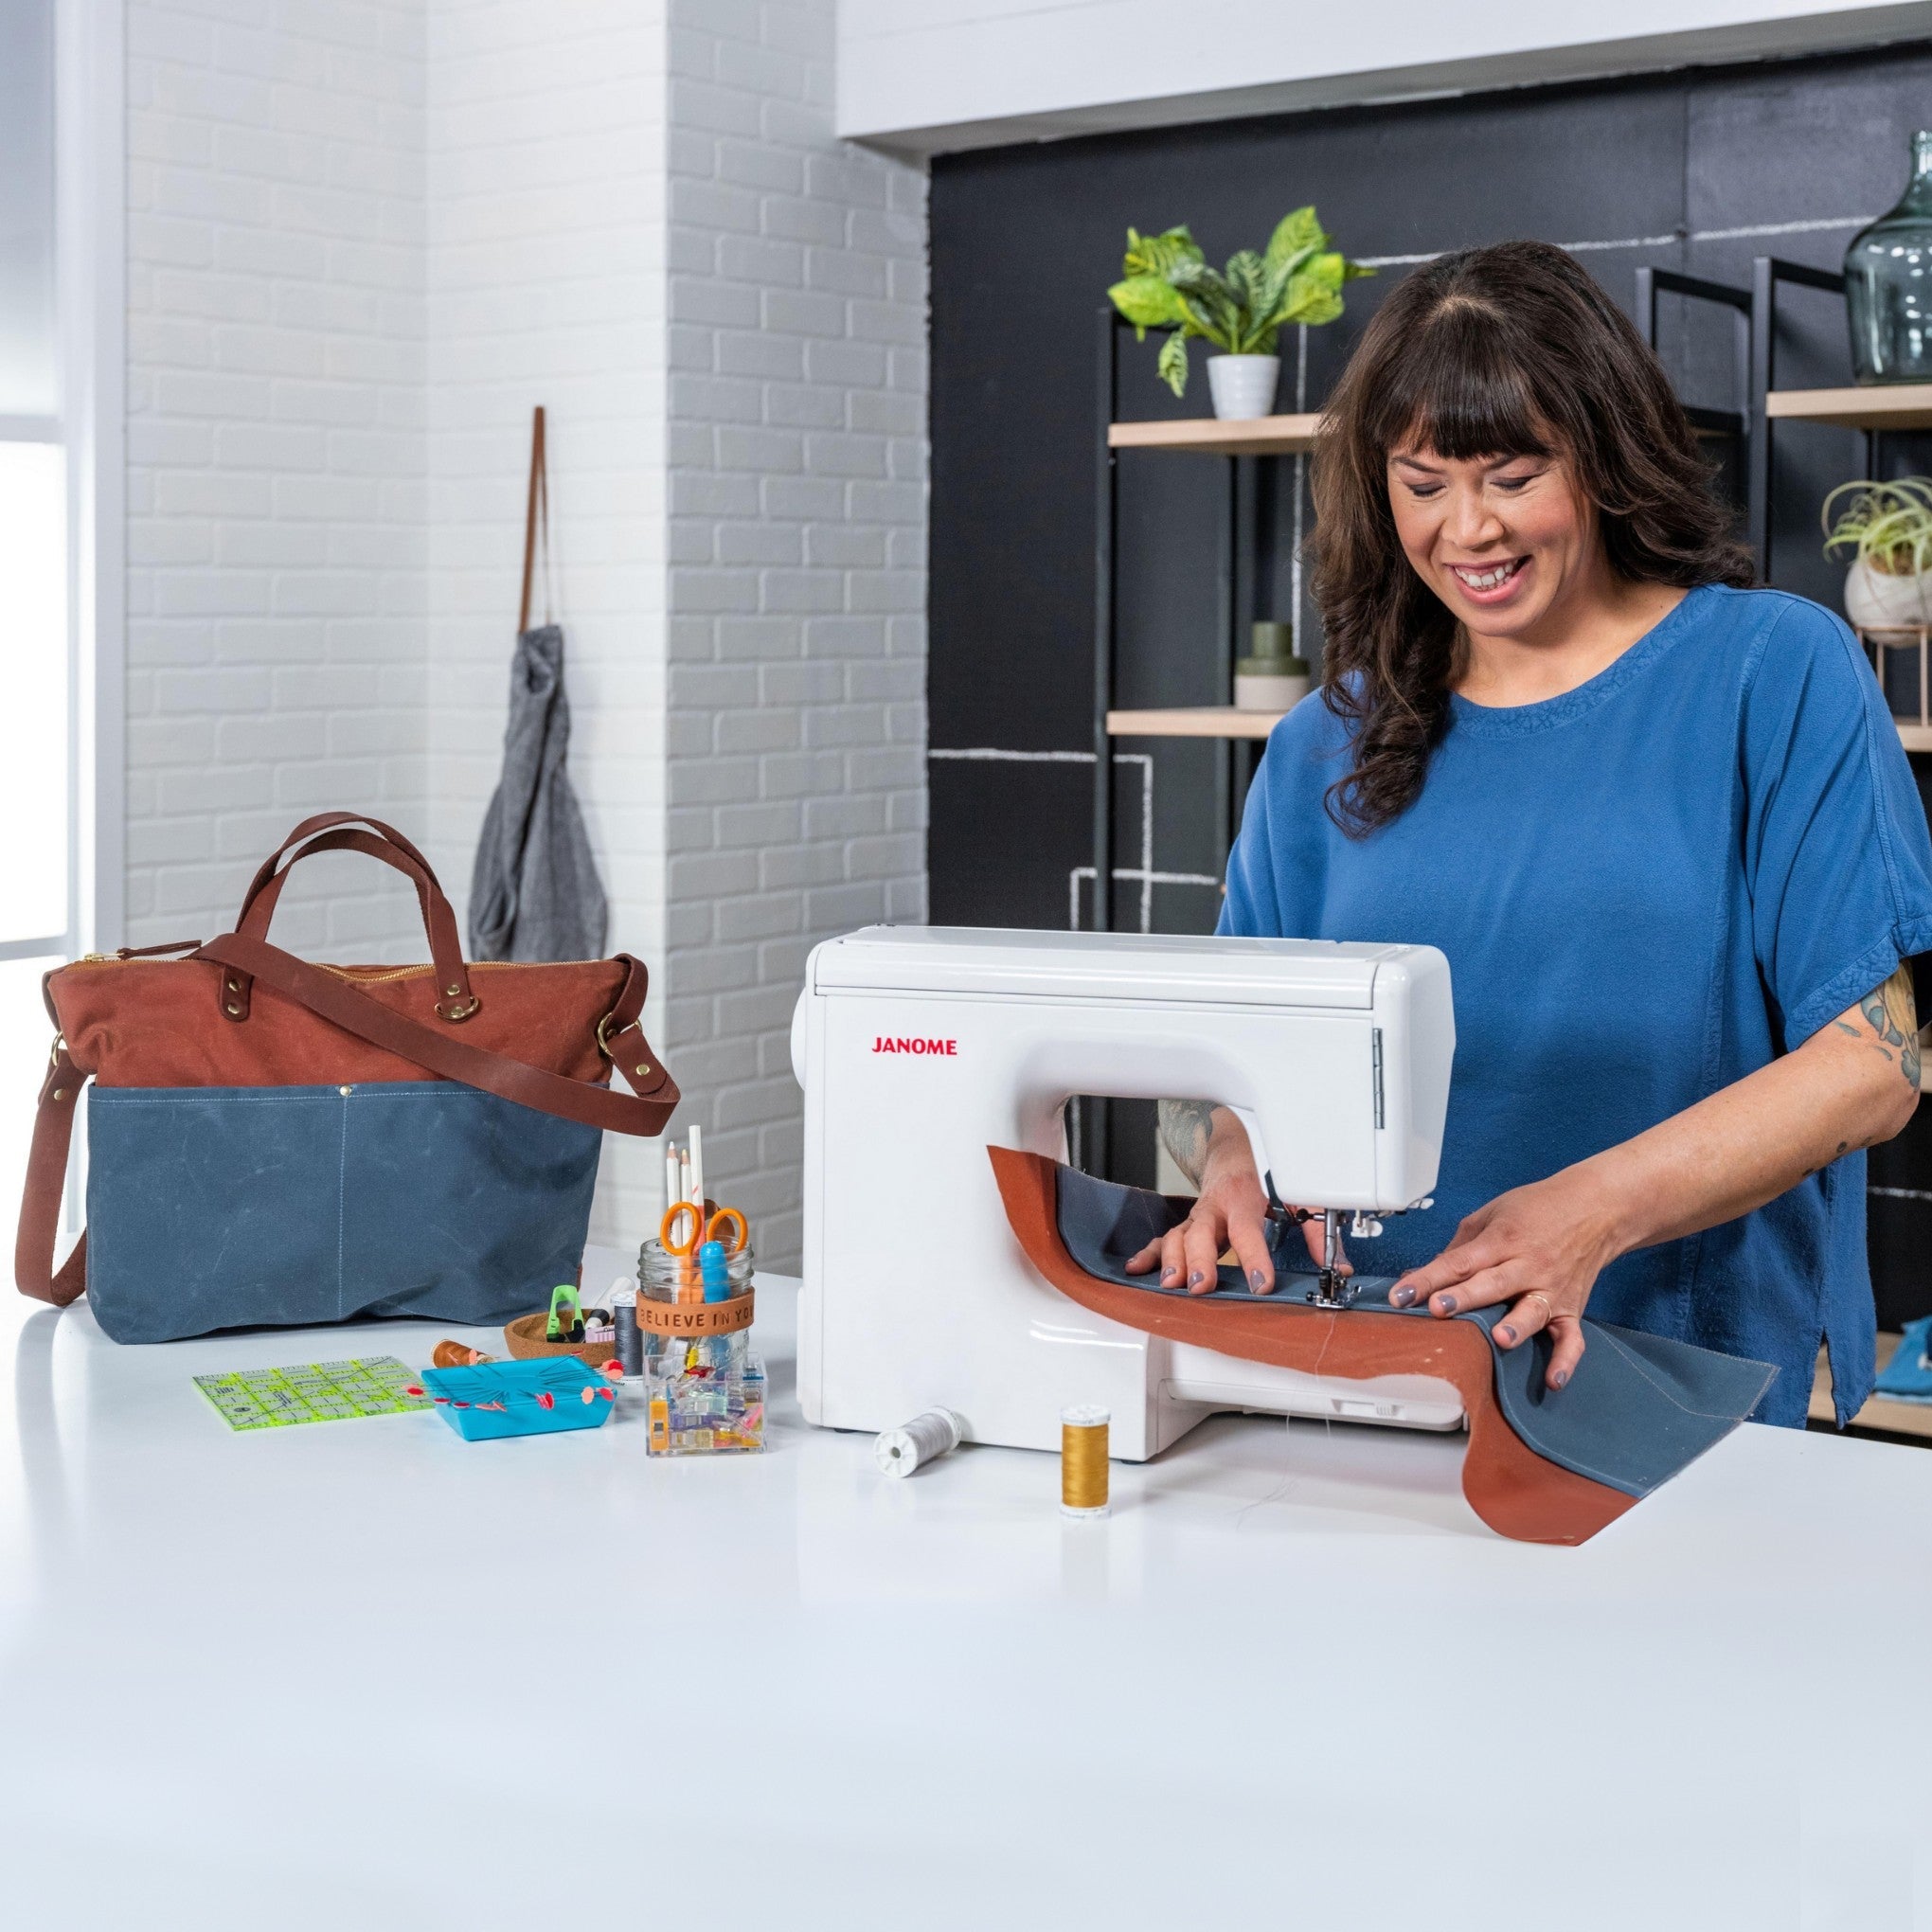
One of Ellie's main goals as an educator is to pull back the curtain and demystify the making process. It can be messy and frustrating and full of little set-backs and inventions and epiphanies! So this hour is waxed canvas, leather and rivets, and we've pulled a summary of her top tips and tricks together below.
Learn about how to make your own professional-quality bags on a home sewing machine. Bag making is different from other types of sewing, like quilting and garments, in that we sew with heavy-duty fabric (waxed canvas is our favorite!) and work with leather and hardware, which requires learning how to use a few specialty tools.
Can Your Sewing Machine Handle Bag Making?
One of the most common questions we get from new bag makers is: can my home machine really sew that? And the answer is almost certainly yes. 🙌

Her own machine is a Singer Heavy Duty 4423. Entry level, mechanical, easy to find, somewhere around $200 to $300. Not a "oh my gosh, huge investment" machine. Honestly, you could get a machine at a thrift store and make bags just fine. (If you are shopping, ▶️ How to Choose a Sewing Machine for Bag Making is the one to read first.)
But the real test isn't the badge on the machine. Your machine can sew it if your machine can get a good stitch sewing through it. And a good stitch comes down to two things:
- Tension. The top thread and the bobbin thread loop around each other, and those loops are designed to hide between your layers of fabric. When you can SEE the loops, your tension is off.
- Timing. The bobbin hook has to swing around and catch the thread at exactly the right moment. When it arrives late, it misses, and you get a skipped stitch or shredded thread.
Thick layers drag on the feed, and that is what pulls both tension and timing off. Optimizing them is what lets you sew thick fabric, so you set your machine up for success. Four things do most of the work:
- A clean, fresh needle. Ellie has been really into nonstick needles lately, because they cut the friction going through waxed canvas. All-purpose thread is what she sews bags with, and you probably have some sitting around already.
- A walking foot. It adds a little feed from the top, so both layers move at the same speed.
- A thick seam jumper. It levels the presser foot when it's trying to climb the mountain from two layers to six.
- The hand wheel. Turn it by hand through the thickest spot instead of flooring the pedal. It is the secret weapon.

All of our bags are designed for success on a home sewing machine. Even a bag like the Slabtown Backpack, which is super heavy-duty, can be made on one. Ellie designs the sequence of construction so you never sew through thicker layers than a home machine can handle.
The difference between an industrial machine and a home machine is mostly the size of the motor. Industrials have big ones, bolted to a table. Home machines have small ones, in the head. More powerful motor, thicker materials.
And when you're not sure, the best way to know is to try. Try sewing it on your machine. Don't floor the pedal to do it. Just watch the stitch.
"All I needed was my machine, a hammer (for the rivets), and my skills." —@agatheringofstitches
▶️ How to Sew Thick Fabric on a Home Sewing Machine goes all the way in on tension, timing, and the tools that fix them.
HOW TO SEW THICK FABRIC
Why We Sew Bags with Waxed Canvas
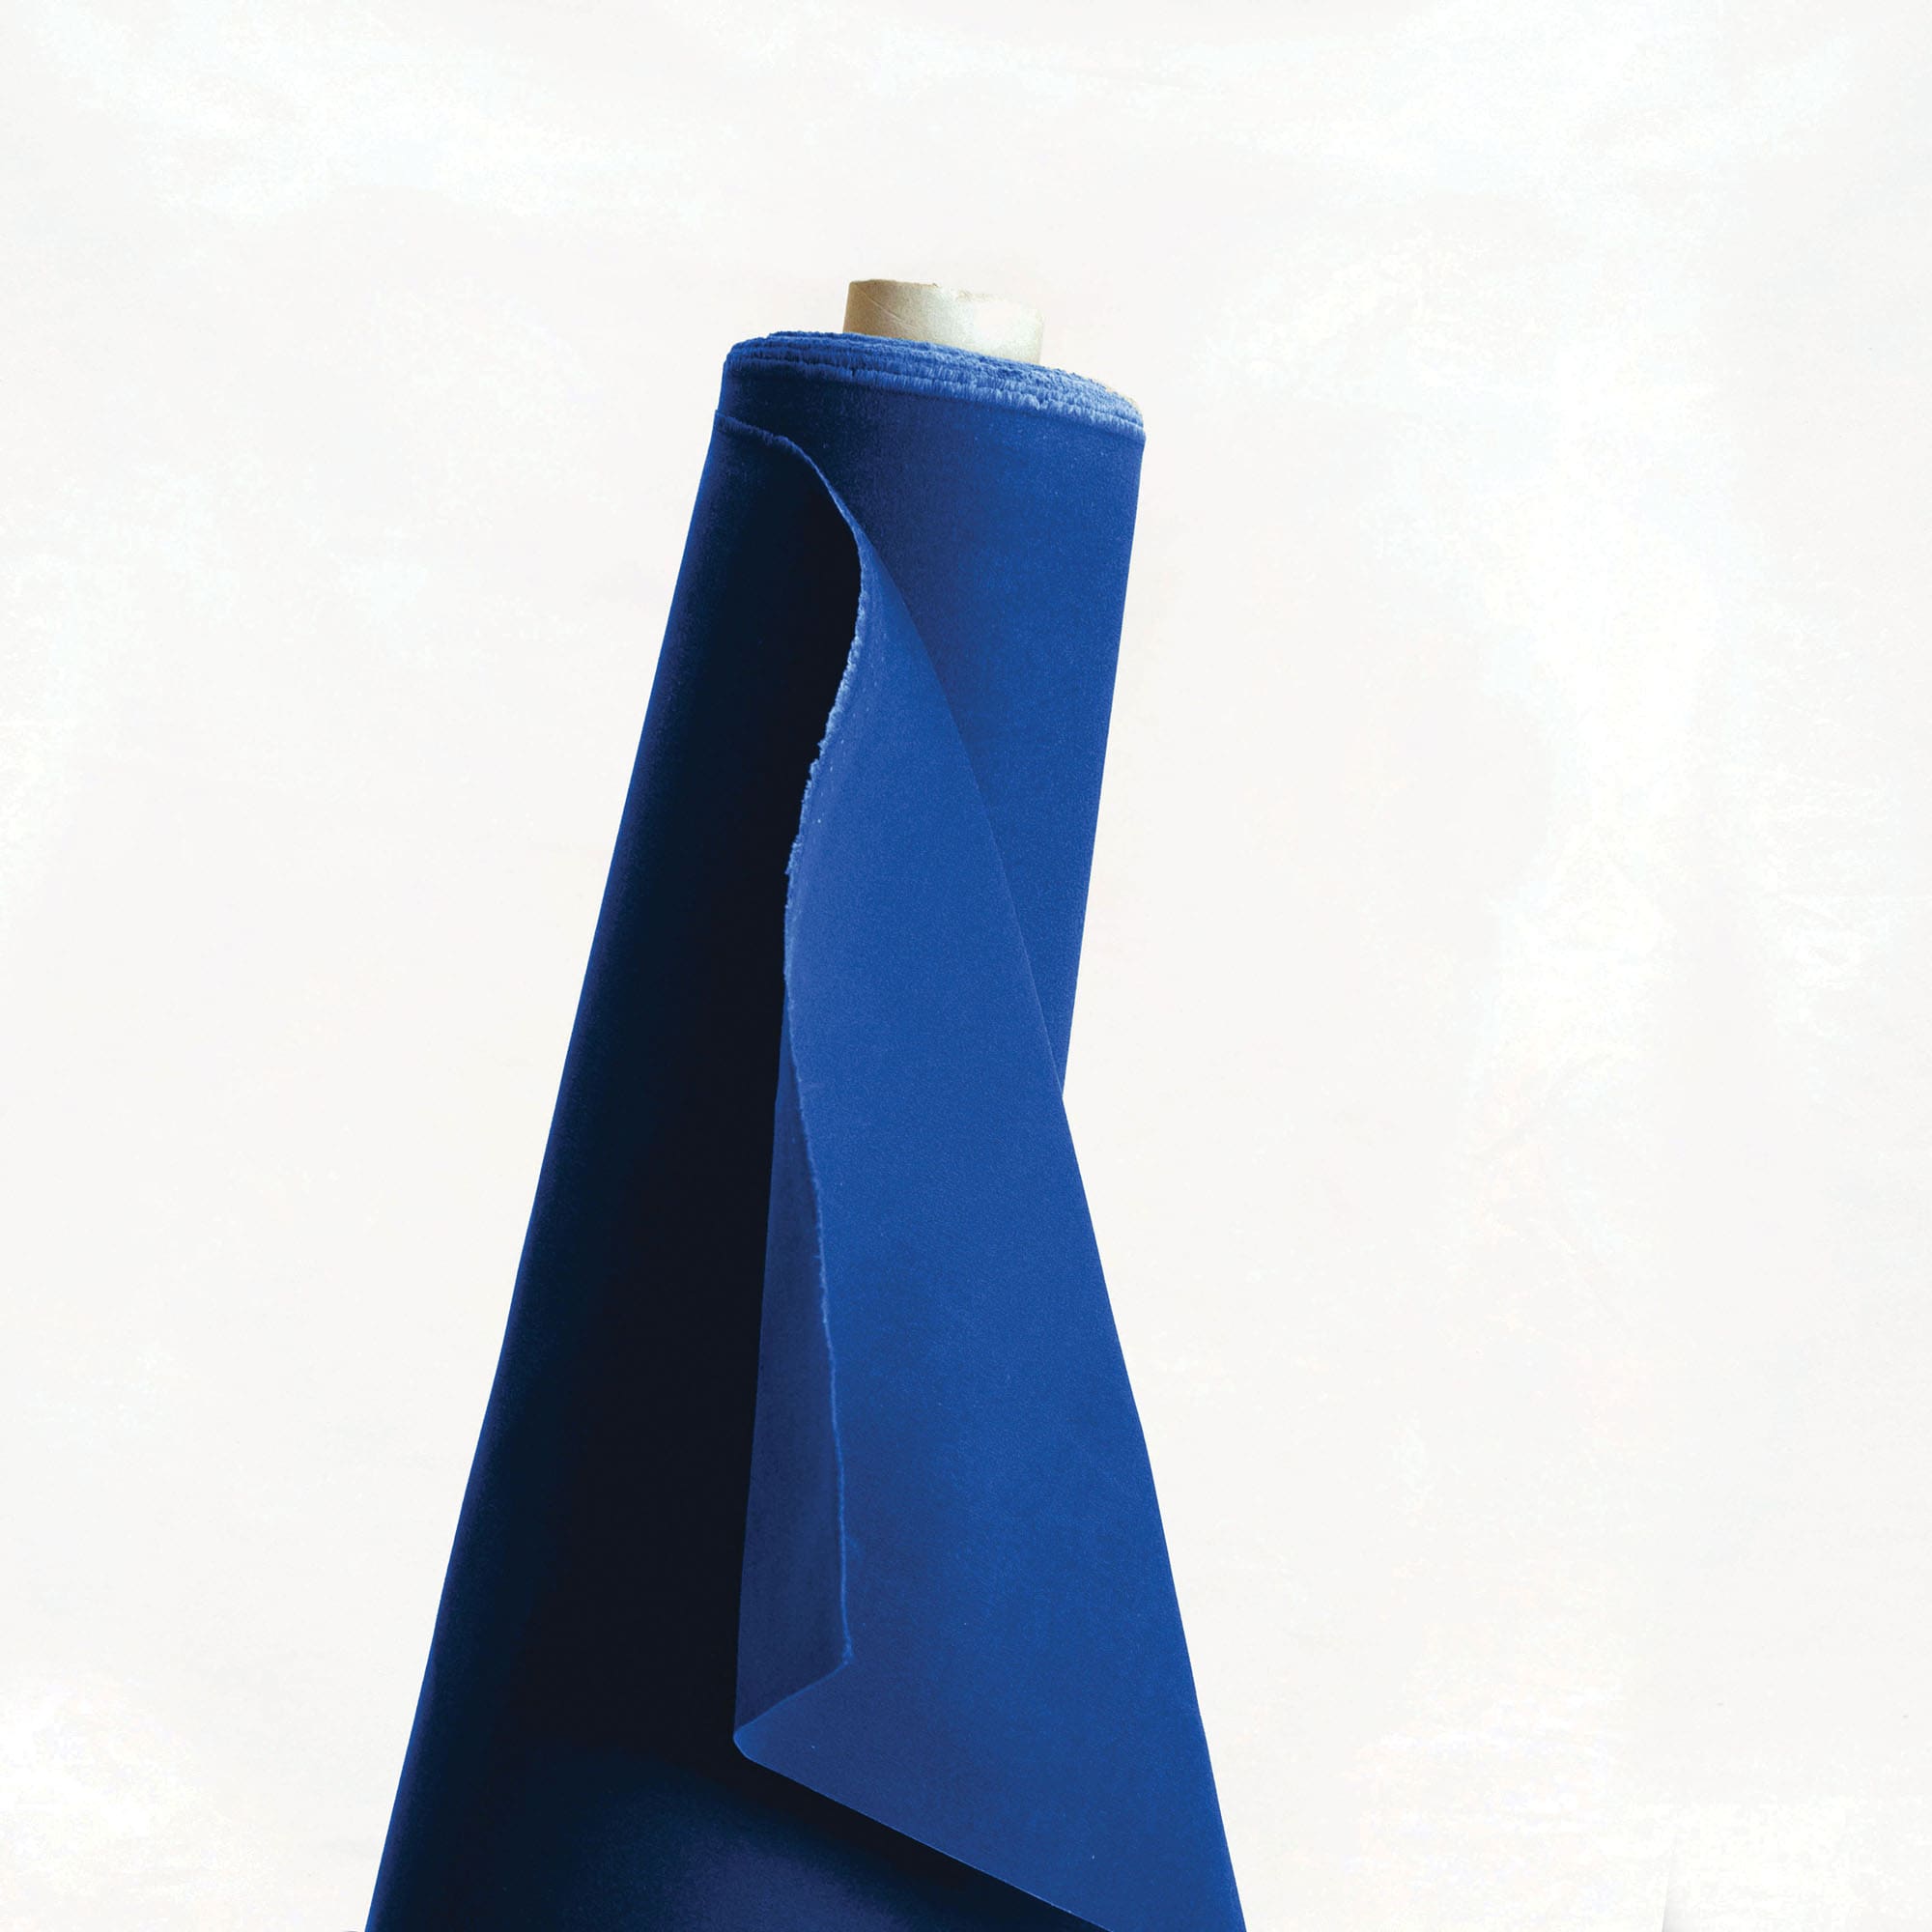
Waxed canvas is exactly what it sounds like: cotton canvas with wax imbued into the weave. 🕯️

Take the filler out of a waxed canvas tote that has no lining in it, and it still stands up on its own. That's the wax. We love waxed canvas because it records the making story: every single fold you put into it stays put.
Waxed canvas isn't sold at a standard weight. That one thing is the reason it's so hard to tell how thick a fabric actually is when you're shopping for it.
- Waxed weight is the weight after the wax goes on. It's the weight it arrives to you, and the weight it behaves at. It's how we sell ours, and every color on our site has the ounce right in the title.
- Non-waxed weight is the weight of the bare canvas before waxing. Same fabric, smaller number.
So if you're buying somewhere else, go read the fine print and find out which one you're looking at. For reference: 10 oz is noticeably thinner and drapier than 11 or 12 oz, and thinner fabric won't give you as much structure.
Waxed Canvas


Waxed canvas is also tacky, which makes it a great fabric to learn on. When you're learning to sew, one of the things you're really learning is how to control the fabric at the machine so the stitch goes where you want it to go. Waxed canvas just stays put. It does build up in your feed dogs eventually, but Ellie would teach about three months of classes before cleaning a machine, and it has never ruined one. It's oil, and machines tend to like oil on their metal moving parts.
You can't iron waxed canvas. Which sounds like a problem, and is actually a blessing in disguise, because you don't have to. A steel fabric roller flattens a hem crisper than an iron does. A bone folder presses AND marks, leaving a line that looks like you took chalk to it when really it's just the wax. You never get up from the table, which keeps you in the mode of making.
▶️ Essential Guide to Waxed Canvas covers where ours comes from, why it costs what it does, and how it wears over time.
ESSENTIAL GUIDE TO WAXED CANVAS
Working with Leather
On most Klum House bags you do all of your sewing first, and the leather goes on at the very end. It doesn't get sewn on. It gets riveted.
All of our leather is English bridle vegetable-tanned. Veg-tan starts firm and wears in, getting softer the longer you carry it. English bridle is exactly what it sounds like, the leather they make bridles out of, because leather carries this whole equestrian lineage with it. (The same way industrial sewing traces back to sail making. There's always that lineage in the craft.)
When we talk about the weight of leather, we're talking about thickness. We use two:
- 5 to 7 oz for most straps and handles.
- 8 to 10 oz when we're using tubular rivets, or on backpack straps, so there's a little more heft to the strap.
For a strap, thickness is a durability decision. Thinner leather stretches. Ellie doesn't make straps from anything thinner than 5 oz, or thicker than 10.
A bag isn't functional if the strap breaks. And bags almost always fail at the strap attachment points. Not out in the middle of the strap. At the ends, where it's attached to the bag.
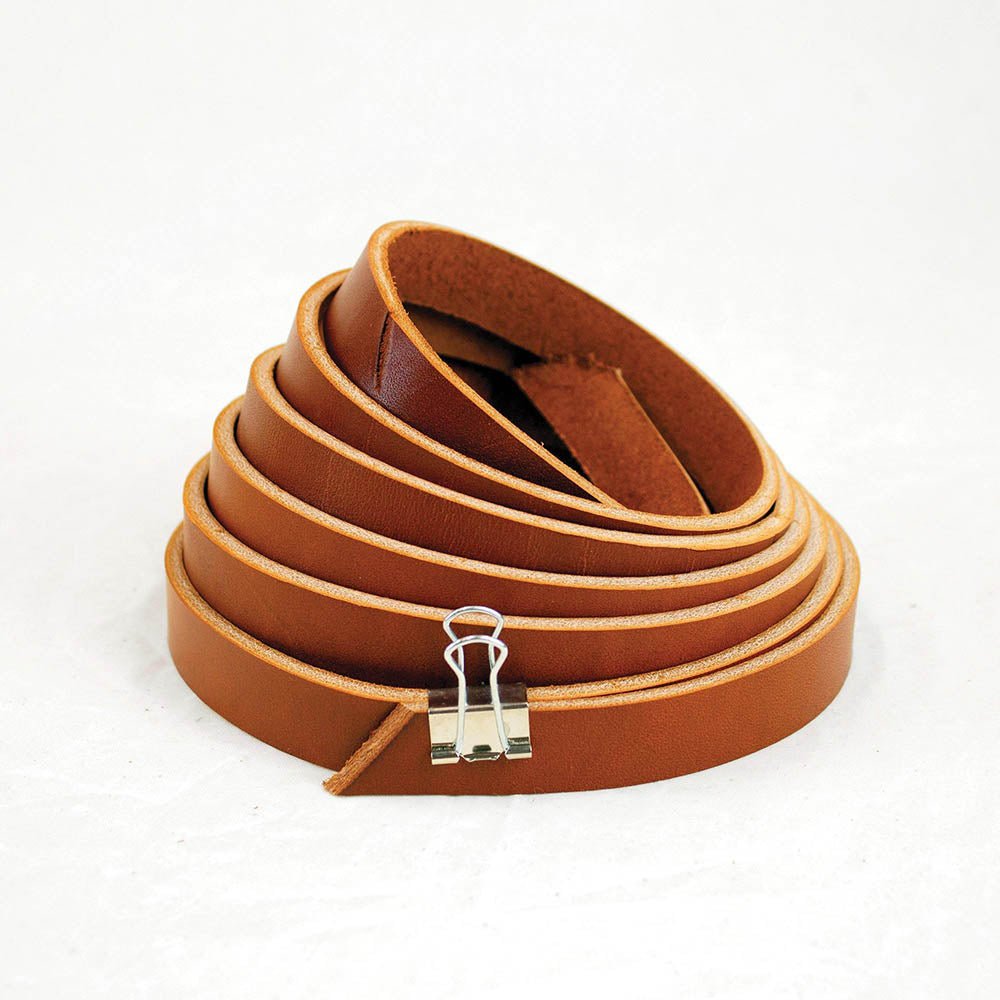

Every rivet needs leather on BOTH sides. Over time a metal rivet works into the fabric and cuts right through it. The only way to get an attachment point to last is to sandwich your fabric between two pieces of leather: the strap on the outside, a leather washer on the inside.
You could skip the washer, cut a rectangle of leather, punch two holes and rivet your strap straight on, and it would feel plenty strong on day one. It just won't last. With leather on both sides, that attachment point isn't the place your bag fails.
▶️ Leather for Bag Straps 101 has the weights, every strap tutorial we've filmed, and whether your machine can sew leather at all.
LEATHER FOR BAG STRAPS 101
Rivets and Bag Hardware
We rivet the leather on instead of sewing it because a home sewing machine will not go through 10 oz of leather. And if it does, the stitch won't be any good, because the machine can't hold tension and timing through something that dense. Rivets are what let us put genuinely durable leather on a bag you made at home. 🔩
There are two kinds you'll meet.
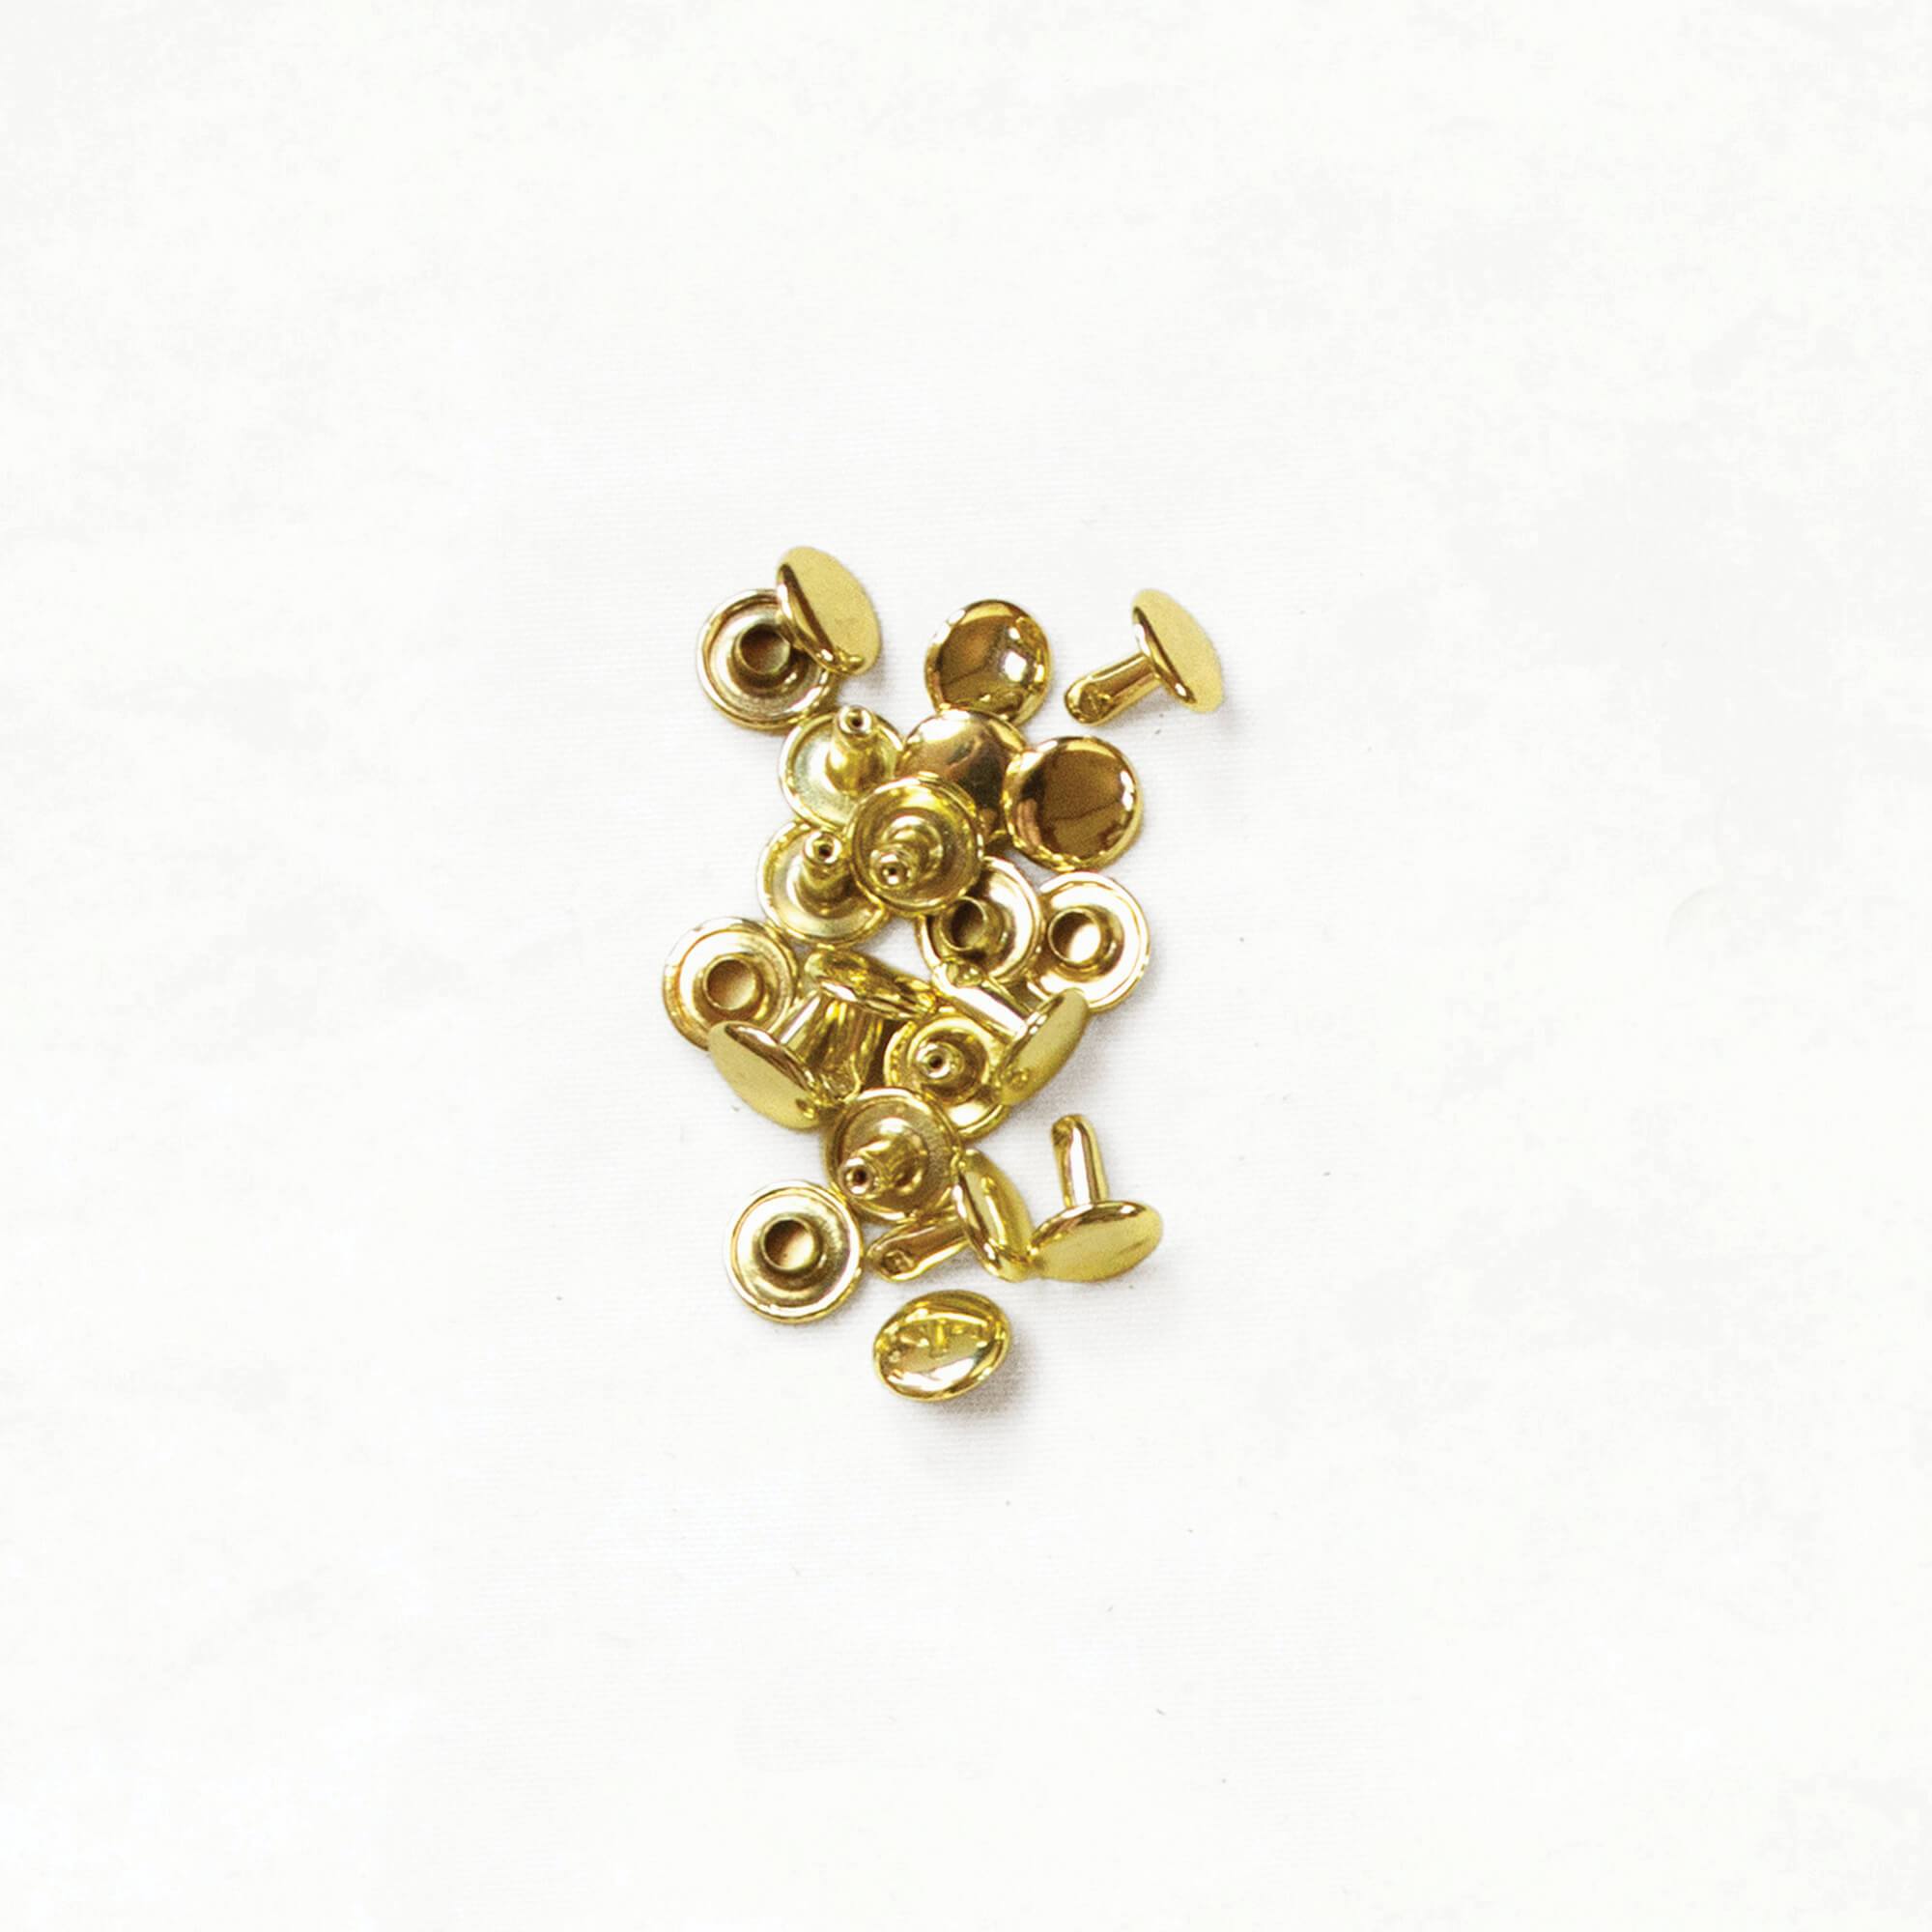
Double-cap rivets. Two parts, a stem and a cap, and a cap showing on both sides once it's set. This is the rivet most people picture.
Reach for tubular rivets anywhere the force is opposing. Picture a backpack on your body: the strap is pulling out and away from the bag the whole time you're wearing it. Anyone who grew up with a JanSport knows exactly where a bag goes first, and it's the bottom corners where the straps attach.
Tubular rivets. One part, and stronger, because of the way you set them. The stem splays open on the back into what Ellie calls metal flower petals. They need a peening tool to set.
Under a hard pull, a double-cap rivet can eventually pop apart. A tubular rivet is built to hold no matter what you hang off it.

Leather and rivets get paired to each other. You want the rivet stem standing a sixteenth to an eighth of an inch above everything you're riveting together. Too short and there isn't enough stem left to mushroom over into the cap. Too long and it kicks over sideways as you set it.

Most people assume a crooked rivet means they hit it wrong. Usually it just means the stem was too long.
▶️ Bag Making Rivets 101 has every rivet tutorial, plus the leather and rivet pairing chart so you can skip the guessing.
BAG MAKING RIVETS 101
Essential Tools for Bag Making
We LOVE tools. Bag making needs a few that sewing doesn't, and the right tool for the right job makes all the difference.

You'll want a drive punch to make the holes, because you can't set a rivet without a hole to put it through. Two sizes cover nearly everything: ³⁄₃₂" for fabric and ⅛" for leather. Then a punching board to cut into, a granite slab to set on, and a Bakelite mallet to swing.
And not just any mallet will do! A rubber mallet has some bounce to it, so it can't transmit the full force of your strike, and it will absolutely not set a tubular rivet. People struggling with tubular rivets is one of the most common customer service questions Ellie and Anna get, and it is almost always the mallet. Ditch your rubber mallet.

One more tool trips everybody up: a round strap end punch is not a drive punch. A drive punch makes a hole. A round end punch rounds off the end of a strap. Most Klum House straps are ¾" wide, so that's the size to own first. You can absolutely just cut your strap ends with a rotary cutter instead. A round-end punch gives straps that an extra-professional finish, but it isn't required.
Essential Bag Making + Sewing Tools is the full toolbox, both halves of it. ▶️ How to Use a Drive Punch sorts out punching board versus setting stone, which is the other thing people mix up constantly.
ESSENTIAL BAG MAKING TOOLS
How to Get Started

We know that sourcing all of these little details on your own can be a real headache, so we've taken care of that part for you 😊 If you buy any kit off our site, we've already paired everything: the right rivet length for that leather, the right leather for where that strap attaches. All you have to do is put it together!
Three good places to start, all of them bags Ellie pulls on camera in this workshop:
- Maywood Totepack. A tote and a backpack at the same time.
- Naito Bucket Bag. Pockets inside and out, on 8 to 10 oz English bridle.
- Slabtown Backpack. A real backpack, with tubular rivets at every strap attachment.
That's the crash course: waxed canvas, leather, and rivets, and how they add up to a really nice professional result on a home sewing machine. Rivets, leather, canvas, a hammer and a mallet. 🔩👜
SHOP BAG MAKER KITS
About the Author