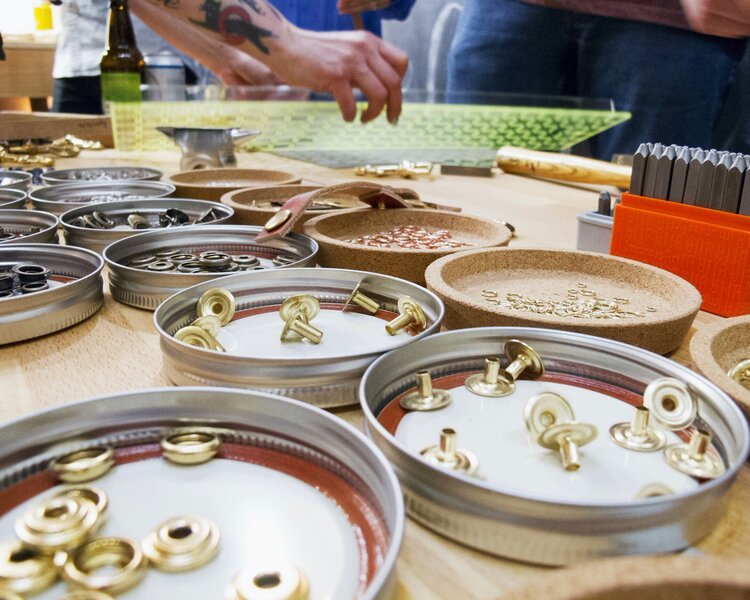
With just a few tools, you’ll see that it’s actually quick and easy to set lots of different types of hardware and take your bag from looking homemade to truly professional. Below you’ll learn about magnetic snaps, Line 24 snaps, Chicago Screws, buckles, O-rings, and more.
This is a recording of a Lunchtime Live session with Klum House founder Ellie Lum, originally streamed in August 2020.
What Is Bag Hardware?
Hardware holds your bag together, opens and closes it, and connects your straps to it. Almost everything you’ll use falls into three groups.
- Fasteners hold two different materials together, like attaching leather straps to a bag.
- Closures are meant to open and close on your bag, like a snap or a zipper on the top of your bag, or something that closes a pocket.
- Strap hardware is the rings, clips and buckles. Rings are great for junction points where things connect. Clips and swivel snaps are good if you’re putting a removable strap on your bag. Buckles are great for adjustment on any type of strap, to make the bag fit you better.
Plus, it just looks good. We often talk about hardware as “jewelry” for your bag 😊
Fasteners
Rivets

If you’re working on a home sewing machine that isn’t strong enough to sew through leather, setting rivets is a great skill to have up your sleeve. It’s how we attach leather to a bag instead of sewing it on. We mostly use two kinds, double-cap rivets and tubular rivets.
The back of a tubular rivet looks like a kind of metal flower, where the back of a double-cap rivet just looks like the front of a double-cap rivet.
Rivets have their own guide. Bag Making Rivets 101 covers the types, the sizing, and every setting, removal and troubleshooting tutorial we have.
Chicago Screws

A Chicago screw is not a rivet, and there are two good reasons to reach for one. The first is that it has a little bit of movement. On the Fremont Tote it’s what attaches the crossbody strap, and it gives the strap a mobility you wouldn’t get with a rivet.
The other is that they’re really easy to undo, which is why you see them on belts when someone wants to switch out a buckle. You don’t totally need the Chicago Screw Tool to set one, but its rubber grip holds the back of the screw still so you can tighten it much further than your fingers can.
▶️ How to Install Chicago Screws shows setting and removing one, with the tool and without it.
Closures
Line 24 Snaps

Line 24 snaps are a great all-purpose snap for a wide range of bag making and leather working projects. They have four parts and a ⁵⁄₁₆" post, and they set with a Line 24 Snap Setter, a dot anvil, and a mallet on a hard surface.
The Slabtown Backpack went through many hardware iterations to find a strong closure mechanism for the bag. We settled on a Line 24 snap for its super strong set grip.
▶️ If you want to see it step by step, watch the videos in Setting + Removing a Line 24 Snap.
Set one wrong? That post covers drilling it back out, too.
Magnetic Snaps vs. Magnetic Snap Rivets
A lot of people get confused about these, because they sound really similar and they look really similar. They’re very different in how you set them.

A magnetic snap consists of four pieces: a protruding side, a receiving side, and two metal washers. They come in two sizes, 14 mm and 18 mm, and are low profile, so they don’t feel bulky on your bag. All you need to install one is something hard, like a metal ruler or bone folder, to bend the metal tabs.
The back doesn’t look super finished, so it’s often covered up. On the Oberlin Tote, the back is hidden inside the hem.

A magnetic snap rivet is similar to a magnetic snap, except the reverse side shows up like a finished rivet cap on the exterior of your bag! The two sides automatically find each other for a strong, no-fuss closure.
It’s set with a magnetic snap rivet setter, which comes with dies specially designed to fit the snap. For the most secure setting, we recommend using leather washers.
So is one better than the other? They work really similarly, and we haven’t found one to be stronger than the other. It just depends on the design choices you’re making for the project you’re working on. If you’re working on a project where you don’t have the ability to put the hem over the back, then you want the one where you don’t mind the back being exposed, which is the magnetic snap rivet.
▶️ If you want to see it step by step, watch the video in How to Set a Magnetic Snap Rivet, 2 Ways.
▶️ Set one wrong? Watch the video in How to Remove a Magnetic Snap Rivet.
Zippers

We’ve tried lots of different zippers for bag making over the years and these heavy-duty brass zippers from YKK are hands-down our favorite. You know how when you use a good zipper you can just feel the quality? It’s a combination of heavy-duty durability and a silky smooth open and close.
There’s so much we love about these brass YKK zippers, but the large hole in the slider takes the cake. It fits a leather zipper pull—the perfect finishing touch to any bag project.
▶️ How to Add a Leather Zipper Pull
Strap Hardware: Rings, Clips + Buckles
D-Rings + O-Rings

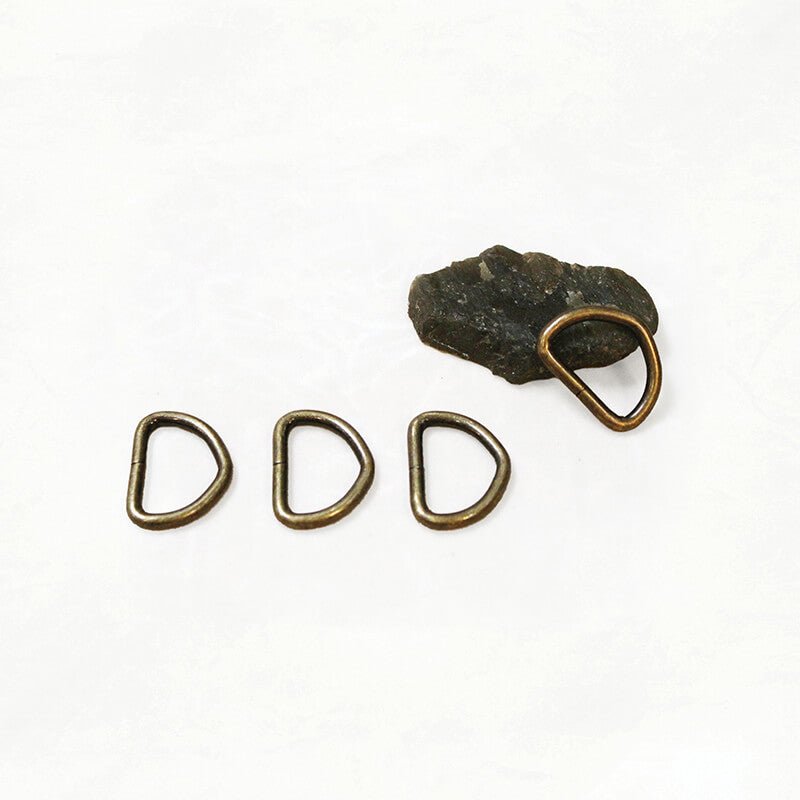
Metal D-rings are useful for creating junction points on bags, where two leather straps connect together. They can also be used inside and outside bags as a place to clip your keys! Ours fit a ¾" wide leather strap.
That metal D-ring on the Naito is there for a reason! It’s the perfect place to hang a matching, me-made leather keychain. Hook it on and the keys drop into the exterior pocket. 😍
Metal O-rings are great in junction points too. They’re used in our Fremont Tote pattern, and they fit 1"-wide leather straps.
A lot of these choices come down to how you want the strap to lay on your bag when you’re using it, which really matters if you’re designing. If you buy a pattern, it’ll tell you what hardware to get, and How to Design Your Own Bag covers making those calls yourself.
Swivel Clips

This brass swivel clip can be used to make detachable leather straps, like wristlets and crossbody straps. You can clip it into a zipper slider hole or onto a metal D-ring. Fits ¹⁄₂" straps.
Buckles

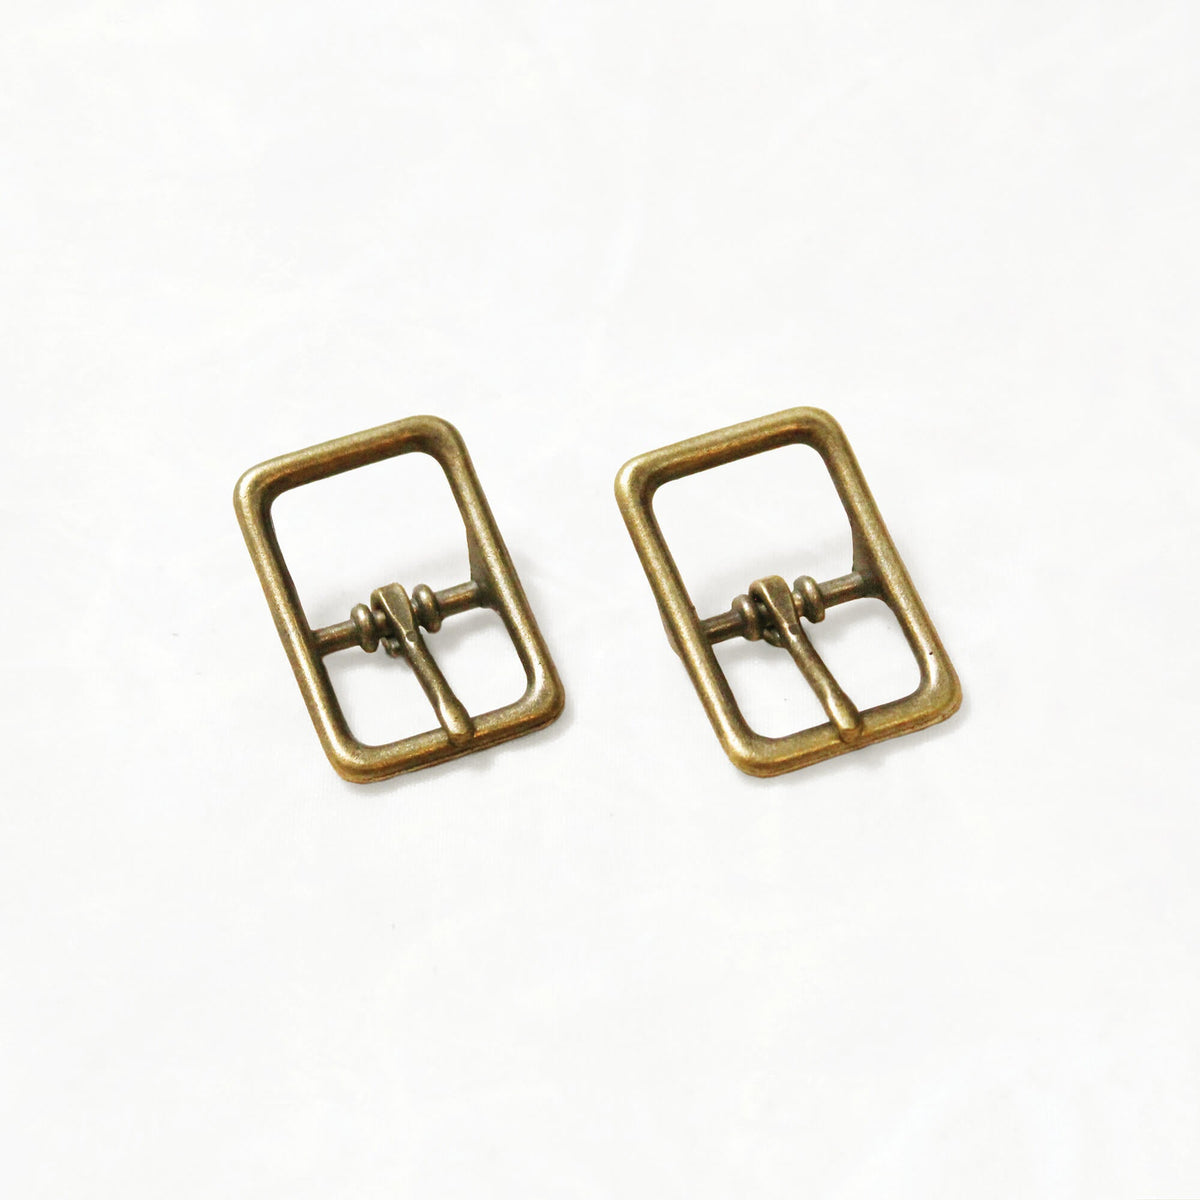
Our center bar buckles fit a ¾" leather strap. Use them to make the Maywood Totepack, Slabtown Backpack, or any other bag with adjustable straps. You could even make a leather belt!
▶️ If you want to see how to install a buckle onto a strap step by step, watch the video in How to Install a Buckle on a Leather Strap.
Setting + Attaching Hardware
Bag Making Tools
Not many stitchers keep a hammer in their sewing tool kit, but we’re working on changing that!

Every bag maker needs a high-quality mallet. Those rubber mallets you find at the hardware store just don’t cut it, and a metal hammer can damage your metal tools. Ours is strong, durable, and just the right heft—it sets a mean rivet and strikes metal tools safely—plus, it’s cute!

Often, all you need is a 🔨 and a hard surface, and voilà! Our granite slab is our go-to surface for setting hardware. Use it on a sturdy surface, or under a poly punching board for punching. Colors vary.
Do You Need a Different Setter for Each Type of Hardware?
Mostly, yes. A double-cap rivet setter sets double-cap rivets, a tubular rivet setter sets tubular rivets, a Line 24 snap setter sets Line 24 snaps, and a magnetic snap rivet setter sets magnetic snap rivets. The end of each one is shaped for its own piece of hardware, so the wrong tool just won’t work.
We’re strong believers in the right tool for the right job.
▶️ Essential Bag Making + Sewing Tools walks through the whole toolbox.
Which Setting Tools Come With A Kit?
In addition to a sewing machine and basic sewing supplies, there are a few specialty bag making tools you’ll need for setting hardware and attaching leather. Every kit page has a tools and supplies list you can download, so you can see exactly what that bag calls for.
The right tools will set you up for success, and we can’t emphasize enough to make sure you have the essentials. Each bag’s essential tools bundle gathers them in one place.


Every Klum House Hardware Tutorial, in One Place
Here’s every guide we’ve written on setting, removing and troubleshooting bag hardware, grouped the same way as above.
Fasteners
- Bag Making Rivets 101. Our full rivet guide, and the index for every rivet tutorial we have: setting double-cap and tubular rivets, removing them, riveting leather straps, and choosing between the two.
- ▶️ How to Install Chicago Screws. Setting and removing a Chicago screw, with the tool and without it.
Closures
- ▶️ Setting + Removing a Line 24 Snap. All four parts, the dot anvil, how to tell when it’s set, and how to drill one back out.
- ▶️ How to Set a Magnetic Snap Rivet, 2 Ways. Both anvils, and which side each one receives.
- ▶️ How to Remove a Magnetic Snap Rivet. Taking one back off without wrecking the leather.
- ▶️ How to Add a Leather Zipper Pull. Riveting a leather pull onto a zipper slider.
Strap Hardware
- ▶️ How to Install a Buckle on a Leather Strap. Getting the crook of the tongue over the bar, then riveting it.
- ▶️ Leather for Bag Straps 101. Which leather to use, and how to cut and prep it.
- ▶️ How to Tie a Slip Knot. Making a strap adjustable with no hardware at all.
Tools for setting it all
- ▶️ Essential Bag Making + Sewing Tools. The full toolbox, sewing and specialty.
- ▶️ How to Use a Drive Punch. Punching the hole that every piece of hardware needs first.
Did you know that you can shop all kinds of bag making hardware—from tubular rivets to O-rings to Line 24 snaps—in bulk in our online shop? If you plan on making multiple bags, this is a great way to go 🔨
Bag Hardware


SHOP BAG HARDWARE
Have Fun Making!